Quick Fix for a Pipe Leak: Your DIY Guide
Did you know that according to plumbing experts, pipe leaks can waste up to 10,000 gallons of water per year? That’s enough water to fill a swimming pool!
If you’re dealing with a pipe leak, don’t panic. In this comprehensive DIY guide, I’ll walk you through various methods and techniques to quickly fix a pipe leak. These temporary solutions will help you avoid water damage and save time and money until a permanent repair can be made.
Whether you’re facing an emergency pipe leak or looking for plumbing leak solutions, this guide has got you covered. From using plumbers tape and self-fusing silicone tape to epoxy putty and repair clamps, you’ll learn the step-by-step process for each method.
Key Takeaways:
- Pipe leaks can waste a significant amount of water if left unaddressed.
- Quick fixes can help prevent water damage until a permanent repair can be made.
- Methods such as using plumbers tape, self-fusing silicone tape, epoxy putty, and repair clamps can be effective temporary solutions.
- It’s important to clean up after fixing a leaky pipe to prevent further damage.
- If in doubt, consult a professional plumber for assistance.
How to Fix a Leaking Pipe Without Replacing It
If you have a leaking pipe in your bathroom or kitchen, it’s important to take immediate action to prevent further water damage. One common cause of pipe leaks is a loose coupling nut. Fortunately, fixing a leaking pipe without replacing it is possible with a simple solution.
To fix a leaking pipe, follow these steps:
- Turn off the water supply: Before you begin any repairs, it’s essential to turn off the water supply to the affected area. This will prevent water from flowing while you work on fixing the leak.
- Locate the loose coupling nut: Inspect the area where the leak is occurring and identify the loose coupling nut. This nut is typically found in the joints of the pipe.
- Tighten the coupling nut: Using a wrench from your plumbing tools, carefully tighten the loose coupling nut. Make sure not to overtighten it, as that can cause damage to the pipe or fitting.
- Check for leaks: Once you’ve tightened the coupling nut, turn the water supply back on and check for any remaining leaks. If the leak persists, repeat the tightening process or consider alternative repair methods.
By following these steps, you can fix a leaking pipe without having to replace it entirely. It’s a cost-effective and efficient solution that can help you avoid potential water damage in your bathroom or kitchen.
| Repair Method | Difficulty Level | Effectiveness | Cost |
|---|---|---|---|
| Tightening the Coupling Nut | Easy | Effective for small leaks | Low cost |
| Plumbers Tape | Easy | Effective for minor leaks | Low cost |
| Self-Fusing Silicone Tape | Moderate | Effective for low-pressure leaks | Moderate cost |
| Epoxy Putty | Moderate | Effective for temporary repairs | Low cost |
| Patch and Clamp | Difficult | Effective for larger ruptures | Higher cost |
How to Fix a Leaky Pipe with Plumbers Tape
If the area where the pipe joins continues to leak after tightening the coupling nut, it is likely that the watertight seals in the pipe threads have worn out or become damaged. To address this issue, you can use plumbers tape to create an effective sealant and stop the leak.
Plumbers tape, also known as thread sealant tape or Teflon tape, is a simple and flexible material that can be easily applied to the pipe threads. It helps create a watertight seal and prevents water from leaking through the pipe joints.
To fix a leaky pipe with plumbers tape, follow these steps:
- Turn off the water supply to the affected pipe.
- Clean the pipe threads thoroughly to remove any debris or old sealant.
- Starting at the end of the pipe, wrap a length of plumbers tape around the threads in a clockwise direction.
- Continue wrapping the tape around the threads, ensuring a tight and overlapping seal.
- Once you have covered the desired area, tear off the tape and press it firmly against the pipe to secure it in place.
After applying plumbers tape, you can safely turn on the water supply and check if the leak has been resolved. If needed, you can apply an additional layer of tape for added security.
Remember to use plumbers tape specifically designed for pipe threads and avoid using excessive force when applying it. With proper installation, plumbers tape can provide a quick and effective solution for fixing leaky pipes.
How to Fix a Leaky Pipe with Self-Fusing Silicone Tape
When it comes to fixing a leaky pipe, self-fusing silicone tape is a reliable solution, especially for low-pressure lines. This versatile tape creates a seamless and waterproof layer when applied correctly. In this section, I will guide you through the process of using self-fusing silicone tape to quickly fix a leaky pipe using the stretch and wrap technique.
What You’ll Need:
- Self-fusing silicone tape
- Scissors
To start, make sure the pipe is clean and dry before applying the tape. This will ensure proper adhesion and effectiveness.
Step 1. Begin by stretching the tape slightly to activate the self-fusing properties. This process allows the tape to bond securely to itself and create a tight seal.
Step 2. Wrap the tape tightly around the leaking area of the pipe. Make sure to overlap the tape by at least half of its width with each wrap to ensure a secure and watertight seal.
Step 3. Continue wrapping the tape until you have covered the entire leaking area. The stretch and wrap technique will create a tight and secure seal that prevents further water leakage.
Step 4. Press the tape down firmly with your fingers to ensure proper adhesion. It’s important to make sure the tape is securely bonded to itself and the pipe.
Once the tape is applied, it will bond to itself and form a tight, waterproof layer that effectively stops the leak. The self-fusing silicone tape is durable and resistant to extreme temperatures, making it suitable for various pipe materials such as PVC, copper, and galvanized steel.
Remember, self-fusing silicone tape is a temporary fix and should be used as a temporary solution until a permanent repair can be made. It provides a reliable and quick solution to prevent further water damage and buy you time until the pipe can be properly repaired or replaced.
By following these steps and utilizing self-fusing silicone tape, you can effectively fix a leaky pipe and prevent costly water damage. However, it’s important to note that professional assistance may be required for complex pipe leaks or for a permanent repair.
How to Fix a Leaky Pipe with Epoxy Putty
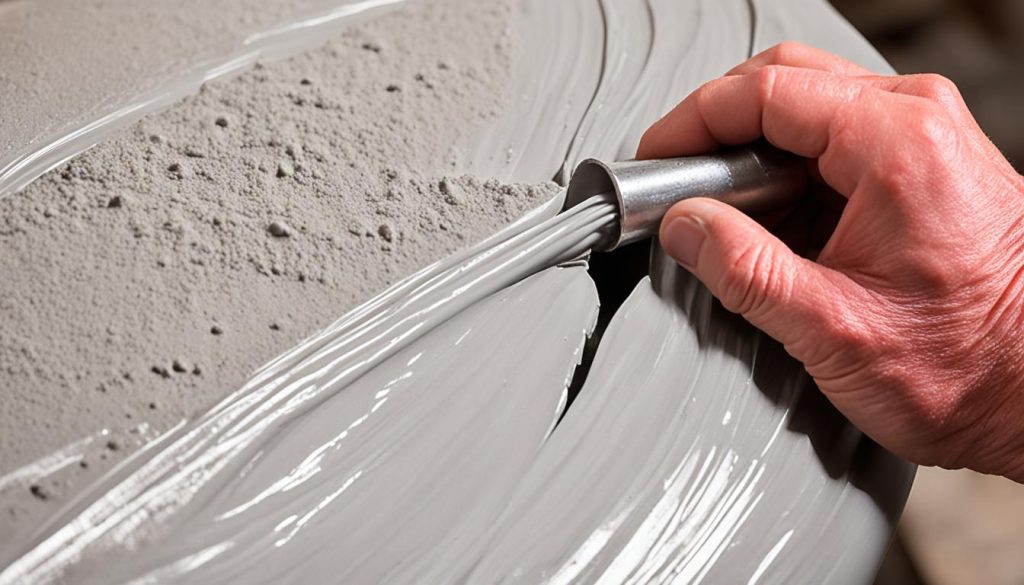
Epoxy putty or pipe putty can be a lifesaver when it comes to fixing a leaky pipe. Whether you’re dealing with a small hole or a crack, epoxy putty provides a temporary fix that can prevent further water damage until a permanent repair can be made. In this section, I will guide you through the steps of using epoxy putty to seal a leaky pipe.
Before you begin, make sure to turn off the water supply to the affected pipe and drain any remaining water from the line. This will ensure a clean and dry surface for the epoxy putty to adhere to. Now, let’s get started!
Step 1: Prepare the Epoxy Putty
- Start by cutting off a small piece of epoxy putty from the roll.
- Knead the putty with your fingers until it becomes pliable and easy to work with.
Step 2: Apply the Epoxy Putty
- Press the putty onto the area of the pipe that is leaking. Make sure to cover the entire area and press firmly to create a tight seal.
- Smooth out the putty with your fingers to ensure a uniform and even surface. This will help to prevent any future leaks.
Step 3: Allow the Putty to Harden
Once the putty is applied, leave it to harden at room temperature. This usually takes a few hours, but be sure to follow the manufacturer’s instructions for the specific epoxy putty you are using. It’s important to allow the putty to fully harden before turning on the water supply.
Once the epoxy putty has hardened, you can turn on the water supply and check for any signs of leakage. If the putty has formed a strong and secure seal, you should no longer experience any leaks from the repaired area.
Epoxy putty provides a reliable temporary fix for leaky pipes, allowing you to quickly address the issue and prevent further water damage. However, it’s important to note that epoxy putty is not a permanent solution. It’s always recommended to seek professional plumbing assistance to properly fix the leak and ensure long-term reliability.
How to Fix a Leaky Pipe with a Patch and Clamp
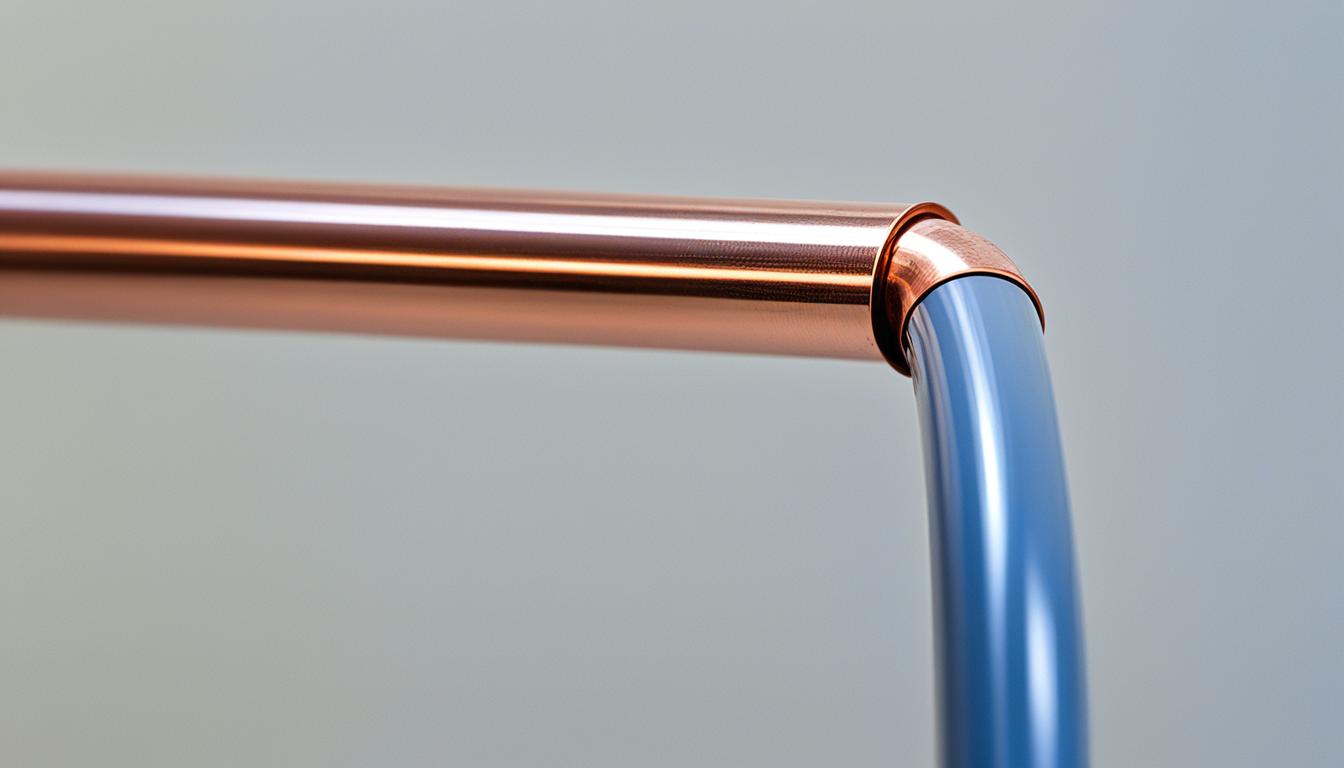
For larger ruptures in pipes, a patch and clamp can be used to make temporary repairs. By turning off the water supply, cleaning the area around the hole, and applying a neoprene rubber patch with a repair clamp, you can create a tight seal that will prevent further leakage. This method is particularly effective for larger ruptures and can provide a temporary fix until a permanent solution can be implemented.
When dealing with larger ruptures in pipes, it’s important to act quickly to prevent further damage. A patch and clamp can be a lifesaver in such situations. Here’s a step-by-step guide on how to fix a leaky pipe using a patch and clamp:
- Begin by turning off the water supply. This will prevent any additional water from leaking out and causing further damage.
- Clean the area around the hole or rupture in the pipe. Use a cloth or sponge to remove any dirt, debris, or moisture.
- Apply a neoprene rubber patch to the affected area. This flexible material is perfect for creating a tight seal and preventing any water from escaping.
- Secure the patch in place using a repair clamp. These clamps are designed to provide additional support and ensure a secure and watertight seal.
- Tighten the clamp using a wrench or screwdriver until it is snug and secure. Make sure not to overtighten, as this could damage the pipe.
- Turn the water supply back on and check for any signs of leakage. If there are no leaks, congratulations! You’ve successfully fixed your leaky pipe using a patch and clamp.
Remember that a patch and clamp is a temporary solution and should only be used as a stop-gap measure until a permanent fix can be made. It’s important to monitor the repaired area closely and schedule a professional inspection to identify and address the underlying cause of the pipe leak.
In the next section, we will discuss how to clean up after fixing a leaky pipe to prevent any further water damage.
How to Clean Up After Fixing a Leaky Pipe
After successfully fixing a leaky pipe, it’s crucial to clean up to prevent any further water damage. Follow these step-by-step instructions on how to clean up after fixing a leaky pipe:
1. Remove items from the affected cabinet: Start by taking out any items stored in the cabinet under the leak. This will prevent them from getting damaged or wet.
2. Soak up excess water: Use towels or a wet-dry vacuum to absorb any standing water or moisture in the cabinet. Ensure you reach all the corners and crevices to remove as much water as possible.
3. Wipe down surfaces with a disinfectant: Once the water is removed, clean the cabinet surfaces with a disinfectant solution to prevent the growth of mold and bacteria. Pay extra attention to the areas that were in direct contact with the water.
4. Dry the cabinet’s interior: Set up a dehumidifier or fan in the cabinet to promote airflow and facilitate drying. This will help prevent any remaining moisture from causing further damage or mold growth.
Remember, it’s also essential to inspect the cabinet for any signs of damage, such as warped wood or weakened structure. If significant damage is found, consider contacting a professional for cabinet repair or replacement.
By following these cleaning and maintenance steps, you can ensure that your cabinet remains in optimal condition after fixing a leaky pipe and prevent any long-term water damage.
Source Links
- https://www.homedepot.com/c/ah/how-to-fix-a-leaky-pipe/9ba683603be9fa5395fab90a6c87071
- https://www.wikihow.com/Fix-Leaking-Pipes
- https://www.balkanplumbing.com/diy-pipe-leak-repair-guide-for-homeowners/
- Investing Wisely: How Windows & Doors in Boost Property Value and Financial Health - April 24, 2025
- The Financial Impact of Personal Injuries: Why Legal Help Matters for Business Owners - April 16, 2025
- The Hidden Financial Costs of Domestic Assault: What Business Owners Need to Know - April 16, 2025
