Secure Loose Plumbing Pipes: Quick DIY Guide
Did you know that a leaking pipe can waste up to 10,000 gallons of water per year? That’s equivalent to the water consumption of an average household for nearly six months! When it comes to securing loose plumbing pipes, it’s not just about saving water, but also preventing potential damage to your home.
In this quick DIY guide, I’ll walk you through simple techniques to fix and secure loose plumbing pipes, whether it’s a temporary patch or a permanent solution. By tackling these issues early on, you can save water, avoid costly repairs, and maintain a well-functioning plumbing system.
Key Takeaways:
- Leaking pipes can waste a significant amount of water and cause damage to your home.
- Securing loose plumbing pipes is essential to prevent further issues.
- Temporary fixes like epoxy putty or self-fusing silicone tape can provide a quick solution in emergencies.
- For a permanent fix, use techniques like plumbers tape or slip couplings.
- Proper support and maintenance are essential to ensure the longevity of your plumbing system.
Temporary Fixes for Leaking Pipes
When dealing with a leaking pipe, it’s important to take immediate action to prevent further damage. While a permanent fix may require professional assistance, there are temporary solutions you can employ to prevent loose pipes, fix loose plumbing quickly, and secure the affected area. Here are two effective methods you can try:
1. Epoxy Putty
Epoxy putty is a versatile and reliable solution for patching up leaks in various types of pipes, including metal, plastic, and PVC. To use epoxy putty:
- Start by preparing the surface. Make sure the area is clean, dry, and free from debris.
- Take a small amount of the epoxy putty and knead it until it becomes pliable.
- Apply the putty directly onto the leaking area, molding it around the pipe to create a tight seal.
- Smooth out the putty with your fingers or a putty knife to ensure a secure bond.
Epoxy putty is an excellent temporary fix as it hardens quickly and forms a durable seal. However, keep in mind that this is not a permanent solution and should be followed by a professional repair or replacement.
2. Self-Fusing Silicone Tape
Another option for temporarily fixing a leaking pipe is self-fusing silicone tape. This tape adheres to itself when wrapped around the affected area, creating a watertight seal. Here’s how to use it:
- Clean and dry the surface around the leak.
- Start wrapping the self-fusing silicone tape tightly around the pipe, ensuring overlap for maximum effectiveness.
- Continue wrapping the tape until the leaking section is completely covered.
- Press down firmly on the tape to activate the self-fusing properties.
Self-fusing silicone tape is resistant to high temperatures, water, and pressure, making it an ideal temporary solution for emergency pipe securing. However, it’s crucial to note that this fix should be considered temporary and replaced with a more permanent solution as soon as possible.
Keep in mind that these temporary fixes should only be used for emergency situations. It is recommended to consult with a professional plumber to assess the damage and determine the best course of action for a permanent repair.
Permanent Fixes for Leaking Pipes
When it comes to fixing leaking pipes, it’s important to consider permanent solutions that will provide lasting results. Here are some tips to help you secure your plumbing fixtures and tighten loose plumbing joints:
Seal Pipe Threading with Plumbers Tape
To prevent leaks in threaded connections, use plumbers tape. This thin, white tape is made of polytetrafluoroethylene (PTFE) and provides a reliable seal. Simply wrap the tape around the male threads of the pipe before connecting the joint. This will create a secure and watertight connection. Make sure to wrap the tape in the opposite direction of the threading to ensure a tight seal.
Replace Rubber Washers in Pipe Connections
Rubber washers are commonly used in pipe connections to create a watertight seal. Over time, these washers can deteriorate or become worn, resulting in leaks. To fix this issue, replace the old rubber washers with new ones. This simple step can help ensure a secure and leak-free connection.
PEX Fittings and Pipe Clamps
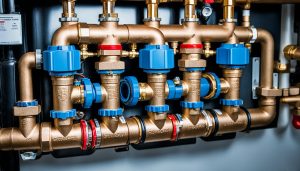
For PEX piping, the process of securing and replacing damaged sections is slightly different. PEX (cross-linked polyethylene) pipes utilize special fittings and pipe clamps to create robust connections. If you encounter leaks or damage in PEX piping, you can replace the damaged section by using PEX fittings and pipe clamps. These components will securely hold the pipes together and prevent any leaks or loose joints.
By following these plumbing maintenance tips, you can effectively secure your plumbing fixtures and tighten loose plumbing joints. Taking the time to address any leaks or damaged pipes with permanent fixes will help you maintain a reliable and leak-free plumbing system.
Ensuring Proper Connections
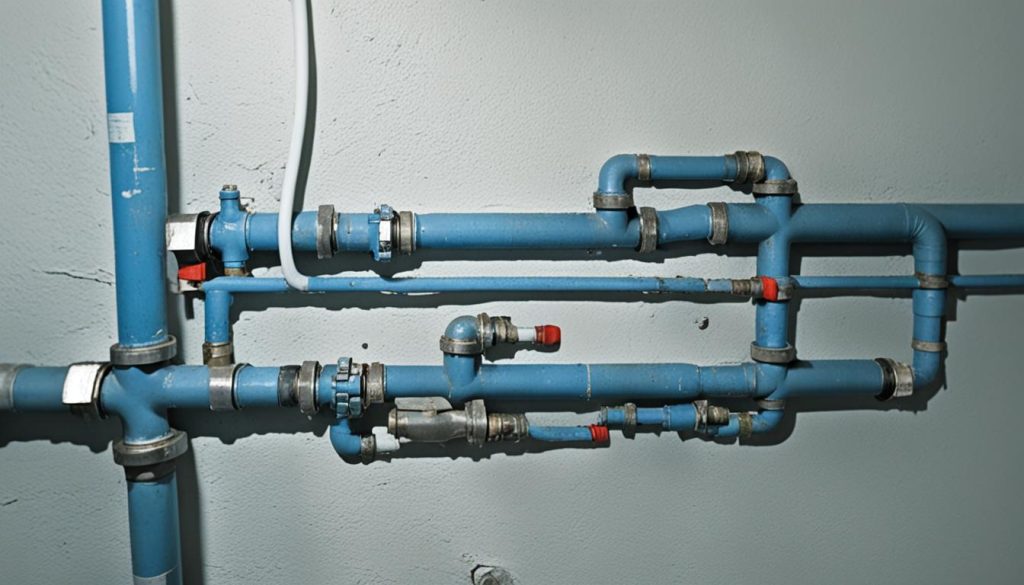
When it comes to securing loose plumbing pipes, proper connections are essential for a long-lasting repair. Here are some tips to help you ensure that your plumbing pipes are securely connected:
Tighten Coupling Nuts
Check Crimp Ring Connections
For pipes with crimp ring connections, it’s important to check that they are secure. A loose crimp ring connection can lead to leaks and potential water damage. Use gauges to ensure that the crimp ring is properly compressed around the pipe and create a watertight seal.
Verify Compression Connections
When using compression connections, such as those found in PEX tubing, make sure that the PEX tube is fully seated within the fitting. This ensures a proper connection that won’t come loose over time. Marking the tube beforehand can help you confirm that it is inserted completely.
Utilize Quick Connect Fittings
Quick connect fittings are a convenient option for securing plumbing pipes quickly. Before using these fittings, ensure that the PEX tube is marked to indicate the correct insertion depth. This will help you achieve a secure and reliable connection.
By following these steps, you can effectively secure loose plumbing pipes and prevent future issues. Now that you know how to ensure proper connections, you’ll be able to tackle pipe repairs with confidence.
Properly Supporting Plumbing
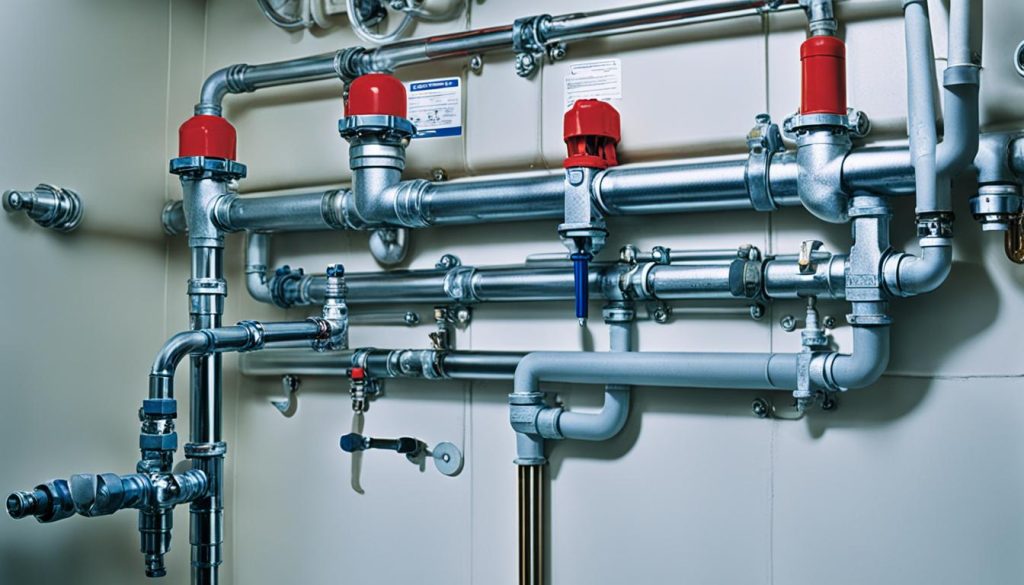
To ensure the longevity and functionality of your plumbing system, it’s crucial to properly support the piping. By providing adequate support, you can prevent tension on joints and minimize the risk of water hammer. Additionally, following local plumbing codes and using pipe strapping supports that allow movement will help maintain the integrity of your plumbing system.
Here are some tips to help you securely support your plumbing fixtures:
- Locate and mark the positions where the supports will be installed. Make sure to adhere to the recommended distance between supports as per the local plumbing codes.
- Use sturdy materials for the supports, such as metal or plastic pipe strapping.
- Wrap the strapping around the pipe and secure it tightly using appropriate fasteners.
- Ensure that the supports are evenly spaced and provide sufficient contact area to distribute the weight of the plumbing fixtures.
- Consider using additional supports for longer sections of piping or where heavy fixtures are attached.
By following these plumbing maintenance tips, you can effectively tighten loose plumbing joints and minimize the risk of any damaging movement or vibration. Secure plumbing fixtures not only enhance the reliability of your system but also contribute to your overall peace of mind.
| Benefits of Properly Supporting Plumbing | Consequences of Inadequate Support |
|---|---|
|
|
Creating Proper Radius Around Corners
When working with PEX pipes, it’s important to avoid creating kinks when bending around corners. Kinks can cause restrictions in the flow of water and lead to leaks or bursts in the pipe. To prevent this, use the proper radius when bending PEX pipes around corners.
One effective method is to use copper stub-out elbows or bend support brackets for 90° turns. These fittings are designed to provide a smooth, gradual bend without putting unnecessary stress on the pipe. By using these specialized fittings, you can ensure that the PEX pipe maintains its structural integrity and prevents any loose plumbing issues.
By maintaining the proper radius around corners, you can successfully prevent loose pipes and fix loose plumbing quickly. Remember to always follow manufacturer guidelines and local plumbing codes when working with PEX pipes to ensure proper installation and longevity.
Clean-up After Fixing a Leaky Pipe
Once you’ve successfully fixed a leaky pipe, it’s important to clean up properly to prevent any further damage and ensure a safe environment. Here are some essential clean-up steps to follow:
First, dry out the affected area thoroughly. Use towels or a mop to soak up any residual water. It’s crucial to remove all moisture to prevent the growth of mold or mildew.
Next, disinfect the area to eliminate any potential bacteria or pathogens. You can use a mild bleach solution or a commercial disinfectant. Be sure to follow the instructions on the product label and wear gloves for protection.
After disinfecting, thoroughly inspect the surrounding cabinet or area where the leak occurred. Check for any signs of damage such as warped wood or rot. If you notice any, replace the affected cabinet or repair the damage promptly to prevent further issues.
- Investing Wisely: How Windows & Doors in Boost Property Value and Financial Health - April 24, 2025
- The Financial Impact of Personal Injuries: Why Legal Help Matters for Business Owners - April 16, 2025
- The Hidden Financial Costs of Domestic Assault: What Business Owners Need to Know - April 16, 2025
