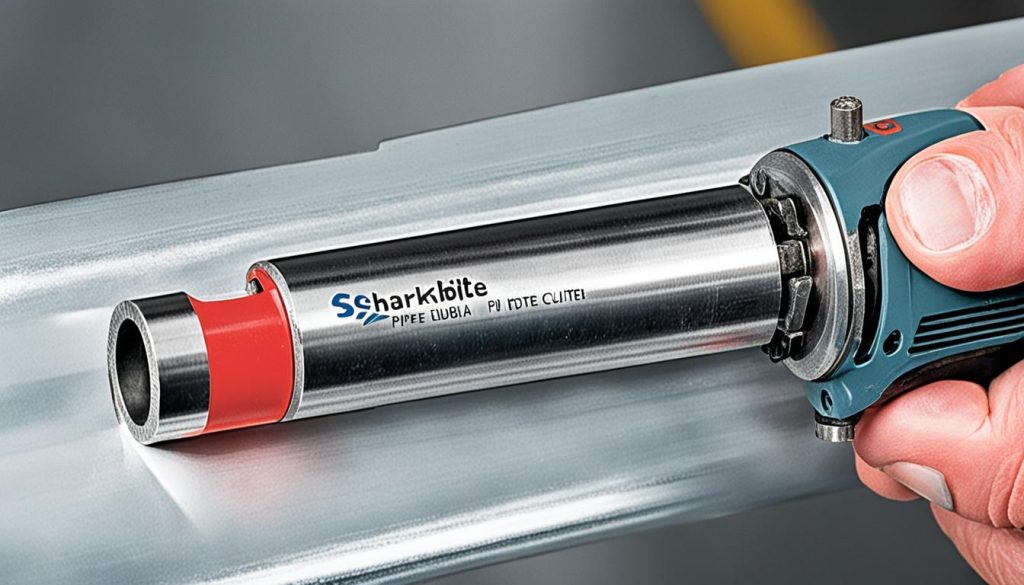
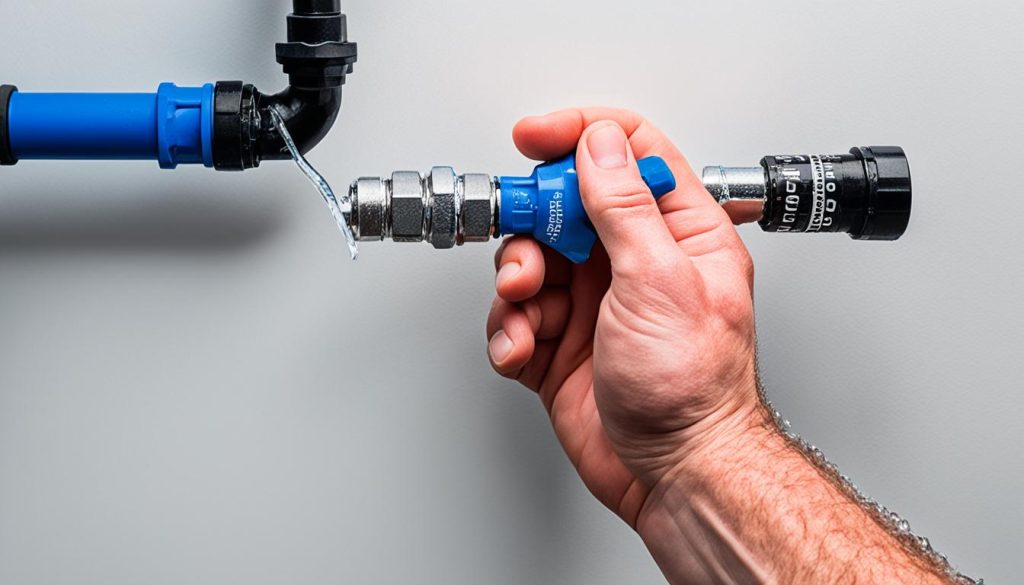
SharkBite Plumbing Simplified: Quick Guide
Did you know that traditional plumbing installations can take hours or even days to complete? Not to mention the messy and time-consuming process of soldering or using compression fittings. But here’s an astonishing fact – with SharkBite plumbing, you can save up to 40% of your installation time!
SharkBite is revolutionizing the plumbing industry with its innovative push-to-connect fittings, making plumbing projects quick and hassle-free. No more needing to hire a professional or deal with complicated tools and techniques. Now, even inexperienced homeowners can tackle their plumbing tasks confidently and efficiently.
So, what exactly is a SharkBite fitting? It’s a game-changing plumbing connector that allows you to join pipes without the need for any special tools or expertise. You simply cut the pipe, insert it into the fitting, and voila! The SharkBite fitting creates a secure, leak-free connection in seconds.
Key Takeaways:
- Traditional plumbing installations can be time-consuming and messy.
- SharkBite plumbing can save up to 40% of installation time.
- SharkBite fittings are push-to-connect, eliminating the need for soldering or compression.
- They create secure and leak-free connections quickly and easily.
- Even inexperienced homeowners can confidently use SharkBite fittings for their plumbing projects.
How SharkBite Push-to-Connect Technology Works
SharkBite push-to-connect fittings utilize innovative technology to ensure a secure and reliable connection for your plumbing needs. The unique design of these fittings involves several key components, including the pipe insertion, release collar, grab ring, and o-ring protector.
When installing a SharkBite push-to-connect fitting, the first step is to insert the pipe into the fitting. As the pipe is inserted, it passes through the release collar and the stainless steel grab ring. The grab ring consists of teeth that grip onto the pipe tightly, creating a strong hold.
Simultaneously, the pipe is aligned by the o-ring protector, ensuring precise positioning within the fitting. The o-ring protector acts as a guide, reducing the risk of misalignment. It also protects the o-ring, a rubber seal, from being damaged during installation.
The o-ring plays a crucial role in creating a secure joint. When the pipe is fully inserted, the o-ring is compressed between the fitting’s inner wall and the exterior surface of the pipe. This compression creates a watertight seal, preventing leaks and ensuring a durable connection.
Visual Representation
| Component | Description |
|---|---|
| Pipe Insertion | The pipe is inserted into the fitting, passing through the release collar and grab ring. |
| Release Collar | Encloses the grab ring and facilitates pipe insertion. |
| Grab Ring | Contains teeth that grip onto the pipe, ensuring a secure hold. |
| O-Ring Protector | Aligns the pipe and protects the o-ring from damage during installation. |
| O-Ring | A rubber seal that is compressed between the fitting and pipe, creating a watertight seal. |
Installation Steps for SharkBite Push-to-Connect Fittings
Proper installation of SharkBite push-to-connect fittings involves three essential steps. First, cut the pipe square using the appropriate pipe cutting tools. This ensures a clean and precise cut, allowing for a proper fit with the push-to-connect fitting.
Next, it is crucial to prepare the pipe before connecting it to the fitting. This involves ensuring the pipe is clean, undamaged, and free from any foreign objects that could compromise the connection. You can use sandpaper or a deburring tool to remove any rough edges or burrs on the pipe, ensuring a smooth surface for a secure fit.
After the pipe is cut and prepared, it’s time to connect the pipe to the push-to-connect fitting. Insert the pipe through the release collar until it reaches the tube stop. The push-to-connect mechanism will securely hold the pipe in place, creating a reliable connection without the need for additional tools or materials. It is important to use the debur & gauge tool or a tape measure to ensure the proper insertion depth is reached for optimal performance and leak-free results.
Here’s a visual representation of the installation steps for SharkBite push-to-connect fittings:
| Installation Steps | |
|---|---|
| 1. Cut the pipe |  |
| 2. Prepare the pipe | Use sandpaper or deburring tool to remove rough edges |
| 3. Connect the pipe | Insert the pipe through the release collar until it reaches the tube stop |
By following these installation steps, you can confidently utilize SharkBite push-to-connect fittings for your plumbing projects, ensuring a secure, efficient, and hassle-free installation process.
Disconnecting Pipe from SharkBite Push Fittings
While using SharkBite push fittings ensures a secure and permanent connection in plumbing projects, there may arise situations that require disconnection. Whether it’s making changes to your plumbing layout or replacing a faulty component, disconnecting pipes from SharkBite push fittings can be done easily with the right tools. Here are two common methods to disconnect pipes from SharkBite push fittings: using a disconnect clip and utilizing disconnect tongs.
Disconnect Clip Method
The disconnect clip is a handy tool designed specifically for disconnecting pipes from SharkBite push fittings. Here’s a step-by-step guide on how to use a disconnect clip for disconnection:
- Position the disconnect clip around the pipe, ensuring that the non-branded face of the clip is against the release collar of the SharkBite fitting.
- Apply firm pressure to the release collar by squeezing the disconnect clip.
- As you apply pressure, the grab ring teeth inside the fitting will start to splay, releasing the grip on the pipe.
- Once the grab ring teeth are fully splayed, gently pull the pipe out of the SharkBite fitting.
This method provides a relatively straightforward and efficient way to disconnect pipes from SharkBite push fittings. However, it is essential to ensure that the disconnect clip is correctly positioned and that enough pressure is applied to fully splay the grab ring teeth.
Disconnect Tongs Method
Disconnect tongs are another tool that can be used to disconnect pipes from SharkBite push fittings. The tongs provide a better grip and leverage, making the disconnection process easier. Here’s how to use disconnect tongs for disconnection:
- Position the disconnect tongs around the release collar of the SharkBite fitting, ensuring a secure grip.
- Apply steady pressure to the release collar by squeezing the tongs together.
- As pressure is exerted on the release collar, the grab ring teeth will begin to splay, allowing the pipe to be easily pulled out of the fitting.
- Once the grab ring teeth are fully splayed, remove the pipe from the SharkBite fitting.
Using disconnect tongs provides a strong grip and better control during the disconnection process, resulting in a smooth and efficient removal of pipes from SharkBite push fittings.
Whether you choose to use a disconnect clip or disconnect tongs, both methods offer reliable ways to disconnect pipes from SharkBite push fittings without compromising the integrity of the fitting or the pipe. These tools allow for easy disassembly and reconfiguration of your plumbing system when necessary.
Now that you are equipped with the knowledge of disconnecting pipes from SharkBite push fittings, you can confidently tackle any plumbing projects that require reconfiguration or repairs. In the next section, we will explore the advantages and applications of SharkBite plumbing fittings, highlighting their versatility and benefits for various plumbing scenarios.
Advantages and Applications of SharkBite Plumbing
When it comes to plumbing projects, SharkBite plumbing fittings offer numerous advantages that make them a popular choice among homeowners and professionals alike. One of the key advantages of SharkBite fittings is their quick and easy installation process. With their push-to-connect design, you can say goodbye to time-consuming soldering or cumbersome compression fittings. Simply insert the pipe into the fitting, and the stainless steel grab ring and o-ring protector will create a secure connection in seconds.
Another advantage of SharkBite fittings is their versatility. They are compatible with various pipe types, including PEX, copper, CPVC, PE-RT, and HDPE. This means you can use SharkBite fittings for a wide range of applications, whether it’s a residential plumbing project or a commercial installation. No matter the pipe material, SharkBite fittings provide a reliable and leak-free solution.
Here are a few installation tips to ensure the best results with SharkBite fittings. Firstly, make sure to provide proper support for the piping to prevent sagging or stress on the fittings. This will help maintain the integrity of the connections over time. If you’re burying fittings underground, consider using silicone wrap for added protection against moisture and corrosion. Lastly, remember to winterize your SharkBite system to safeguard against freeze failures during the colder months. By following these tips, you can maximize the performance and longevity of your SharkBite plumbing system.
Source Links
- https://www.sharkbite.com/sites/default/files/files/sharkbite-pex-install-guide-2021-02.pdf
- https://www.sharkbite.com/ca/en/resources/pipe-insertion-depth-chart
- https://www.sharkbite.com/ca/en/resources/blog/infographic-how-to-properly-install-sharkbite-brass-push-fittings
- Investing Wisely: How Windows & Doors in Boost Property Value and Financial Health - April 24, 2025
- The Financial Impact of Personal Injuries: Why Legal Help Matters for Business Owners - April 16, 2025
- The Hidden Financial Costs of Domestic Assault: What Business Owners Need to Know - April 16, 2025


