Fixing a Leak in Pool Plumbing Quickly
Did you know that a single leak in your pool’s plumbing can result in the loss of thousands of gallons of water every month? Not only is this wasteful, but it can also lead to costly water bills and potential damage to your pool and surrounding areas. It’s crucial to address pool plumbing leaks promptly to prevent further problems and ensure the longevity of your pool. The good news is that fixing a leak in pool plumbing can be a relatively simple and quick process, even without professional assistance.
Key Takeaways:
- Pool plumbing leaks can result in the loss of thousands of gallons of water every month.
- Fixing a leak in pool plumbing is essential to prevent water waste and potential damage.
- Repairing pool plumbing leaks can be done quickly and without professional assistance.
- Addressing leaks promptly helps maintain the efficiency and longevity of your pool.
- Regular inspections and maintenance can help prevent pool plumbing leaks in the first place.
Signs of Pool Plumbing Leaks
There are several signs that can indicate a pool plumbing leak. It’s important to be aware of these signs to promptly detect and address any potential issues with your pool’s plumbing system. By addressing leaks promptly, you can prevent further damage and ensure the optimal functioning of your pool.
1. Decrease in Water Levels
If you notice a significant decrease in water levels that exceeds normal evaporation or splash-out, it may be a sign of a pool plumbing leak. Keep an eye on your pool’s water level and monitor any unusual or unexplained changes.
2. Air Bubbles in Return Lines
Another indication of a pool plumbing leak is the presence of air bubbles coming out of the return lines. These bubbles can disrupt the flow of water and affect the overall efficiency of your pool’s circulation system.
3. Air in the Pump Basket
If you notice air in the pump basket, it could be a sign of a leak in the plumbing system. This air can enter the system through the leak and affect the functioning of the pump.
4. Wet Spots Around the Pool Area
Wet spots around the pool area, especially areas that are not exposed to water splashes, can indicate a pool plumbing leak. Inspect the area surrounding your pool and look for damp or soggy spots.
It’s important to note that leaks can occur on both the suction side and pressure side of the pool’s plumbing system. Suction side leaks are characterized by air being drawn into the pipes when the pump is on. On the other hand, pressure side leaks can be detected when water leaks from glue joints, pipe fittings, or threaded joints.
To accurately detect the location of a pool plumbing leak, it’s recommended to conduct a thorough inspection of the plumbing system. This inspection can help you identify the exact source of the leak and determine the appropriate course of action for repair.
Repairing Suction Side Leaks
Dealing with suction side leaks in your pool’s plumbing system is crucial for maintaining proper circulation and preventing air from being drawn into the pipes. These leaks occur before the pool pump impeller and can be a common issue for pool owners. While temporary solutions like pool putty or silicone can patch the leaks, a more permanent fix involves replacing the damaged fittings with new pipes or fittings.
In some cases, the extent of the damage may require replacing the entire suction manifold or parts of the pipes leading up to the pump. Ensuring that the fittings are not shrunken or worn is essential for the optimal functionality of your pool’s plumbing system. By promptly addressing suction side leaks, you can prevent air infiltration and maintain the efficiency of your pool’s circulation system.
| Suction Side Leak Repair | Steps |
|---|---|
| 1 | Identify the location of the suction side leak by conducting a thorough inspection of the plumbing system. |
| 2 | Temporarily patch the leak with pool putty or silicone as a temporary solution. |
| 3 | Measure and cut new PVC pipes or fittings to replace the damaged ones. |
| 4 | Apply PVC primer and glue to the connecting ends of the new pipes and fittings. |
| 5 | Join the new pipes and fittings firmly and hold them in place until the glue sets. |
| 6 | Allow the repaired section to dry completely before turning on the pump. |
Fixing Pressure Side Leaks
Pressure side leaks can be a frustrating issue for pool owners, as they can lead to water leakage when the pump is running or even when it is off. Unlike suction side leaks, which can be patched temporarily, pressure side leaks require a more comprehensive approach to repair.
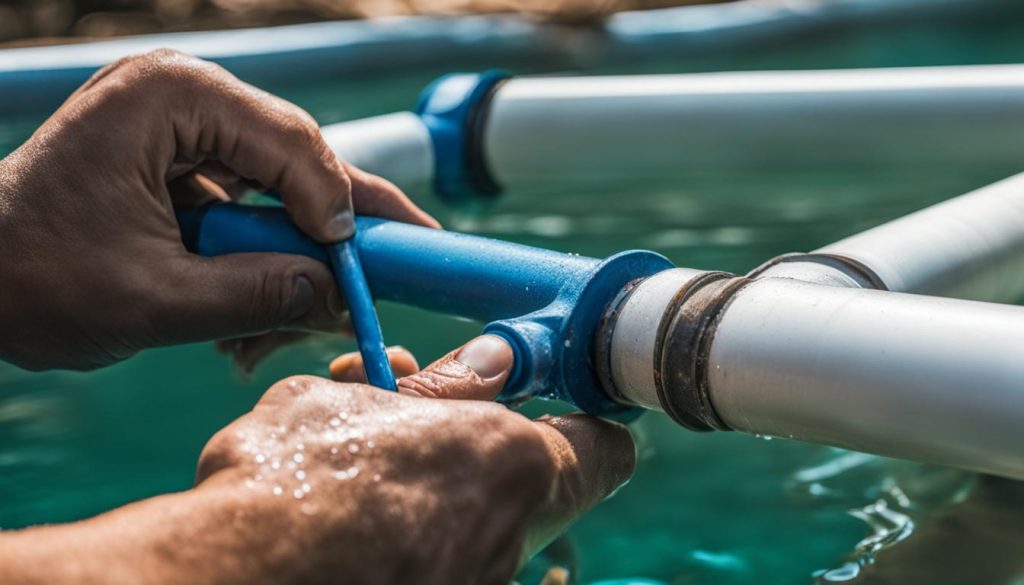
To fix pressure side leaks, the damaged sections of the pipe or fittings need to be cut out and replaced. This process involves gluing in new PVC pipe and fittings or using sealants for threaded connections. It is crucial to thoroughly clean and prepare the surfaces before applying glue or sealant to ensure a secure and watertight connection.
Here is a step-by-step guide on how to fix pressure side leaks in your pool plumbing:
- Identify the source of the leak by inspecting the pipes and fittings for any signs of water leakage.
- Turn off the pool pump to prevent further water flow.
- Cut out the damaged section of the pipe or remove the faulty fitting using a PVC pipe cutter or hacksaw.
- Measure and cut a new piece of PVC pipe to fit the gap left by the removed section.
- Use PVC primer to clean the outer surface of the existing pipe and the inner surface of the replacement pipe.
- Apply PVC cement to the primed surfaces and join the existing pipe with the replacement piece, ensuring a tight and secure connection.
- If the leak is at a threaded joint, apply a thread sealant or Teflon tape to the threads before reassembling the fittings.
- Allow the PVC cement or sealant to cure according to the manufacturer’s instructions.
- Turn on the pool pump and check for any signs of water leakage. If the leak persists, repeat the process and double-check the connections for any errors.
By following these steps, you can effectively fix pressure side leaks in your pool plumbing and ensure the proper functioning of your pool’s circulation system.
| Steps to Fix Pressure Side Leaks in Pool Plumbing |
|---|
| 1. Identify the source of the leak. |
| 2. Turn off the pool pump. |
| 3. Cut out the damaged section of the pipe or remove the faulty fitting. |
| 4. Measure and cut a new piece of PVC pipe. |
| 5. Use PVC primer to clean the surfaces. |
| 6. Apply PVC cement and join the existing and replacement pipe. |
| 7. Apply thread sealant or Teflon tape for threaded joints. |
| 8. Allow the PVC cement or sealant to cure. |
| 9. Turn on the pool pump and check for leaks. |
Dealing with Underground Leaks
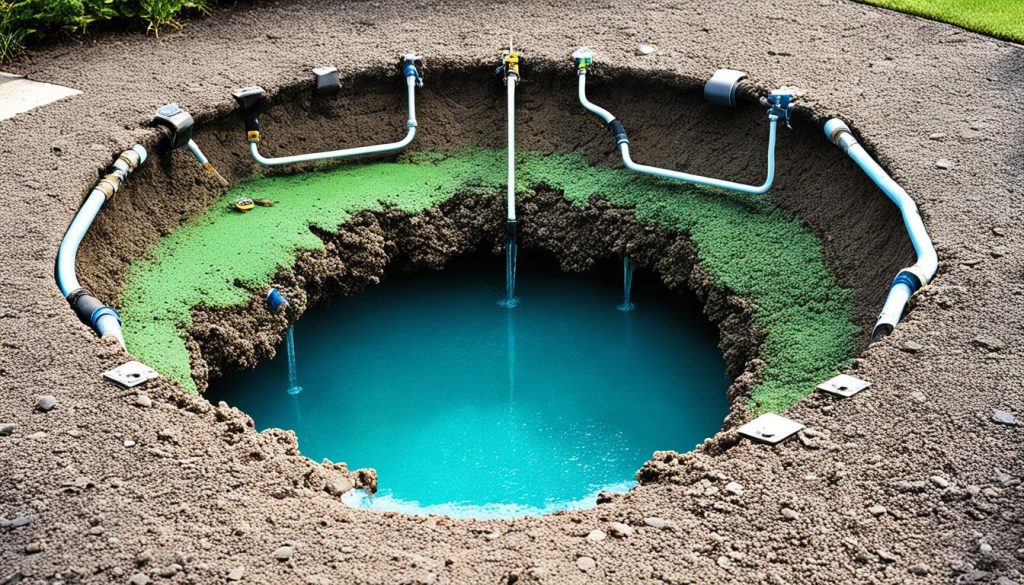
While underground pool plumbing leaks are not as common, they can occur due to various factors such as freeze damage, tree roots, settling decks, or shifting soils. These underground leaks can be challenging to detect and repair, requiring specialized techniques and tools. If you suspect an underground leak in your pool plumbing system, it’s essential to address it promptly to prevent further damage and maintain the integrity of your pool.
Identifying Underground Leaks
Locating underground leaks can be a complex task, as the pipes are hidden beneath the ground, making them inaccessible. One effective method to identify the exact location of an underground leak is through a pressure test. This test involves pressurizing the plumbing system and monitoring the pressure drop, which can indicate the presence of a leak. Professional pool technicians have the necessary equipment to perform this test accurately.
Repairing Underground Leaks
Once the location of the underground leak has been determined, repairs can be undertaken. The extent of the damage and the length of the affected pipe will determine the necessary repair method. Repairs may involve replacing the entire pipe or a section of the pipe.
There are two primary methods for accessing the leaking pipe: tunneling under the deck or cutting through it. Tunneling under the deck requires excavation work and should be done by a professional to prevent any damage to the pool or surrounding area. Alternatively, cutting through the deck provides direct access to the leaking pipe but requires proper support for the pool deck to ensure its stability.
Preventing Future Underground Leaks
While it may not be possible to completely prevent underground leaks, taking certain precautions can help minimize the risk. Here are some tips to consider:
- Avoid using flex PVC pipe underground, as it can be susceptible to damage from chlorine or pests.
- Ensure proper backfilling around underground pipes to minimize shifting and settling.
- Regularly inspect your pool deck for any signs of settlement or shifting that could impact the plumbing system.
| Prevention Tips | Description |
|---|---|
| Avoid using flex PVC pipe underground | Flex PVC pipe is not recommended for underground installations as it can be vulnerable to damage from chlorine or pests. |
| Proper backfilling | Ensure correct backfilling techniques are used when burying underground pipes to minimize shifting and settling that can lead to leaks. |
| Regular deck inspections | Regularly inspect your pool deck for any signs of settlement or shifting that could impact the plumbing system, such as cracks or uneven surfaces. |
By following these tips and staying vigilant about maintaining your pool plumbing system, you can minimize the risk of underground leaks and keep your pool in optimal condition.
Tips for Pool Plumbing Leak Prevention
To maintain a leak-free pool plumbing system, there are several important steps you can take to prevent issues and prolong the life of your pool. Here are some valuable tips to help you avoid pool plumbing leaks:
First, be mindful of the size of your PVC pipe. Avoid reducing the pipe size with inserts or sleeves, as this can create weak points that are prone to leaks. Maintaining consistent pipe sizes throughout your pool plumbing system will help ensure optimal flow and reduce the risk of leaks.
In addition, minimizing the use of fittings and pipe turns can significantly lower the chances of leaks. Every connection point increases the potential for leaks, so try to keep fittings and turns to a minimum. This will not only improve the efficiency of your plumbing system but also reduce the risk of leaks.
When it comes to gluing PVC pipes and fittings, always use fresh and high-quality PVC glue. Make sure the surfaces of the pipes and fittings are clean and dry before applying the glue. This will ensure a strong and durable bond that is less likely to develop leaks over time. It’s also recommended to use schedule 40 deep socket fittings for pressure applications, as they provide a secure connection that can withstand the demanding conditions of your pool plumbing system.
Last but not least, avoid using flex PVC pipe underground. Flex pipe is more susceptible to damage from chlorine, pests, and other environmental factors, which can lead to leaks. Opt for rigid PVC pipe for underground installations, as it offers greater durability and long-term reliability.
By following these simple yet effective tips for pool plumbing leak prevention, you can enjoy a worry-free swimming experience and avoid the hassle and expense of dealing with plumbing leaks in your pool. Regular inspections and maintenance of your pool’s plumbing system are also essential to detect and address any potential issues before they escalate into significant problems. With proper care and preventive measures, your pool plumbing can remain leak-free for years to come.
Source Links
- https://blog.intheswim.com/swimming-pool-plumbing-leak-repair/
- https://www.thereliningcompany.com.au/how-to-fix-the-5-most-common-pool-leaks/
- https://nelsonpoolcompany.com/your-complete-guide-to-fixing-a-pool-leak/
- Investing Wisely: How Windows & Doors in Boost Property Value and Financial Health - April 24, 2025
- The Financial Impact of Personal Injuries: Why Legal Help Matters for Business Owners - April 16, 2025
- The Hidden Financial Costs of Domestic Assault: What Business Owners Need to Know - April 16, 2025
