DIY Guide: How to Plumb a Shower Effortlessly
Are you ready to take on a new DIY challenge and upgrade your bathroom? Plumbing a shower may seem like a daunting task, but with the right guidance and a little bit of effort, you can successfully install a shower in your home without breaking the bank.
In this comprehensive guide, I will walk you through the step-by-step process of plumbing a shower effortlessly. Whether you’re a beginner or have some basic carpentry and plumbing skills, this guide will equip you with the knowledge and techniques needed to complete the project with confidence.
Get ready to say goodbye to the myths and fears surrounding shower installation and embark on a DIY journey that will transform your bathroom into a haven of relaxation and luxury.
- Plumbing a shower is an achievable DIY project for many homeowners.
- With the right guidance and tools, you can successfully install a shower in your bathroom.
- This comprehensive guide will provide you with step-by-step instructions to make the process easier.
- By tackling this project yourself, you can save money and add value to your home.
- Don’t be afraid to take on the challenge and create the bathroom of your dreams!
Essential Tools and Materials for Shower Plumbing
Before you start installing your shower, it’s essential to have the right tools and materials on hand. Some of the must-have tools include:
- Measuring tape
- Level
- Pencil or marker
- Utility knife
- Drill with appropriate bits
- Screwdrivers
- Adjustable wrench
- Pipe cutter
- Pliers
- Caulking gun
- Hammer
- Safety glasses
- Gloves
In terms of materials, you will need:
- A shower cabin kit (including base, walls, door/enclosure, and fixtures)
- Plumbing supplies (pipes, connectors, valves)
- Electrical supplies (if applicable)
- Wall anchors and screws
- Silicone sealant
- Tile backer board (if needed)
- Shims or spacers
Having these tools and materials ready will ensure a smooth and efficient shower installation process.
Preparing the Shower Tray
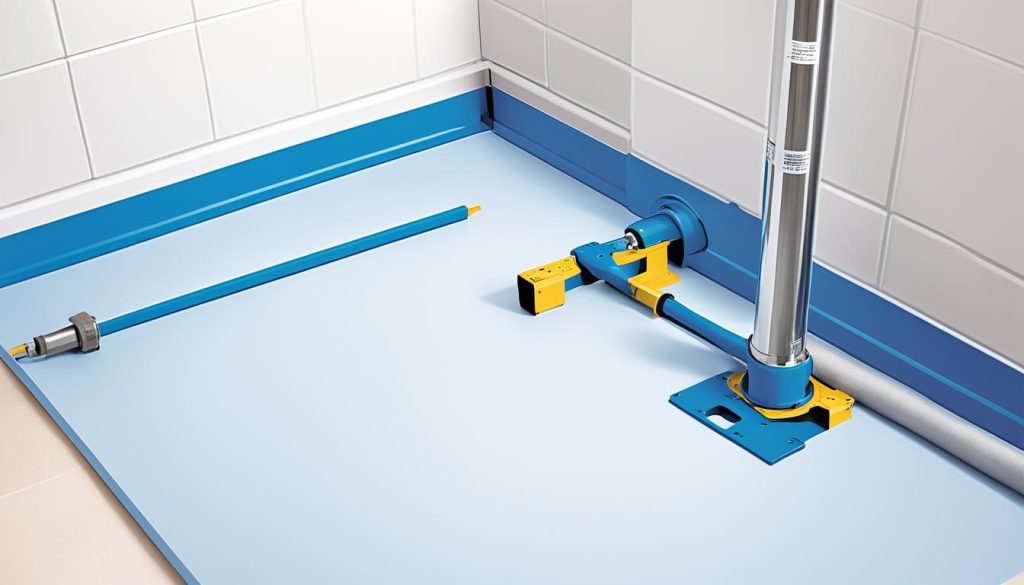
Before you can begin the installation of your shower, it’s important to properly prepare the shower tray. This step-by-step process will ensure a secure and successful plumbing job in your bathroom.
Step 1: Double-Check Measurements
To start, double-check the measurements of your shower tray to ensure a perfect fit. Accurate measurements are crucial to the overall stability and function of your shower.
Step 2: Ensure Levelness
Next, use a level to ensure that the shower tray is even. If any adjustments are needed, add shims or spacers as necessary. A level tray is essential for proper water drainage and prevents any potential leaks.
Step 3: Mark the Position
Mark the position of the shower tray on the floor. This will serve as a guide during the securement process and ensure that the tray is correctly aligned.
Step 4: Follow Manufacturer’s Instructions
Refer to the manufacturer’s instructions for adjusting the shower tray’s legs. Following these guidelines will provide the necessary support and stability for the tray.
Step 5: Apply Adhesive or Mortar
Apply adhesive or mortar to the marked area on the floor. This will create a strong connection between the shower tray and the floor surface, ensuring a secure and long-lasting installation.
Step 6: Position the Waste
Lower the shower tray waste back into position and press firmly. Make sure to re-check the levelness of the tray before the adhesive or mortar sets.
Step 7: Allow Curing
Finally, allow the adhesive or mortar to cure according to the manufacturer’s instructions. This curing process is essential for the proper bonding of the shower tray and ensures its stability.
Following these best shower plumbing practices will result in a well-prepared shower tray that provides a solid foundation for your shower installation.
Setting Up the Back Wall
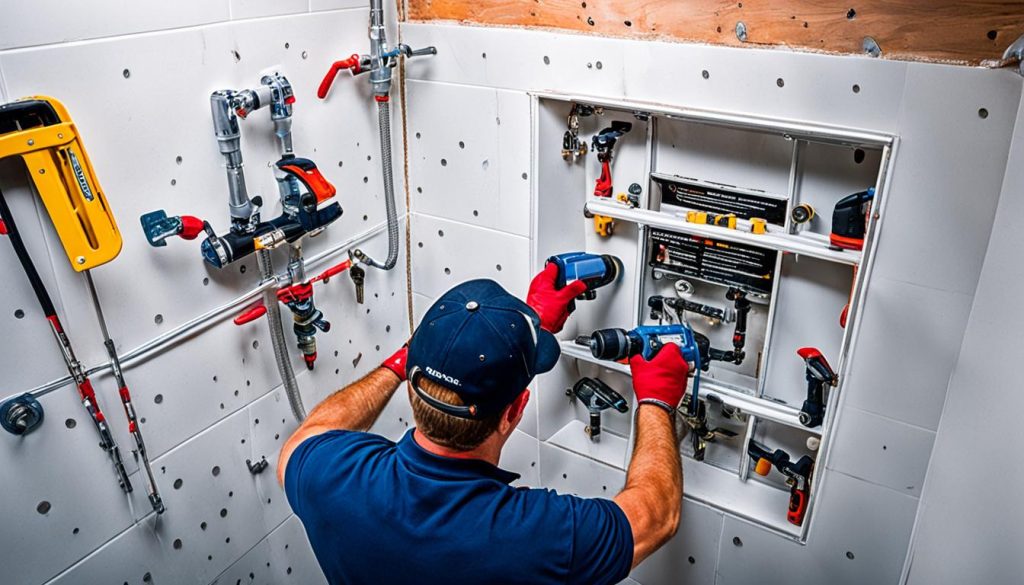
After preparing the shower tray, it’s time to set up the back wall. This step is crucial in ensuring a stable and functional shower installation. Follow these professional shower plumbing techniques for a successful setup:
1. Mark the Locations
Using the manufacturer’s guidelines, mark the locations for the mixing valve, shower riser rail, and shower head on the back wall. This will serve as a guide for the precise installation of these essential components.
2. Drill Holes
Neatly drill holes for the water waste pipe connecting the mixing valve to the water supply. Take your time to ensure accurate positioning and proper alignment with the plumbing system.
3. Secure the Mixing Valve
Install the mixing valve securely and connect it to the water supply pipes. Properly seal all connections to prevent leaks and ensure smooth water flow. This is a critical step that requires professional shower plumbing advice to ensure the durability and functionality of the shower system.
4. Install the Shower Riser Rail
Attach the shower riser rail, making sure it is level and firmly attached to the back wall. This will provide the necessary support for the shower head and enhance the overall stability of the shower system.
5. Attach the Shower Head
Attach the shower head to the riser rail, adjusting it to the preferred height for optimal comfort. Use the appropriate tools to securely fasten the shower head, ensuring it is properly aligned with the water flow for an enjoyable shower experience.
6. Test and Seal
Test the water supply to ensure proper flow and check for any leaks or drips. This step is crucial in identifying any potential issues and resolving them before completing the installation. Apply silicone sealant around the connections to provide a watertight seal, ensuring the longevity and integrity of the shower system.
By following these shower plumbing techniques, you can confidently set up the back wall of your shower with professional precision. This ensures a secure and functional foundation for the rest of the installation process, bringing you one step closer to enjoying your new shower.
| Shower Plumbing Techniques: | Benefits: |
|---|---|
| 1. Accurate marking of locations | Ensures precise positioning |
| 2. Neat drilling of holes | Facilitates proper water waste pipe connection |
| 3. Secure installation of mixing valve | Prevents leaks and ensures water flow |
| 4. Level and firm attachment of shower riser rail | Provides stability and support |
| 5. Proper alignment and attachment of shower head | Optimizes water flow and comfort |
| 6. Thorough testing and sealing | Identifies issues and provides waterproofing |
Attaching the Water Supply Pipes
With the foundation and back wall set, it’s time to attach the water supply pipes. This step is crucial for ensuring a properly functioning shower plumbing system. Follow these best shower plumbing practices to achieve optimal results.
1. Securely attach the hot and cold water supply pipes to their respective outlets on the mixing valve. Use adjustable wrenches to tighten the connections, ensuring they are snug and leak-free.
2. To prevent leaks and ensure a watertight seal, wrap thread seal tape around the connectors. This tape helps create a tight bond and prevents any water seepage.
3. After applying the thread seal tape, tighten the press fittings on the pipes using a wrench. Make sure they are secure but avoid over-tightening, as it can cause damage to the fittings.
4. Test the pressure in the pipes before proceeding further. Turn on the water supply and check for any leaks or abnormal pressure levels. If necessary, make adjustments to the fittings or connections to resolve any issues.
5. Once you are confident that all connections are secure, turn on the water supply fully and double-check all the connections for leaks. Pay close attention to areas where the pipes meet the walls or the mixing valve.
6. To ensure a steady flow of hot and cold water, run both the hot and cold water taps and adjust the temperature accordingly. This step allows you to verify that both supplies are functioning correctly and that the temperature control is working as intended.
7. Finally, verify that all connections are secure and watertight. Look for any signs of leakage, such as drips or pooling water. If you notice any issues, address them promptly to avoid future problems.
By following these shower plumbing techniques and best shower plumbing practices, you can confidently attach the water supply pipes, ensuring a reliable and efficient shower system.
Installing the Shower Doors and Final Checks
Now that the walls and water supply are all set up, it’s time to complete the final steps of your shower installation by installing the shower doors. To ensure a perfect fit, start by measuring the shower opening and mount the bottom threshold track securely. Next, align the wall tracks with the mounting holes on the bottom track for proper placement.
Gently fit the panels’ bottom edge into the pan grooves and attach them securely to the walls using adhesive and screws. Make sure to use appropriate wall screws to ensure a stable and secure installation. Additionally, you can attach any extra shower components, such as soap dishes or shelf towers, to enhance your showering experience.
After installing the shower doors, it’s crucial to perform the final checks to ensure everything is in perfect working order. Start by testing the water flow, pressure, and temperature to make sure they meet your preferences. Take a thorough look at all connections to ensure there are no leaks or damages. By conducting these final checks, you can have peace of mind knowing that your shower installation is complete and ready to provide you with a relaxing and luxurious showering experience.
Source Links
- https://www.wikihow.com/Install-a-Shower
- https://www.lovelyetc.com/how-to-build-a-diy-walk-in-shower/
- https://posh.co.uk/blog/shower-cabin-installation/
- Investing Wisely: How Windows & Doors in Boost Property Value and Financial Health - April 24, 2025
- The Financial Impact of Personal Injuries: Why Legal Help Matters for Business Owners - April 16, 2025
- The Hidden Financial Costs of Domestic Assault: What Business Owners Need to Know - April 16, 2025
