Plumbing Basics: How to Plumb a Bathroom Effectively
Did you know that proper bathroom plumbing installation can significantly impact the functionality and value of your home? From ensuring efficient drainage to preventing sewer gas leaks, understanding the basics of bathroom plumbing is essential. In this article, I will guide you through the process of plumbing a bathroom effectively, including the necessary fittings, rough-in dimensions, and the importance of plumbing vents.
Key Takeaways:
- Plumbing a bathroom correctly is crucial for optimal drainage and preventing sewer gas leaks.
- Understanding the necessary fittings and rough-in dimensions ensures a code-compliant plumbing system.
- Bathroom plumbing vents play a vital role in protecting trap seals and maintaining proper air pressure.
- Properly roughing-in the toilet drain and creating a cleanout are essential steps in bathroom plumbing installation.
- Following the step-by-step instructions and guidelines provided in this article will help you plumb a bathroom effectively.
The DWV Fittings Used To Plumb This Bathroom (based on code)
When it comes to plumbing a bathroom, using the right fittings is essential for a successful installation. In this section, I’ll provide you with a comprehensive list of DWV fittings commonly used in bathroom plumbing, all in accordance with plumbing code requirements.
The list of DWV fittings includes:
| Fitting | Quantity (IPC) | Quantity (UPC) |
|---|---|---|
| Sanitary Tee | 2 per fixture drain | 2 per fixture drain |
| P-Trap | 1 per fixture trap arm | 1 per fixture trap arm |
| Closet Bend | 1 per toilet connection | 1 per toilet connection |
| Cleanout Adapter | 1 per vertical drain stack | 1 per vertical drain stack |
These fittings play a crucial role in ensuring proper drainage and maintaining the integrity of your bathroom plumbing system. By following the guidelines provided by the International Plumbing Code (IPC) and the Uniform Plumbing Code (UPC), you can ensure that your bathroom plumbing is up to code and built to last.
As you can see from the image above, these fittings are vital components of your bathroom plumbing system. They create a network of pipes that efficiently carry wastewater away from your fixtures and into the main sewer line.
Bathroom Plumbing Rough-In Dimensions
In order to ensure a functional and code-compliant bathroom plumbing system, it is important to understand the rough-in dimensions for the bathroom sink and toilet. These dimensions include the height and spacing of the drain, water lines, and specific measurements for proper fixture placement.
Let’s begin by discussing the rough-in dimensions for the bathroom sink. The rough-in refers to the distance from the finished wall to the centerline of the drain pipe and water supply lines. The standard rough-in dimensions for a bathroom sink are as follows:
- Drain Rough-In: 12 inches
- Water Supply Rough-In: 4 inches
It is important to follow these dimensions when installing a bathroom sink to ensure proper alignment with the plumbing infrastructure.
Now, let’s move on to the rough-in dimensions for the toilet. The rough-in for a toilet refers to the distance from the finished wall to the centerline of the toilet drain pipe. The standard rough-in dimensions for a toilet are as follows:
- Toilet Drain Rough-In: 12 inches
These dimensions are crucial for positioning the toilet properly and ensuring a secure connection to the plumbing system.
Here’s a visual representation of the bathroom sink and toilet rough-in dimensions:
| Bathroom Sink | Toilet | |
|---|---|---|
| Drain Rough-In | 12 inches | 12 inches |
| Water Supply Rough-In | 4 inches | N/A |
By following these rough-in dimensions, you can ensure a properly installed bathroom plumbing system that meets code requirements and provides optimal functionality.
How To Plumb a Bathroom Sink
Plumbing a bathroom sink may seem like a daunting task, but with the right instructions and a few essential fittings, you can complete this project with confidence. In this section, I will guide you through the step-by-step process of plumbing a bathroom sink, ensuring efficient drainage and preventing any unpleasant odors.
Gather the Necessary Fittings
Before you begin, make sure you have the following fittings on hand:
- Trap adapter
- P-trap
- Tailpiece
- Supply lines
- Shut-off valves (if required)
These fittings are essential for connecting the sink to the plumbing system and ensuring proper functioning.
Follow the Plumbing Diagram
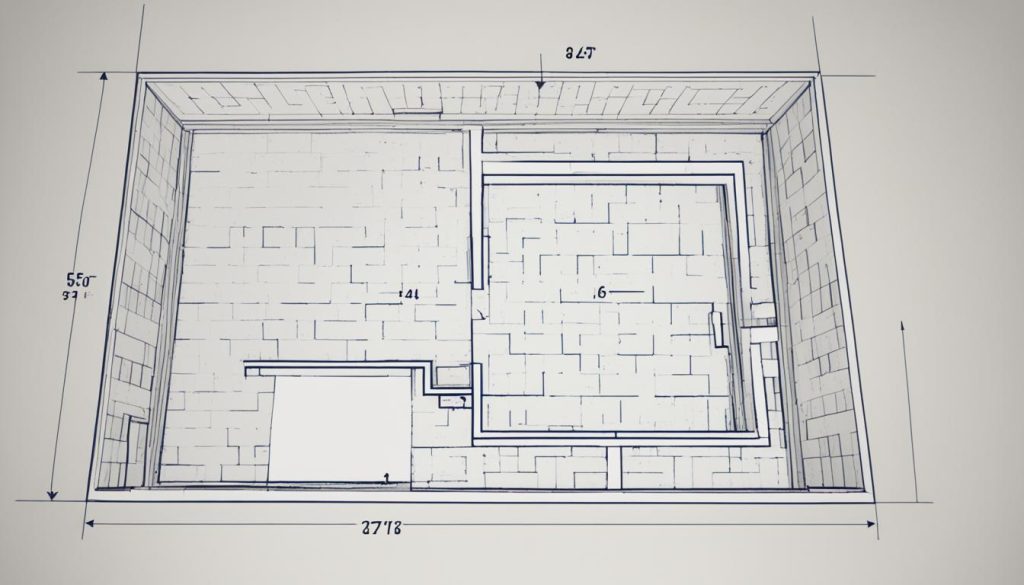
To help you visualize the plumbing process, refer to the plumbing diagram below:
This diagram illustrates the correct placement and connections for each fitting. Use it as a guide to ensure accuracy throughout the installation.
Step-by-Step Instructions
- Begin by attaching the trap adapter to the sink drain. The trap adapter connects the sink drain to the P-trap.
- Next, connect the P-trap to the trap adapter. The P-trap prevents sewer gases from entering the bathroom by creating a water seal.
- Attach the tailpiece to the other end of the P-trap. The tailpiece extends vertically and connects the drain to the sink.
- Connect the supply lines to the shut-off valves beneath the sink. The supply lines provide hot and cold water to the faucet.
- If your bathroom sink requires shut-off valves, install them at this stage. Shut-off valves allow you to turn off the water supply to the sink when needed, making future maintenance easier.
- Ensure all connections are secure, using pliers if necessary, but be careful not to overtighten and damage the fittings.
Following these step-by-step instructions will ensure a successful bathroom sink plumbing installation. Take your time, double-check all connections, and don’t hesitate to seek professional assistance if you encounter any difficulties.
Now that you know how to plumb a bathroom sink, you’re one step closer to completing your bathroom plumbing project. In the next section, we will discuss how to rough-in the toilet drain, covering the essential fittings and measurements for a properly functioning toilet.
How To Rough-In the Toilet Drain
In this section, I will guide you through the process of roughing-in the toilet drain for your bathroom plumbing installation. Proper rough-in of the toilet drain is crucial for efficient flushing and preventing leaks. Let’s get started!
1. Gather the necessary fittings
Before you begin roughing-in the toilet drain, make sure you have the following fittings:
- Toilet flange
- Closet bend
- PVC pipes and connectors
- PVC primer and cement
- Tape measure
- Hacksaw or PVC pipe cutter
2. Determine the rough-in measurements
Measure the distance from the wall to the center of the toilet flange. This measurement will determine the rough-in distance. The standard rough-in measurement for toilets is 12 inches, but it can vary depending on the plumbing code and the toilet model you choose. Ensure you have the correct rough-in measurement to avoid any issues during installation.
3. Position the toilet flange
Place the toilet flange on top of the drain pipe with the slots facing outward. Align the flange with the rough-in measurement you determined in the previous step. Secure the flange to the floor using screws or bolts.
4. Install the closet bend
Connect the closet bend to the toilet flange using PVC pipes and connectors. The closet bend should be positioned at the correct angle to ensure proper waste flow. Use a tape measure to confirm the alignment and adjust if necessary. Remember to use PVC primer and cement to securely join the fittings.
5. Connect the toilet drain pipe
Extend the toilet drain pipe from the closet bend to the main drain line of your plumbing system. Use PVC pipes and connectors to make the necessary connections. Measure and cut the pipe as needed to achieve the proper fit. Ensure that all connections are securely glued together.
6. Test for leaks
Once you have completed the rough-in of the toilet drain, it’s essential to test for leaks. Pour water into the drain pipe and observe any signs of leakage. If you notice any leaks, make the necessary adjustments and retest until there are no leaks.
By following these steps, you can rough-in the toilet drain with confidence, ensuring a properly functioning and leak-free toilet plumbing installation.
| Fittings | Quantity |
|---|---|
| Toilet Flange | 1 |
| Closet Bend | 1 |
| PVC Pipes and Connectors | As required |
| PVC Primer and Cement | As required |
| Tape Measure | 1 |
| Hacksaw or PVC Pipe Cutter | 1 |
How To Easily Create a Cleanout (it’s just two fittings)
Creating a cleanout in your bathroom plumbing system is a simple process that requires just two fittings. A cleanout provides easy access for clearing clogs and performing necessary maintenance on the drainage system. Follow these steps to install a cleanout in your bathroom:
- Locate a suitable location: Choose a spot in your plumbing system where you can easily access the cleanout. This is typically where the main drain line exits your home.
- Install a cleanout adapter: Attach a cleanout adapter to the existing drain line. This fitting allows you to connect the cleanout plug.
- Insert a cleanout plug: Insert a cleanout plug into the cleanout adapter. This plug can be removed whenever you need to clear a clog or perform maintenance. Make sure it fits tightly to prevent leaks.
Here’s an example of how the cleanout installation should look:
| Materials Required | Quantity |
|---|---|
| Cleanout adapter | 1 |
| Cleanout plug | 1 |
By installing a cleanout in your bathroom plumbing system, you can easily maintain and troubleshoot any issues that arise. Regular cleanout maintenance is essential for the proper functioning of your drainage system.
Bathroom Plumbing Vents (and why they’re important)
In the world of bathroom plumbing, one often overlooked but vital component is the plumbing venting system. These vents play a crucial role in maintaining the functionality and cleanliness of your bathroom. Let’s explore why plumbing vents are so important and the requirements they must meet.
Venting and Sewer Gas Prevention: Plumbing vents prevent sewer gas from entering your home. This gas, also known as sewer odour, is a blend of harmful gases and can cause unpleasant odours and health hazards. The plumbing venting system allows sewer gases to escape safely to the outside, ensuring fresh and clean air inside your bathroom. By maintaining proper ventilation, you can create a more pleasant and healthy bathroom environment.
Protection of Trap Seals: Trap seals are vital for preventing sewer gases from infiltrating your bathroom. These seals are formed by water in pipe traps, which block the passage of gases. However, without proper plumbing vents, negative pressure can form in the drain system, causing trap seals to break and allowing sewer gases to enter your home. Plumbing vents help regulate air pressure, ensuring that trap seals remain intact and your bathroom stays odor-free.
Meeting Plumbing Venting Requirements: Plumbing venting requirements vary depending on the plumbing code in your area. These codes specify the size, location, and number of vents required. It is essential to understand and comply with these requirements to maintain a properly functioning and safe bathroom plumbing system. Consulting a professional plumber can help ensure that you meet all the necessary venting regulations and prevent potential issues down the line.
Source Links
- https://home.howstuffworks.com/home-improvement/plumbing/plumbing-basics-ga.htm
- https://www.hammerpedia.com/how-to-plumb-a-bathroom/
- https://www.archdaily.com/985820/bathrooms-basics-6-tips-to-plan-your-bathroom-plumbing-and-layout
- Investing Wisely: How Windows & Doors in Boost Property Value and Financial Health - April 24, 2025
- The Financial Impact of Personal Injuries: Why Legal Help Matters for Business Owners - April 16, 2025
- The Hidden Financial Costs of Domestic Assault: What Business Owners Need to Know - April 16, 2025


