Did you know that proper rough-in plumbing is a crucial step in construction, especially when it comes to under slab installation? It sets the foundation for your entire plumbing system and can greatly impact the functionality and durability of your home or building. Whether you’re building a new house or renovating an existing space, understanding the process and best practices of under slab rough-in plumbing is essential.
Key Takeaways:
- Under slab rough-in plumbing is a critical step in construction and directly impacts the functionality and durability of your plumbing system.
- Proper planning and knowledge of wood framing, electrical and mechanical drawings are essential when roughing in plumbing for new construction.
- The City of Washougal offers a comprehensive Residential Rough In Plumbing Inspection Checklist to ensure compliance with plumbing codes.
- Creating a plumbing diagram can help visualize the layout and avoid future issues during installation.
- Professional rough in plumbing services provide expertise, ensure code compliance, and minimize future plumbing problems.
How to Rough In Plumbing in New Construction
When undertaking new construction, the rough in plumbing process is a crucial step in building the basic skeleton of the plumbing system. Understanding the fundamentals of rough in plumbing is essential for plumbers and contractors to ensure a smooth and efficient construction process. In this section, I will guide you through the key steps and considerations involved in rough in plumbing for new construction.
Planning and Preparation
Prior to starting rough in plumbing, it is important to have a solid plan in place. Consider the layout and location of the bathroom, kitchen, basement, or laundry room, and determine the best placement for plumbing fixtures, such as sinks, toilets, and showers. This will help you determine the placement of water supply lines and waste pipes.
Additionally, familiarize yourself with the wood framing, electrical drawings, and mechanical drawings of the new construction. This knowledge will enable you to identify areas where pipes can be cut or drilled without damaging the structure. Take precautions to avoid interference with fixtures, switch boxes, and ductwork to ensure the smooth installation of the plumbing system.
Installation Process
The installation process for rough in plumbing in new construction typically involves installing waste lines and water supply piping.
- Waste Lines: Waste lines are responsible for carrying wastewater from plumbing fixtures to the main sewer or septic system. Install waste pipes according to local building codes, ensuring proper slope and venting to prevent any potential drainage issues or sewer gas backup.
- Water Supply Piping: Water supply lines deliver clean water to various fixtures throughout the building. Install the appropriate piping materials, such as copper or PEX, and ensure proper sizing based on water demand and pressure requirements.
During the rough in plumbing installation, it is crucial to thoroughly test the system for any leaks. Pressurize the water supply lines and inspect all connections and joints to ensure they are secure and watertight. Identifying and fixing leaks at this stage will prevent future issues and costly repairs.
Professional Expertise
While basic rough in plumbing tasks can be done by diligent DIY enthusiasts, it is highly recommended to hire a professional plumber for the rough in plumbing process in new construction. Professionals have the necessary knowledge, experience, and tools to handle the intricacies of plumbing installations. They can ensure that all plumbing connections are done correctly, comply with local building codes, and minimize the risk of future plumbing problems.
By entrusting your rough in plumbing needs to a professional, you can have peace of mind knowing that your plumbing system is being installed by experts, allowing you to focus on other aspects of your construction project.
Image:
Residential Rough In Plumbing Inspection Checklist
The City of Washougal in Washington state provides a comprehensive Residential Rough In Plumbing Inspection Checklist. This five-page document offers detailed guidance on inspecting plumbing systems for new construction to ensure compliance with plumbing codes. It covers various aspects such as venting, fixture locations, pipe sizing, and water heater installations. This checklist is a valuable resource for novice plumbers and homeowners undertaking their own plumbing projects.
| Inspection Checklist | Plumbing Code Compliance |
|---|---|
| Venting | – Verify proper venting size and installation – Ensure vent pipes are properly pitched for efficient operation |
| Fixture Locations | – Confirm correct placement of plumbing fixtures – Ensure fixtures are properly secured and supported |
| Pipe Sizing | – Validate appropriate pipe sizes for water supply and drainage – Check for proper slope and alignment |
| Water Heater Installations | – Inspect water heater for compliance with manufacturer guidelines – Verify proper venting and safety measures |
| Leak Testing | – Perform comprehensive leak testing to ensure system integrity – Check for any signs of leaks or water damage |
Why is Plumbing Inspection Important?
Plumbing inspection for new construction is crucial to ensure that the plumbing system meets building codes and functions properly. It helps identify any potential issues or deficiencies before they become major problems. By following the residential rough in plumbing inspection checklist, you can ensure that your plumbing system is in compliance with the necessary codes and regulations, promoting safety, efficiency, and peace of mind.

Creating a Plumbing Diagram for Rough In Plumbing
When it comes to rough in plumbing, having a well-designed plumbing diagram can make the installation process much easier and prevent future issues. A plumbing diagram provides a visual representation of the layout, ensuring that pipes are correctly installed and avoiding any obstacles or interference. Whether you’re a DIY enthusiast or a professional plumber, AskTheBuilder.com offers valuable guidance on creating plumbing diagrams for rough in plumbing.
AskTheBuilder.com provides step-by-step instructions for drawing your own plumbing diagram or offers a service to create one for you. This resource ensures that you have a clear and accurate plan to follow during the rough in plumbing process. By visualizing the plumbing layout, you can easily identify the best locations for pipes, fixtures, and venting systems.
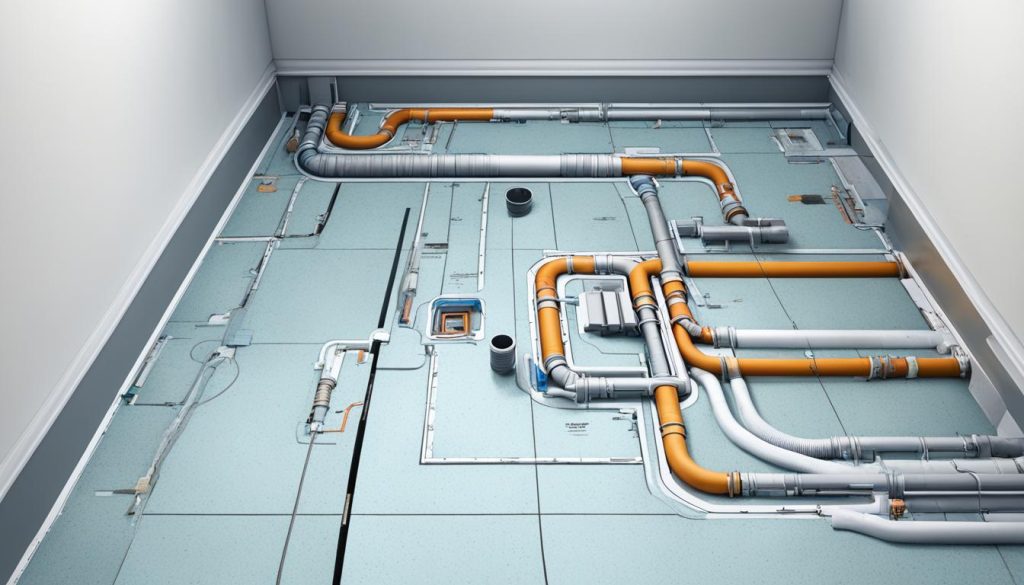
Creating a plumbing diagram involves mapping out the main water supply line, waste lines, and vent pipes. It helps determine the most efficient routing for the plumbing system and ensures compliance with building codes. Additionally, a plumbing diagram can act as a reference during future repairs or modifications to the plumbing system, saving time and effort.
Here is an example of a plumbing diagram:
| Fixture | Location | Supply Line | Waste Line | Vent Pipe |
|---|---|---|---|---|
| Toilet | Bathroom | 1/2 inch | 3 inches | 2 inches |
| Sink | Kitchen | 1/2 inch | 1 1/2 inches | 1 1/2 inches |
| Shower | Bathroom | 1/2 inch | 2 inches | 2 inches |
As you can see from the example, the plumbing diagram provides crucial information about the size and location of the supply lines, waste lines, and vent pipes for each fixture. This level of detail ensures that the rough in plumbing is done correctly, preventing future plumbing issues.
By following the guidelines provided by AskTheBuilder.com, you can create a plumbing diagram that meets your specific project requirements. Whether you’re roughing in plumbing for a new construction project or renovating an existing space, a plumbing diagram is an invaluable tool for a successful plumbing installation.
Next Steps
With a well-designed plumbing diagram in hand, you can confidently proceed with the rough in plumbing process. Ensure that you accurately follow the diagram while installing the pipes and fixtures, paying attention to proper sizing and positioning. Remember to consult local building codes and regulations to ensure compliance throughout the installation.
Rough In Plumbing for Toilets
DoItYourself.com has an informative article on rough in plumbing specifically for toilets. They emphasize the complexity of the project and recommend hiring a professional due to the high level of understanding and expertise required. However, they provide a step-by-step outline for those who wish to attempt it themselves.
Proper toilet rough-in dimensions are crucial to ensure a proper fit during toilet drain installation. The distance from the wall to the toilet flange must be carefully measured. The standard rough-in size for toilets is 12 inches, but it’s important to note that variations exist, especially in older homes. Therefore, accurate measurements are essential to avoid any installation issues.
If you’re considering a DIY approach, I recommend consulting the article on DoItYourself.com for detailed instructions. Keep in mind that rough-in plumbing for toilets can be a complex task, as it involves precise measurements, cutting pipes, and connecting the toilet flange to the drain. It’s vital to have the necessary tools and knowledge to ensure a successful installation.
For those who prefer professional assistance, hiring a plumber experienced in plumbing rough-in for bathrooms is highly recommended. Professional plumbers have the expertise to handle the intricacies of toilet rough-in plumbing and can ensure the job is done accurately, saving you time and potential headaches.
Remember, the rough-in plumbing phase sets the foundation for your bathroom plumbing system, and any mistakes can lead to costly repairs and disruptions down the line. Whether you choose to tackle the project yourself or hire a professional, prioritize precision and attention to detail to create a reliable and efficient toilet plumbing installation.

Toilet Rough-In Dimensions
| Rough-In Size | Description |
|---|---|
| 12 inches | Standard rough-in size for toilets |
| 10 inches | Less common rough-in size, typically found in older homes |
| 14 inches | Larger rough-in size, not as common as the standard 12 inches |
The Importance of Professional Rough In Plumbing Services
When it comes to rough in plumbing for new construction, hiring professional plumbers is of utmost importance. Not only do they provide expert services, but they also ensure that the plumbing installation is done correctly and adheres to building codes. This is crucial because rough in plumbing sets the foundation for the entire plumbing system, and any mistakes made during this stage can lead to costly issues in the future.
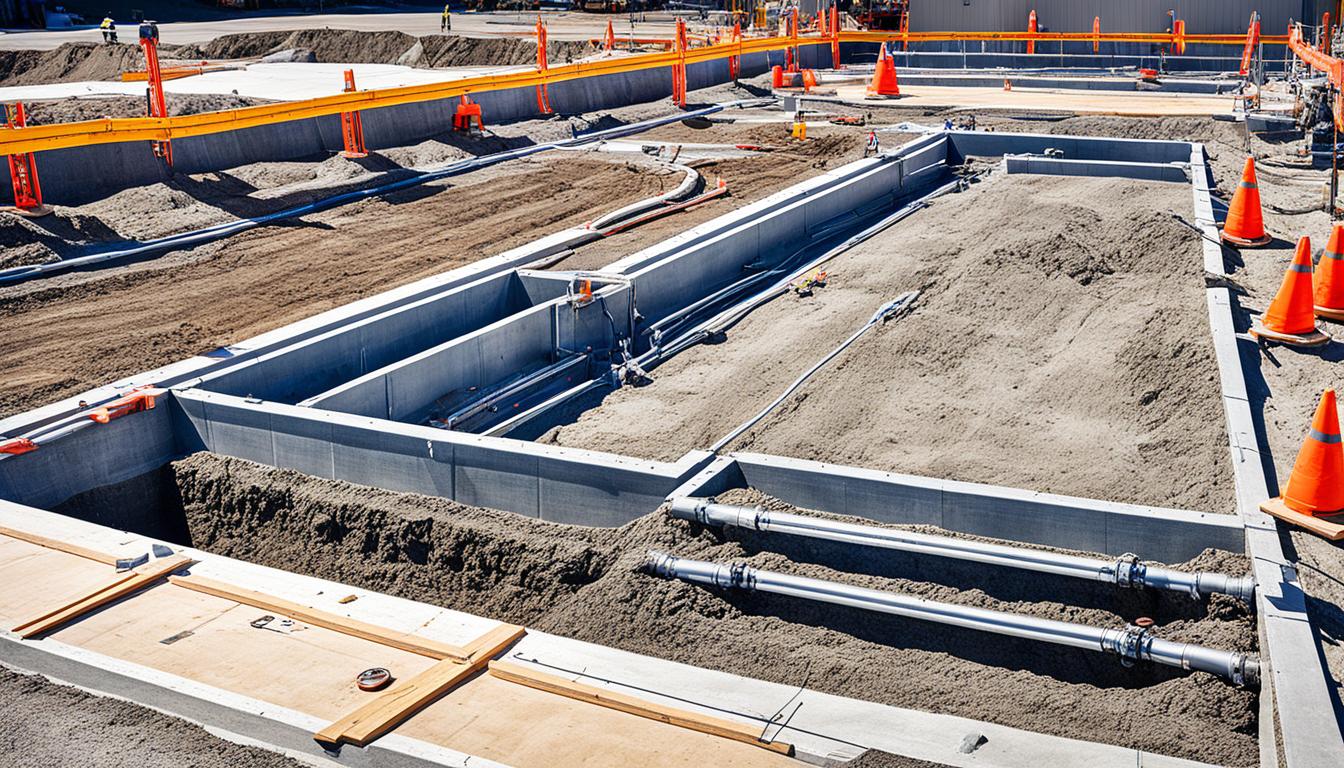
Professional plumbers have the knowledge, experience, and tools to handle complex rough in plumbing projects, especially when it involves under slab plumbing. Under slab plumbing can be particularly challenging due to the need for trenchless technology and expertise in working with concrete slabs. Hiring professionals for under slab plumbing ensures that the job is done efficiently and effectively, minimizing the risk of damage and ensuring a seamless construction process.
Another benefit of hiring professional rough in plumbing services is the peace of mind it brings. With professionals on the job, you can rest assured that your plumbing system is installed properly, which reduces the likelihood of leaks, clogs, or other plumbing issues down the line. Additionally, professional plumbers have a keen eye for detail and can identify any potential problems or areas that may require special attention, allowing for timely repairs or adjustments before they become major headaches.
So, whether you’re undertaking a new construction project or planning to renovate your existing property, it’s essential to enlist the services of professional rough in plumbing contractors. Their expertise, knowledge, and commitment to quality workmanship will ensure that your plumbing system is reliable, efficient, and built to last.
