Plumbing Vent Diagram Simplified – Easy Guide
When it comes to plumbing systems, proper venting is essential. It not only protects trap seals and prevents sewer gases from entering buildings but also ensures the efficient flow of wastewater. To shed light on this important topic, let’s take a closer look at plumbing vent diagrams and how they simplify the complex network of pipes.
Plumbing vent diagrams serve as visual representations of how plumbing pipes connect with each other. They show the route taken by pipes from the main stack or drainpipe to each individual fixture, such as toilets and sinks. By understanding the layout of a plumbing vent system, homeowners and plumbers can ensure that wastewater flows smoothly and that venting is properly balanced.
Key Takeaways:
- A plumbing vent diagram provides a visual representation of how plumbing pipes connect in a building.
- Understanding the layout of a plumbing vent system is crucial for proper drainage and venting.
- Plumbing vent diagrams show the route taken by pipes from the main stack to individual fixtures.
- Plumbing vents protect trap seals, balance air pressure, and prevent sewer gases from entering buildings.
- Proper venting ensures efficient flow of wastewater and prevents plumbing issues.
The Purpose of a Plumbing Vent
A plumbing vent has a crucial role in the overall functioning of a plumbing system. Its primary purpose is to protect trap seals, which are the standing water inside P-traps that prevent unwanted sewer gas from entering your home. Without a properly installed plumbing vent, pressure fluctuations in the drainage system can siphon the trap seal down the drain, allowing sewer gas to infiltrate your living space.
Plumbing vents ensure a balanced air pressure inside the system, which is vital for maintaining the integrity of trap seals. They prevent negative pressure, known as siphonage, and positive pressure, referred to as backpressure, from affecting the trap seals. This balance is critical for the proper functioning and efficiency of the plumbing system.
Understanding the purpose of a plumbing vent is essential for ensuring a well-designed and properly functioning drainage system. Let’s explore the components and layout of a plumbing vent diagram to gain a better understanding of how this vital system works.
Plumbing Vent Diagram
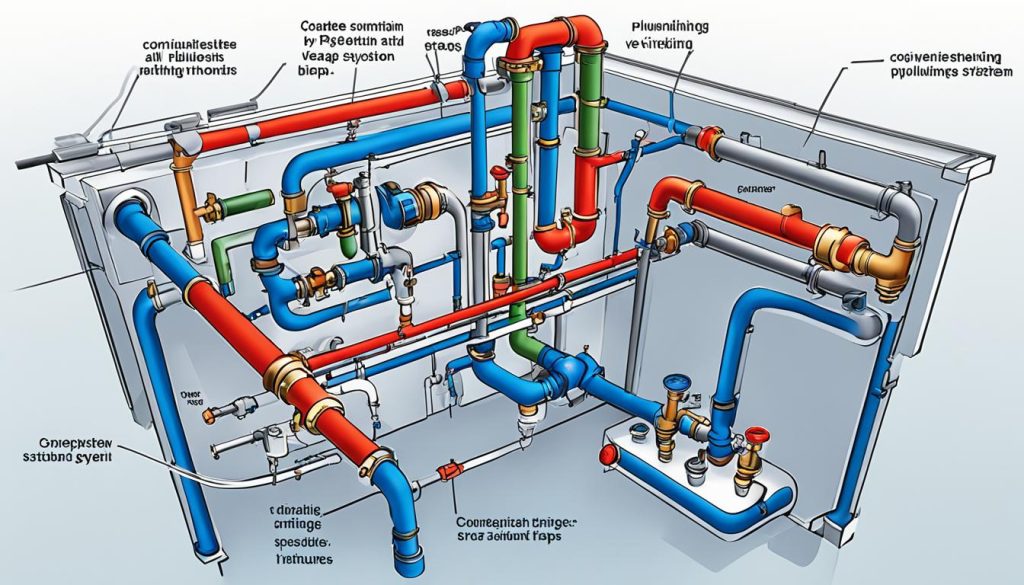
A plumbing vent diagram provides a visual representation of the plumbing pipes’ connection within a building. It displays the route that the pipes take from the main stack or drainpipe to each individual fixture, such as toilets and sinks. This diagram helps you understand how the plumbing vents play a critical role in maintaining the integrity of the drainage system.
Take a look at the plumbing vent diagram below to visualize how the venting system connects various fixtures:
As you can see from the above diagram, the plumbing vents run vertically, parallel to the drainage pipes, allowing proper airflow and pressure balance within the system. This illustration highlights the importance of a well-designed plumbing vent system for ensuring efficient drainage and preventing sewer gas from entering your home.
Types of Plumbing Venting Methods
In order to properly vent plumbing fixtures, various venting methods are outlined in the plumbing code. These methods include:
- Conventional venting
- Common venting
- Wet venting
- Circuit venting
- Combination waste and vent
- Island fixture venting
- Waste stack venting
- Single-stack venting
The most common and simplest venting method is conventional venting, where each plumbing fixture has its own individual vent. The size of the plumbing vent pipe depends on the fixture it serves, and it is important to follow local plumbing codes for specific requirements.
To visually understand the different plumbing venting methods, refer to the following table:
| Venting Method | Description |
|---|---|
| Conventional Venting | Each fixture has its own individual vent |
| Common Venting | Multiple fixtures share a common vent |
| Wet Venting | A single pipe acts as both a drain and a vent |
| Circuit Venting | A vent pipe serves multiple fixtures in different rooms |
| Combination Waste and Vent | A single pipe handles waste and serves as a vent |
| Island Fixture Venting | Venting fixtures located on an island or peninsula |
| Waste Stack Venting | A single vent serves multiple fixtures connected to a waste stack |
| Single-Stack Venting | A single vent serves multiple fixtures connected to a single stack |
To determine the appropriate venting method for your plumbing system, consult with a professional plumber and ensure compliance with local codes and regulations.
Conventional Venting
In a conventional venting system, each fixture has its own plumbing vent, known as an individual vent. These vents allow air to enter the drainage system and break the siphonage effect, protecting trap seals. Properly installed plumbing vents prevent negative pressure and backpressure from affecting trap seals, ensuring the integrity of the plumbing system.
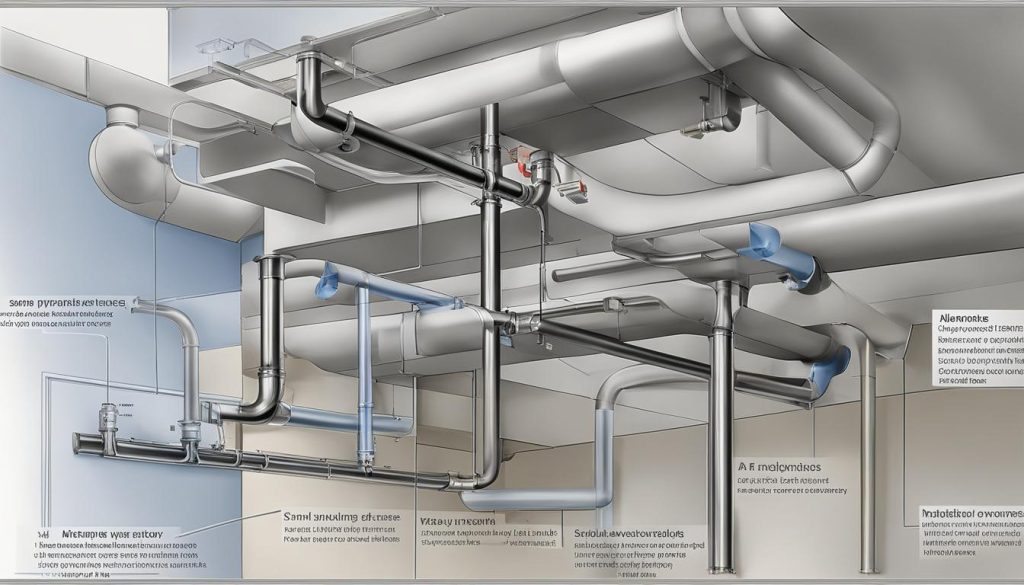
The individual vent can terminate outdoors through the roof or connect to other individual vents to create a branch vent. This diagram illustrates a typical conventional venting configuration:
Here’s a breakdown of the essential components in a conventional venting system:
- Main stack or drainpipe: This vertical pipe connects to the main sewer line and serves as the central drainage pathway for all fixtures in the building.
- Fixture drain: Each individual fixture, such as toilets, sinks, or bathtubs, has its own drain pipe connected to the main stack.
- Fixture vent: Alongside the fixture drain, an individual vent pipe allows air to enter the system. The size of the plumbing vent pipe depends on the fixture it serves, and it is important to follow local plumbing codes for specific requirements.
- Branch vent: Several individual vents can be connected to create a branch vent, reducing the number of penetrations through the roof.
- Air admittance valve (AAV): In some codes, an AAV can be used as an alternative to venting through the roof. The AAV allows air to enter the plumbing system when needed and prevents the entry of sewer gases.
Conventional venting is widely used in residential and commercial buildings due to its simplicity and effectiveness in ensuring proper drainage and venting. It provides reliable protection for trap seals and helps maintain a well-functioning plumbing system.
| Component | Description |
|---|---|
| Main stack or drainpipe | The main vertical pipe that connects to the main sewer line and serves as the central drainage pathway. |
| Fixture drain | Individual drain pipes connected to each fixture, such as toilets, sinks, or bathtubs. |
| Fixture vent | Individual vent pipes alongside fixture drains, allowing air to enter the system. |
| Branch vent | Multiple individual vents connected to reduce penetrations through the roof. |
| Air admittance valve (AAV) | An alternative to venting through the roof, it allows air into the system and prevents the entry of sewer gases. |
Wet Venting
Wet venting is a convenient method of venting in which a single pipe serves as both a drain and a vent. This technique is often utilized in bathrooms to optimize space and minimize the number of vent pipes needed. To ensure effective drainage and venting, wet vents must adhere to specific sizing requirements. Plumbing vent diagrams often showcase examples of wet venting, where a lavatory or bathtub drains into a pipe that functions as a vent as well. It’s important to note that while wet venting is permitted under major plumbing codes, there may be limitations based on the fixtures and their respective locations.
Wet Venting Benefits
- Space-saving: Wet venting reduces the need for multiple vent pipes, making it an ideal solution for compact bathrooms.
- Efficient drainage: By combining the drain and vent functions into one pipe, wet venting ensures optimal drainage performance.
- Cost-effective: The reduced number of vent pipes needed for wet venting can result in cost savings during plumbing installations.
- Code compliance: Wet venting is allowed by major plumbing codes, ensuring compliance with industry regulations.
Additional Venting Methods
In addition to conventional venting and wet venting, there are several other venting methods that can be used depending on the plumbing system’s requirements. These include:
- Common venting
- Circuit venting
- Combination waste and vent
- Island fixture venting
- Waste stack venting
Each of these venting methods has its own specific applications and requirements. It is important to consult local plumbing codes and regulations to determine the most suitable venting method for a specific situation.
To provide a better understanding of these venting methods, refer to the following table:
| Venting Method | Application | Requirements |
|---|---|---|
| Common Venting | When multiple fixtures share a common vent pipe. | – Proper sizing and configuration of the common vent pipe. – Compliance with local plumbing codes. |
| Circuit Venting | When fixtures are grouped together and vented through a single vent pipe. | – Proper sizing of the vent pipe to handle the total fixture load. – Compliance with local plumbing codes. |
| Combination Waste and Vent | When a single pipe serves as both the waste and vent for a fixture or group of fixtures. | – Proper sizing and configuration of the combination waste and vent pipe. – Compliance with local plumbing codes. |
| Island Fixture Venting | When a fixture is located away from the main vent stack. | – Proper sizing and installation of an island vent to connect the fixture to the main vent stack. – Compliance with local plumbing codes. |
| Waste Stack Venting | When a waste stack serves as both the waste and vent for multiple fixtures on different floors. | – Proper sizing and configuration of the waste stack vent. – Compliance with local plumbing codes. |
These additional venting methods provide flexibility in designing plumbing systems to meet specific requirements. By selecting the appropriate venting method and adhering to plumbing codes and regulations, a well-functioning and efficient plumbing vent system can be achieved.
Vent Pipe Sizing and Installation
Proper vent pipe sizing and installation are critical for the effective functioning of a plumbing venting system. Vent pipes should be sized according to the diameter of the drain pipe they serve to ensure adequate airflow and prevent clogs. The minimum size for a vent pipe is typically 1 1/2 inches, but larger sizes may be required for larger drains or longer distances between fixtures and vents.
When it comes to installation, vent pipes should be positioned vertically and extend at least 6 inches above the roof line. This vertical extension helps to create the necessary negative pressure, allowing sewer gases to be safely expelled from the plumbing system. To further protect against water entry, proper sealing of vent pipes is crucial.
Vent Pipe Sizing Requirements
| Drain Pipe Diameter | Vent Pipe Diameter |
|---|---|
| 1 1/4 inches | 1 1/2 inches |
| 1 1/2 inches | 1 1/2 inches |
| 2 inches | 1 1/2 inches |
| 3 inches | 2 inches |
| 4 inches | 3 inches |
Table: Vent pipe sizing requirements for different drain pipe diameters.
It is important to follow local plumbing codes and regulations when determining the appropriate vent pipe sizes and installation methods for your specific plumbing system. Consulting with a professional plumber can help ensure compliance and the safe and efficient operation of your plumbing vents.
Considerations and Regulations for Plumbing Vents
When designing and installing a plumbing vent system, it is crucial to adhere to local plumbing codes and regulations. These regulations provide specific guidelines for vent pipe sizing, installation methods, and the use of components such as air admittance valves (AAVs). By following these regulations, you can ensure your venting system is up to code and operates safely.
Consulting with a plumbing inspector is an essential step in the process. An inspector can review your venting scheme and provide valuable insights to ensure compliance with local regulations. Obtaining approval from the inspector demonstrates your commitment to creating a well-designed and safe plumbing system.
Maintaining and inspecting your venting system on a regular basis is crucial. This will help you identify and address any issues that may arise, such as clogs or damage. By staying proactive, you can prevent larger problems and maintain the efficiency of your plumbing system.
- Investing Wisely: How Windows & Doors in Boost Property Value and Financial Health - April 24, 2025
- The Financial Impact of Personal Injuries: Why Legal Help Matters for Business Owners - April 16, 2025
- The Hidden Financial Costs of Domestic Assault: What Business Owners Need to Know - April 16, 2025


