Quick Fix for Leaky Pipe Repair | Reliable Solutions
Did you know that a small water leak can waste up to 9000 liters of water per year? That’s equivalent to the water needed for an average person to take 190 showers!
Leaky pipes can be a major headache for homeowners. Fortunately, there are quick and reliable solutions available to fix these issues. From using plumbers tape to epoxy putty and clamps, there are various methods to repair a leaky pipe without having to replace it entirely.
Key Takeaways:
- Leaky pipes can waste a significant amount of water, leading to higher water bills and potential damage to your home.
- There are several quick and reliable solutions to fix leaky pipes without the need for a complete replacement.
- Methods such as tightening coupling nuts, using plumbers tape, applying self-fusing silicone tape, using epoxy putty, or utilizing repair clamps can provide temporary relief until a professional plumber can assess and provide a permanent solution.
- After fixing a leaky pipe, it’s important to clean up the affected area to prevent further damage and the growth of mold.
- By utilizing these reliable options, homeowners can experience swift and dependable leaky pipe repair.
How to Fix a Leaking Pipe Without Replacing It
One of the common reasons for a leaky pipe is a loose coupling nut connecting the pipes. If this is the source of the leak, you can easily fix it by tightening the coupling nut with a wrench from your plumbing tools. By ensuring a secure connection, you can stop the leak without the need to replace the entire pipe.
To fix a leaking pipe caused by a loose coupling nut, follow these steps:
- Locate the loose coupling nut on the pipe.
- Using a wrench from your plumbing tools, grip the coupling nut firmly.
- Turn the wrench clockwise to tighten the coupling nut.
- Continue tightening until the coupling nut is secure and no longer loose.
By tightening the coupling nut, you create a tight seal between the pipes, preventing any water leaks. This quick fix saves you from the hassle and expense of replacing the entire pipe.
Recommended Plumbing Tools
| Tool | Description |
|---|---|
| Adjustable Wrench | This versatile tool allows you to tighten or loosen nuts and bolts of different sizes. |
| Plumbers Tape | A thin, flexible tape used to create watertight seals on threaded pipes and fittings. |
| Epoxy Putty | A two-part adhesive compound used to repair leaks in pipes, providing a temporary fix. |
| Repair Clamps | Clamps with a rubber patch used to seal larger ruptures in pipes temporarily. |
Having the right plumbing tools can make the repair process easier and more efficient. Make sure to have these tools handy for any plumbing repairs or emergencies that may arise.
How to Fix a Leaky Pipe with Plumbers Tape
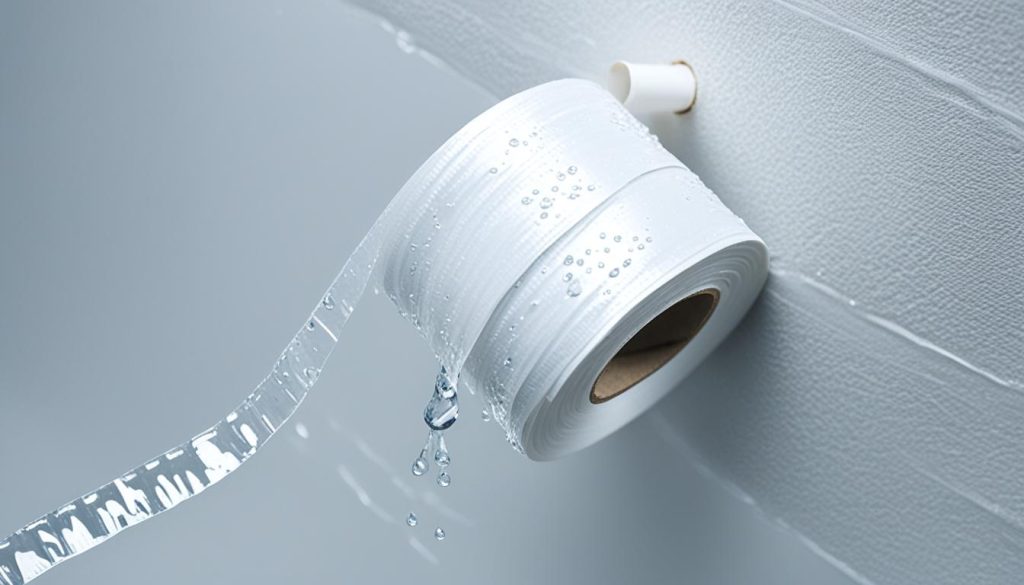
If the leak continues even after tightening the coupling nut, it may be due to worn or damaged watertight seals in the pipe threads. In such cases, plumbers tape can be an effective sealant to provide emergency relief from leaks.
To fix a leaky pipe using plumbers tape, follow these steps:
- Turn off the water supply to the affected area.
- Ensure that the pipe threads are clean and dry.
- Take a length of plumbers tape and wrap it clockwise around the threads of the pipe.
- Continue wrapping the tape until the threads are fully covered.
- Reconnect the pipes by tightening the coupling nut with a wrench.
By wrapping plumbers tape around the pipe threads, you create a watertight seal that prevents further leakage. This temporary fix offers emergency relief until a permanent solution can be implemented by a professional plumber.
Remember, while plumbers tape can provide temporary relief, it’s important to consult a professional plumber for a long-lasting repair of your leaky pipe.
How to Fix a Leaky Pipe with Self-Fusing Silicone Tape
If you’re dealing with a leaky pipe in a low pressure line, self-fusing silicone tape can provide a quick and effective temporary fix. This versatile tape is designed to create a seamless waterproof layer when stretched and tightly wrapped around the area of the leak. With its self-adhesive properties, it forms a strong bond and helps prevent further water leakage.
Benefits of Self-Fusing Silicone Tape
- Creates a waterproof seal
- Easy to apply
- Durable and long-lasting
- Works well on low pressure lines
- Provides a temporary fix until a permanent solution is available
When using self-fusing silicone tape to fix a leaky pipe, follow these steps:
- Identify the area of the leak and ensure it is clean and dry.
- Start by stretching the tape slightly to activate its self-fusing properties.
- Wrap the tape tightly around the leak, overlapping the layers as you go.
- Continue wrapping until the entire area of the leak is covered.
- Apply pressure to ensure a tight seal.
It’s important to note that self-fusing silicone tape is a temporary solution and should not be considered a permanent fix. It is designed to provide emergency relief and buy you time until a professional plumber can assess and address the issue.
| Pros | Cons |
|---|---|
| Quick and easy to apply | Not suitable for high pressure lines |
| Forms a tight and waterproof seal | Temporary fix, not a permanent solution |
| Durable and long-lasting | May require replacement if a permanent fix is not applied |
How to Fix a Leaky Pipe with Epoxy Putty
Epoxy putty is a reliable option for temporarily fixing a leaky pipe with a hole or crack. By turning off the water supply, draining the damaged line, and applying epoxy putty to the clean and dry surface, you can seal the leak. Once the putty has fully cured, you can turn on the water flow and check for any remaining leaks.
Here’s a step-by-step guide on how to fix a leaky pipe with epoxy putty:
- Turn off the water supply to the affected pipe.
- Drain any remaining water from the damaged line.
- Clean the area around the hole or crack using a wire brush or sandpaper to remove any rust, debris, or corrosion.
- Ensure the surface is dry and free from any moisture.
- Take a small amount of epoxy putty and knead it until it becomes pliable.
- Apply the epoxy putty to the damaged area, covering the hole or crack completely.
- Smooth out the putty with your fingers or a putty knife, ensuring it adheres well to the surface.
- Allow the epoxy putty to fully cure as per the manufacturer’s instructions. This typically takes a few hours.
- After the putty has cured, turn on the water supply to test for any remaining leaks.
Benefits of Using Epoxy Putty for Temporary Fixes
Epoxy putty offers several advantages when it comes to temporarily fixing leaky pipes:
- Quick and easy: Epoxy putty can be applied within minutes, making it a convenient solution for temporary repairs.
- Strong and durable: Once cured, epoxy putty forms a strong bond and provides a long-lasting temporary fix for leaks.
- Versatile: Epoxy putty can be used on various pipe materials, including metal, plastic, and PVC.
- Resistance to water and chemicals: Epoxy putty is resistant to water, chemicals, and high temperatures, ensuring a reliable seal.
While epoxy putty is effective for temporary fixes, it’s important to note that it may not be a permanent solution for leaky pipes. It’s always recommended to consult a professional plumber for a long-term fix to prevent further damage.
How to Fix a Leaky Pipe with a Patch and Clamp
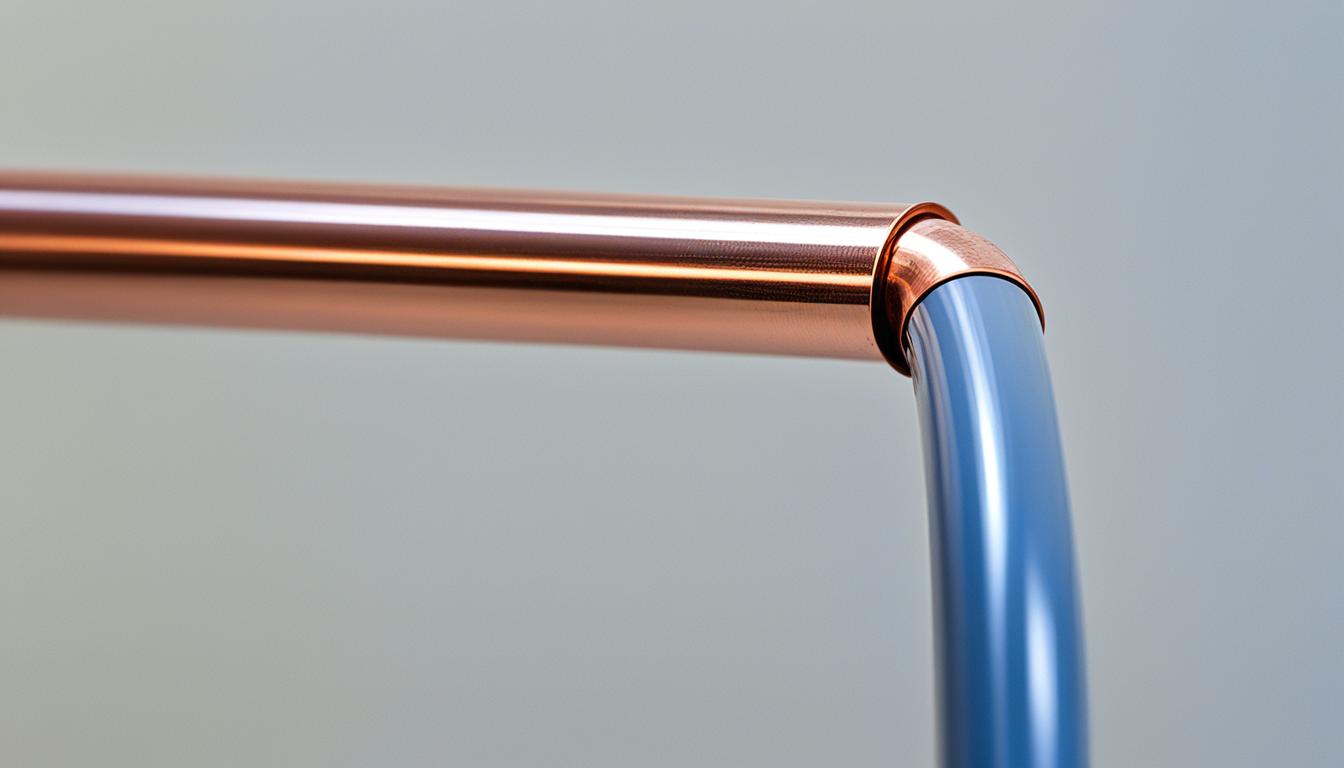
When dealing with larger ruptures in pipes, repair clamps with a neoprene rubber patch can be a reliable solution for making temporary repairs. These clamps provide a secure and effective seal to prevent further water leakage. Here’s how you can use a patch and clamp to fix a leaky pipe:
- Begin by turning off the water supply to the affected area. This will minimize any water flow and prevent additional damage.
- Clean the area around the hole in the pipe to ensure a smooth and debris-free surface.
- Apply a neoprene rubber patch over the rupture, making sure to cover the entire damaged area.
- Position the repair clamp over the patch, ensuring that it fully encompasses the patch and the surrounding pipe.
- Tighten the clamps securely using a wrench or similar tool. This will create a tight and watertight seal.
- Turn the water supply back on and check for any signs of leakage. If the repair was successful, the leak should be effectively sealed.
Below is an example of a suitable repair clamp for fixing larger ruptures:
| Product Name | Size | Material | Price |
|---|---|---|---|
| ABC Repair Clamp | 3 inches | Stainless Steel | $24.99 |
| XYZ Repair Clamp | 4 inches | Ductile Iron | $32.99 |
| PQR Repair Clamp | 2 inches | Carbon Steel | $19.99 |
These repair clamps are designed to withstand pressure and provide a secure and durable solution for larger pipe ruptures. Choose the appropriate size and material based on the specific needs of your pipe repair.
By following these steps and using a reliable repair clamp with a neoprene rubber patch, you can effectively fix a leaky pipe with larger ruptures. Remember to consult a professional plumber for a permanent solution and to ensure the safety and integrity of your water system.
How to Clean Up After Fixing a Leaky Pipe
After fixing a leaky pipe, it’s crucial to properly clean up the affected area to prevent further damage and ensure a healthy environment. Start by removing all items from the damp area, taking care not to spread any water or moisture. Once the cabinet is empty, use towels to soak up any excess water and thoroughly dry the interior. This step is vital to prevent the growth of mold spores and minimize the risk of additional damage.
Next, wipe down all surfaces within the cabinet using a disinfectant or bleach solution. This will help eliminate any lingering bacteria and inhibit mold growth. Be sure to pay extra attention to areas that were directly affected by the leak, such as the bottom of the cabinet or walls. Properly disinfecting these surfaces will help restore a clean and hygienic environment.
Once the cleaning process is complete, carefully evaluate the cabinet for any signs of water damage. Look for warping, discoloration, or weakened structural integrity. If significant damage is observed, it may be necessary to replace the cabinet to avoid further complications and maintain the overall aesthetics of the space. Consider consulting a professional or contacting a reputable cabinet supplier for guidance on suitable replacement options.
By following these steps to clean up after fixing a leaky pipe, you can ensure that your cabinet remains in good condition and prevent the potential health hazards associated with mold spores. Remember, prompt and thorough cleaning is essential to mitigate any further damage and maintain a healthy living environment.
Source Links
- https://www.homedepot.com/c/ah/how-to-fix-a-leaky-pipe/9ba683603be9fa5395fab90a6c87071
- https://www.homeserve.com/en-us/blog/how-to/fix-leaking-pipe/
- https://supremepipe.com/blog/quick-fixes-for-leaky-pipes/
- Investing Wisely: How Windows & Doors in Boost Property Value and Financial Health - April 24, 2025
- The Financial Impact of Personal Injuries: Why Legal Help Matters for Business Owners - April 16, 2025
- The Hidden Financial Costs of Domestic Assault: What Business Owners Need to Know - April 16, 2025
