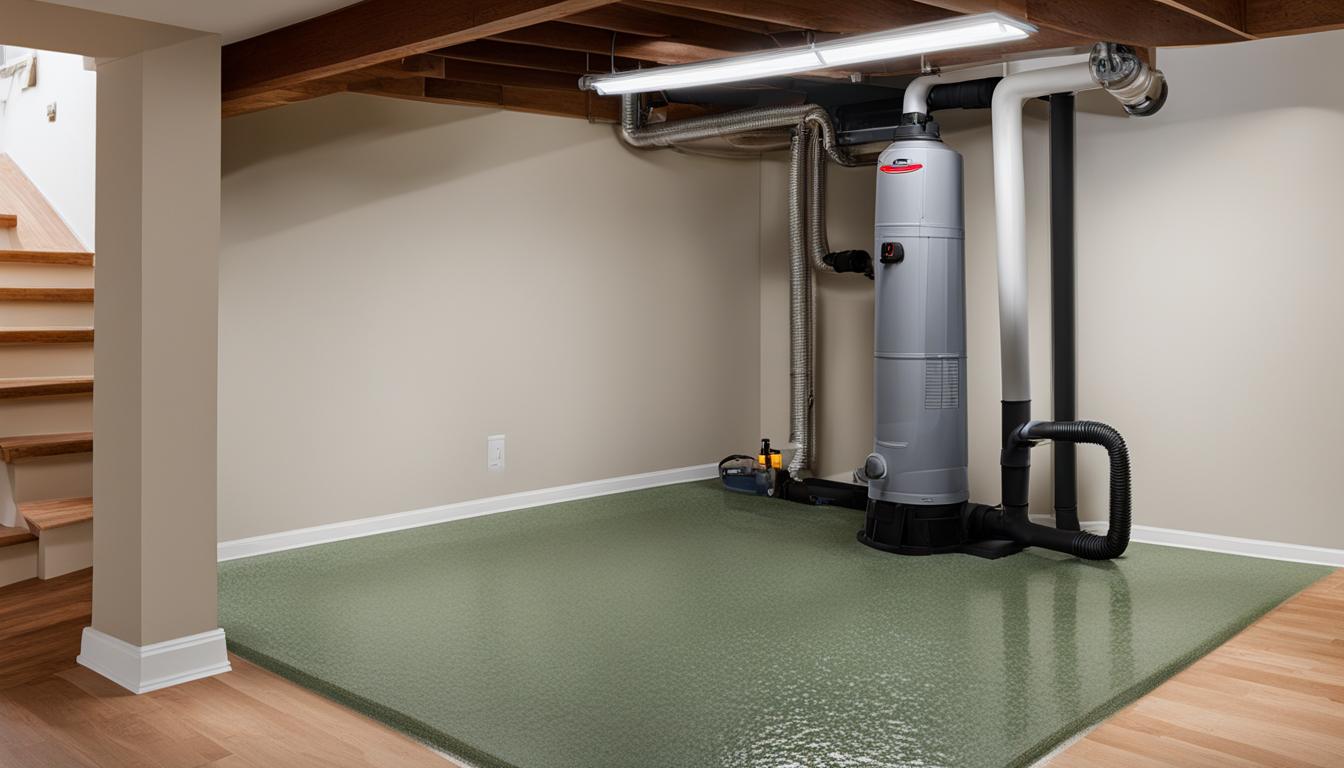
How to Install a French Drain – Easy Guide
Did you know that water damage costs Canadian homeowners millions of dollars every year?
From flooded basements to damaged foundations, water infiltration can wreak havoc on your property and your wallet. That’s why it’s crucial to take preventive measures and properly manage excess water around your home. One effective solution is installing a French drain, a simple yet effective system that diverts water away from your property.
In this easy guide, I will walk you through the step-by-step process of installing a French drain. From planning the location and digging a trench to backfilling and ongoing maintenance, you’ll have all the information you need to protect your home from water damage.
Key Takeaways:
- Water damage can cost Canadian homeowners millions of dollars annually.
- A French drain is an effective solution for diverting water away from your property.
- Installing a French drain involves several steps, including planning, trenching, lining, and backfilling.
- Ongoing maintenance is essential to ensure the proper functioning of the French drain.
- Alternative gravel-free drainage systems are also available for simplified installation.
Planning the Location and Digging a Trench
Before embarking on the installation of a French drain, careful planning is essential to ensure its effectiveness. By identifying the areas with excess water pooling and determining the ideal direction for water diversion, you can significantly minimize potential water damage. Additionally, selecting a suitable outlet for the runoff is crucial, such as retention ponds or existing drainage systems, to prevent water from re-entering your property.
To begin, mark the intended path and length of the trench using striping spray paint or flags. This visual guide will help maintain accuracy and ensure a smooth installation process. When digging the trench, take into consideration the slope that will facilitate water flow towards the chosen outlet. It is crucial to avoid underground utility lines or pipes, so always consult utility companies or hire professionals to perform any necessary verifications before commencing excavation.
| Steps | Guidelines |
|---|---|
| 1 | Identify areas with excess water pooling |
| 2 | Determine the direction for water diversion |
| 3 | Select a suitable outlet for the runoff |
| 4 | Mark the path and length of the trench |
| 5 | Dig the trench, considering the slope and avoiding utility lines |
By adhering to these guidelines, you can effectively plan the location and dig a trench for your French drain installation. This ensures proper water diversion and protection against potential water damage.
Lining the Trench and Pouring the Gravel Bedding
Once the trench is dug, it’s time to line it with water-permeable filter fabric to ensure the French drain remains free of debris such as dirt, silt, and tree roots. Leaving excess fabric at the sides will provide additional protection and ensure a secure installation.
Now, it’s time to pour and compact approximately 3 inches of gravel or landscaping stone along the bottom of the trench. This layer of gravel will act as bedding for the drainage pipe, providing a stable and solid foundation.
When choosing the appropriate pipe, you have two options to consider. A flexible drainage hose offers versatility and ease of installation. Alternatively, a durable PVC pipe with drainage holes provides long-lasting reliability.
After securing the pipe connections, lay the connected pipe structure in the trench. To ensure proper water flow and functionality, it’s essential to test the drain. This can be done by pouring water into the inlet grate and observing the flow of the water through the pipe system.
By following these French drain installation tips and steps, you’ll be well on your way to effectively managing water runoff and protecting your property from potential water damage.

Covering and Backfilling the French Drain
Once the pipe drain is set in the trench and the necessary connections are made, the next step is to cover and backfill the French drain. This step ensures that the system is protected and integrated into the surrounding landscape. Here are the steps to follow:
- Cover the drain pipe: Carefully cover the pipe with approximately 3 inches of gravel or crushed stone. Be sure to spread the gravel evenly and avoid crossing the ground level. This layer of gravel will act as an additional barrier and help promote proper water flow.
- Wrap the excess filter fabric: Take the excess filter fabric that was left over from lining the trench and wrap it over the layer of gravel. This will provide an extra layer of protection, preventing soil and debris from entering the drain and clogging it.
- Backfill with topsoil: Once the gravel and filter fabric are in place, begin backfilling the trench with topsoil. Ensure that the trench is completely filled, covering the entire French drain system. Use a shovel or rake to level the topsoil and create a smooth surface.
- Reseed or cover as desired: Depending on your landscaping preferences, you may choose to reseed the surface with grass or cover it with landscaping stones for a more decorative look. This step not only enhances the visual appeal but also helps with water absorption.
Maintenance Tips for a Functional French Drain
Regular maintenance is essential to keep your French drain functioning effectively and prevent any potential issues. Here are some maintenance tips to follow:
- Inspect the inlet grate: Regularly check the inlet grate for any debris or obstructions. Clean out any leaves, twigs, or other debris that may prevent water from entering the drain. This will ensure that the water flow remains unobstructed.
- Clean the outlet point: Similarly, inspect and clean the outlet point to prevent any clogs or blockages. Make sure the water can freely flow out of the drain and reach its intended destination.
By following these installation and maintenance tips, you can ensure that your French drain functions optimally, effectively diverting excess water away from your property and protecting it from water damage.

Ongoing Maintenance and Alternative Options
To ensure the optimal performance of your French drain, ongoing maintenance is crucial. By regularly inspecting and cleaning the inlet grate and outlet point, you can prevent clogs and blockages. Flushing out any debris that may accumulate in the drain is also essential to maintain its effectiveness.
If, in unfortunate circumstances, your French drain breaks or gets clogged, it may be necessary to dig up a section of it for inspection or repair. This will help you identify and address any issues promptly, ensuring the functionality of the drain.
Alternatively, there are gravel-free drainage systems available that can simplify the installation process. These innovative systems utilize a corrugated pipe surrounded by polystyrene aggregate and wrapped in filter fabric. This approach provides an efficient and effective solution for water diversion, without the need for extensive gravel bedding.
Remember, by properly maintaining your French drain and considering alternative options, you can protect your property from the damaging effects of excess water and ensure a well-drained landscape.
- Investing Wisely: How Windows & Doors in Boost Property Value and Financial Health - April 24, 2025
- The Financial Impact of Personal Injuries: Why Legal Help Matters for Business Owners - April 16, 2025
- The Hidden Financial Costs of Domestic Assault: What Business Owners Need to Know - April 16, 2025