Mastering Shower Plumbing Essentials – My Tips & Tricks
Did you know that a leaky shower can waste up to 2,000 gallons of water per year? That’s equivalent to 40 standard bathtubs!
Whether you’re a first-time homeowner or a DIY enthusiast, having some essential shower plumbing tips and tricks up your sleeve can help you tackle common issues and ensure a leak-free and smoothly running bathroom. In this article, I will share my expert insights and practical advice on shower plumbing, covering topics such as shower installation, repair, drain maintenance, and upgrades. From preventing clogs to fixing leaky faucets, you’ll find valuable tips to handle any shower plumbing challenge that comes your way.
Key Takeaways:
- Preventing clogs and maintaining drains is crucial for optimal water flow. Invest in high-quality strainers and clean them regularly to catch hair, soap scum, and debris.
- Use simple DIY techniques such as baking soda and vinegar to prevent clogs and keep drains clear.
- Learn how to unclog drains using a plunger, flange plunger, or toilet auger before calling a professional plumber.
- Fixing leaky faucets is a DIY plumbing task. Inspect and replace worn-out components, such as washers and O-rings, to stop annoying drips.
- Boost water pressure by cleaning the aerator and flushing pipes. Consider installing a water pressure booster if low pressure persists.
Preventing Clogs and Maintaining Drains
One of the key aspects of shower plumbing maintenance is preventing clogs and ensuring drains remain clear and functional. By following a few simple steps, you can keep your bathroom plumbing in optimal condition and avoid the frustration of dealing with clogged drains and potential water damage.
Invest in High-Quality Strainers
Using strainers in your sinks and showers is an effective way to catch hair, soap scum, and debris before they enter your plumbing system. Investing in high-quality strainers ensures they can withstand daily use and effectively capture any potential clog-causing culprits.
Cleaning Strainers Regularly
To maintain optimal flow in your drains, it’s essential to clean the strainers regularly. Hair and debris can accumulate over time, causing blockages and reducing water flow. By taking a few minutes every week to remove the trapped hair and debris from the strainers, you can prevent clogs and ensure your drains work efficiently.
Preventative Treatment with Baking Soda and Vinegar
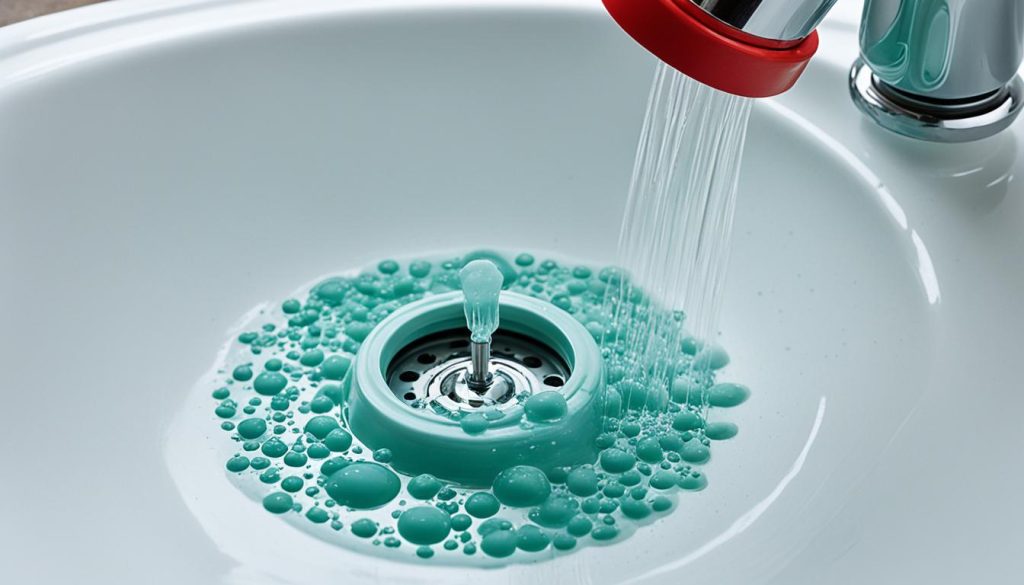
Baking soda and vinegar are natural and effective substances that can help prevent clogs in your shower drain. Once a month, pour half a cup of baking soda followed by half a cup of vinegar down the drain. Let the mixture sit for about 15 minutes, then flush it with hot water. The combination of baking soda and vinegar helps break down residue and keeps your drains clear.
Maintaining Optimal Flow
In addition to using strainers and cleaning them regularly, there are a few other ways to maintain optimal flow in your shower plumbing. Avoid pouring grease, oil, or coffee grounds down the drain, as they can solidify and form clogs. Running hot water after each use can also help flush away any lingering debris and keep your drains clear.
By following these preventative measures and practicing regular drain maintenance, you can keep your shower plumbing in top shape and prevent clogs from disrupting your daily routine.
| Preventive Measures | Benefits |
|---|---|
| Using high-quality strainers | Catch hair and debris |
| Cleaning strainers regularly | Ensure optimal flow |
| Monthly treatment with baking soda and vinegar | Prevent clogs and break down residue |
| Avoid pouring grease, oil, or coffee grounds down the drain | Prevent solidification and clogs |
| Running hot water after each use | Flush away debris |
Unclogging Drains
Despite our best efforts, clogged drains can still occur. In such cases, it’s useful to know how to unclog them before resorting to professional help. There are a few DIY plumbing techniques that can effectively clear common blockages in sink, shower, and toilet drains.
Using a Plunger
For sink and shower drains, a plunger can be a simple yet powerful tool to create suction and dislodge the blockage. Make sure to use a plunger specifically designed for sinks and showers, often referred to as a flat or cup plunger. Place the plunger over the drain opening, ensuring a tight seal, and plunge vigorously up and down for about 15-20 seconds. The suction created by the plunger should help break up the clog and restore proper drainage.
Flange Plunger for Toilets
When it comes to unclogging toilets, a regular plunger may not provide the best seal or enough force. That’s where a flange plunger comes in. The flange plunger has an extended flange that fits perfectly into the toilet drain, creating a better seal for controlled plunging. To use a flange plunger, place it in the toilet bowl, ensuring it covers the drain opening completely. Push down gently but firmly and then pull up quickly to create suction. Repeat this motion several times to dislodge the clog.
Toilet Auger for Stubborn Clogs
If a plunger doesn’t resolve the issue, a toilet auger, also known as a closet auger, can be a valuable tool for breaking up stubborn toilet clogs. A toilet auger is a flexible cable tool designed specifically for toilet drains. Insert the end of the auger into the toilet bowl, angling it towards the drain. Rotate the handle clockwise while exerting downward pressure to feed the auger cable through the drain. When you encounter resistance, continue rotating and pushing to break up the clog. Once the clog is dislodged, flush the toilet to ensure everything is flowing smoothly again.
Having these tools, such as a plunger or toilet auger, and knowing how to use them can save you from calling a plumber for minor clogs. However, if the clog persists or you’re unsure about tackling the issue yourself, it’s always best to seek professional plumbing assistance.
| Tool | Best Use |
|---|---|
| Plunger (Flat or Cup Plunger) | Sink and shower drains |
| Flange Plunger | Toilet drains |
| Toilet Auger (Closet Auger) | Stubborn toilet clogs |
Fixing Leaky Faucets
A leaky faucet not only wastes water but can also be annoying. Fortunately, fixing a leaky faucet is a DIY plumbing task that you can easily handle. Follow these steps to put an end to that annoying drip and save water wastage:
- Start by turning off the water supply to the faucet. This is typically done by closing the shutoff valves located under the sink.
- Next, carefully disassemble the faucet. Remove the handle by locating the set screw underneath or at the back of the handle and unscrewing it. Once the handle is off, you’ll have access to the cartridge or valve stem.
- Inspect the washer and O-ring inside the cartridge or valve stem, as they are common culprits of leaks. If you notice any signs of wear or damage, they will need to be replaced.
- Remove the washer by unscrewing it or pulling it off. The O-ring is usually located around the stem and can be easily slipped off.
- Take the old washer and O-ring to a hardware store to find an exact replacement. It’s important to get the right size and type to ensure a proper fit.
- Once you have the new washer and O-ring, it’s time to reassemble the faucet. Place the new O-ring onto the stem and secure it in place. Then, screw in the new washer or push it onto the stem.
- Reattach the faucet handle, making sure it aligns properly with the stem. Tighten the set screw to secure the handle in place.
- Finally, turn on the water supply and test the faucet. If done correctly, the leak should be fixed, and you can enjoy a drip-free faucet.
Remember, having the right plumbing tools on hand can make the process easier. Keep a set of basic plumbing tools, such as an adjustable wrench and screwdrivers, in your toolbox for any DIY plumbing repairs.
Boosting Water Pressure
If you’re experiencing weak water pressure in your shower, don’t worry – there are several steps you can take to improve it.
Cleaning the Aerator
Start by checking the aerator, which is the mesh screen located at the end of your faucet. Over time, mineral buildup can accumulate on the aerator, hindering water flow and resulting in weak water pressure. By removing and cleaning the aerator, you can restore optimal flow and improve your shower experience. Regular maintenance of the aerator is key to prevent mineral buildup from causing future water pressure problems.
Flushing Your Pipes
If cleaning the aerator doesn’t solve the issue, the problem may lie deeper within your plumbing system. Mineral deposits can accumulate over time, narrowing the diameter of pipes and restricting water flow. Flushing your pipes is a process that involves turning off the main water supply and opening all faucets to allow a forceful stream of water to dislodge accumulated sediment. By flushing your pipes, you can eliminate mineral buildup and restore water pressure to its optimal level.
Installing a Water Pressure Booster
If cleaning the aerator and flushing the pipes fail to address the weak water pressure, it may be necessary to consider installing a water pressure booster. A water pressure booster is a device that increases water pressure throughout your plumbing system, ensuring a consistent and powerful flow, especially in the shower. This long-term solution can be particularly beneficial if you live in an area with low water pressure or if your home is equipped with multiple floors.
Dealing with Toilet Clogs
A clogged toilet can be a major inconvenience, but there are a few DIY techniques you can try before calling a plumber. If you don’t have a plunger on hand, the bucket trick might come to the rescue. Fill a bucket with hot water (not boiling) and pour it into the toilet bowl from waist height, aiming for the center. The force of the water might dislodge the clog and help it move through the pipes. Alternatively, a toilet auger, a flexible cable tool designed specifically for toilet clogs, can be effective in breaking up stubborn blockages.
| DIY Technique | Instructions |
|---|---|
| Bucket Trick | 1. Fill a bucket with hot water (not boiling) 2. Pour the water into the toilet bowl from waist height, aiming for the center |
| Toilet Auger | 1. Insert the toilet auger into the toilet drain 2. Rotate the auger handle clockwise to break up the clog 3. Flush the toilet to clear the clog |
Winterizing Plumbing and Emergency Preparedness
As the winter season approaches, it’s crucial to take proactive steps to protect your shower plumbing from freezing and potential bursts. By winterizing your plumbing system, you can avoid costly repairs and ensure a stress-free winter.
One essential winterizing technique is insulating exposed pipes with foam pipe sleeves. This simple measure helps retain heat and prevents pipes from freezing in cold temperatures. It’s especially vital to insulate any pipes located in unheated areas such as basements, crawl spaces, or exterior walls.
In addition to pipe insulation, familiarizing yourself with the location of the main water shut-off valve is essential in emergency situations. If a pipe does burst, quickly turning off the main water supply can minimize water damage and potential flooding. Locate the valve and ensure it’s easily accessible and functioning properly.
By implementing these winterizing and emergency preparedness measures, you can save yourself from the inconvenience and expense of dealing with plumbing leaks and repairs during the winter months. Take a proactive approach to your shower plumbing and enjoy a worry-free winter season.
Source Links
- https://www.jettyplumbing.com.au/plumbing-tips-for-homeowners
- https://theownerbuildernetwork.co/mastering-home-plumbing/
- https://www.ferrariplumbing.net/diy-plumbing-tips-first-time-homeowners
- Investing Wisely: How Windows & Doors in Boost Property Value and Financial Health - April 24, 2025
- The Financial Impact of Personal Injuries: Why Legal Help Matters for Business Owners - April 16, 2025
- The Hidden Financial Costs of Domestic Assault: What Business Owners Need to Know - April 16, 2025
