How to Remove Shower Drain Quickly & Easily
It may come as a surprise, but a clogged shower drain can lead to more serious issues if left unattended. From water damage to mold growth, the consequences can be significant. However, by learning how to remove a shower drain yourself, you can not only save time and money but also prevent potential headaches down the line.
In this step-by-step guide, I’ll walk you through the process of removing a shower drain quickly and easily. Whether you’re dealing with a stubborn clog or simply want to maintain your plumbing system, these tips will prove invaluable.
Key Takeaways:
- Removing a shower drain can prevent costly plumbing repairs.
- Learning how to remove a shower drain yourself saves time and money.
- Regular maintenance can help prevent clogs and other plumbing issues.
- Follow a step-by-step guide to ensure a successful shower drain removal.
- Taking DIY measures can be an effective solution for minor drain problems.
Before You Unclog the Shower Drain
Before attempting to remove a shower drain, it’s essential to understand the possible causes of a shower drain clog and familiarize yourself with the process of unclogging a shower drain. This section will guide you through how to identify and assess the clog, remove the drain cover, and take necessary safety precautions while working on the drain.
Identifying and Assessing the Clog
A shower drain clog can result from various factors such as hair, soap scum, mineral build-up, or foreign objects. By identifying the cause of the clog, you can choose the most appropriate method to unclog your shower drain.
- If the water drains slowly or doesn’t drain at all, it’s likely there is a clog in the drain pipe.
- If there is standing water in the shower after use, it indicates a severe clog that requires immediate attention.
Removing the Drain Cover
Before you can tackle the clog, you’ll need to remove the drain cover to access the drain pipe. Here’s a step-by-step guide on how to remove the drain cover:
- Inspect the drain cover and look for screws or visible fasteners.
- Use a screwdriver or appropriate tool to remove the screws or fasteners securing the drain cover.
- Gently lift the drain cover to detach it from the drain pipe.
- Clean the drain cover thoroughly to remove any debris or buildup.
Safety Precautions
When working on the shower drain, it’s important to take safety precautions to avoid injury and further damage. Here are some safety tips to keep in mind:
- Wear protective gloves to shield your hands from bacteria and sharp objects.
- Use appropriate tools and handle them with care to prevent accidents.
- Ensure the bathroom is well-ventilated to avoid inhaling any unpleasant fumes.
By understanding the possible causes of a shower drain clog, knowing how to remove the drain cover, and taking necessary safety precautions, you’ll be well-prepared to tackle the unclogging process. In the next section, we’ll explore how to clear a shower drain using boiling water.
How to Clear a Shower Drain With Boiling Water
One of the simplest and most cost-effective methods for clearing a shower drain is by using boiling water. This method is particularly effective for unclogging metal pipes, but it should be avoided for PVC pipes, as the high temperature of boiling water can potentially damage them.
Here’s a step-by-step guide on how to clear a shower drain using the boiling water method:
- Remove any visible debris or hair from the drain, as this can help improve the effectiveness of the boiling water method.
- Boil a kettle or pot of water until it reaches a rolling boil.
- Carefully pour the boiling water down the drain, being cautious to avoid splashing yourself.
- Allow the boiling water to sit in the drain for a few minutes.
- After the allotted time, test the drain by running water to see if it flows freely. If the water is still draining slowly or not at all, you may need to repeat the process or try alternate methods.
Remember, this method is not suitable for PVC pipes. If you have PVC pipes or the clog persists after using boiling water, it’s best to explore other options such as using a plunger, vinegar and baking soda, or a plumber’s snake for a more stubborn clog.
Why Boiling Water Is Effective for Unclogging Drains
Boiling water is an effective method for clearing a shower drain because it helps to dissolve and dislodge accumulated soap scum, hair, and other common clog-causing substances. The hot water works by melting away the substances that may be obstructing the flow of water, allowing it to pass through more easily.
It’s important to note that the boiling water method is typically most effective for minor or moderate clogs. If you’re dealing with a persistent or severe clog, it’s recommended to consult a professional plumber for assistance.
Remove Hair or Debris
If you’ve tried unclogging your shower drain with boiling water but the clog persists, it’s likely caused by hair or debris. Don’t worry, removing hair or debris from the shower drain is not as challenging as it may seem. In this section, I’ll show you how to effectively remove hair or debris using your fingers or a wire coat hanger. Additionally, I’ll provide some helpful tips on preventing clogs in the future.
Using Your Fingers
In some cases, you may be able to remove hair or other visible debris from the shower drain simply by using your fingers. Before you begin, make sure you have a pair of rubber gloves to protect your hands.
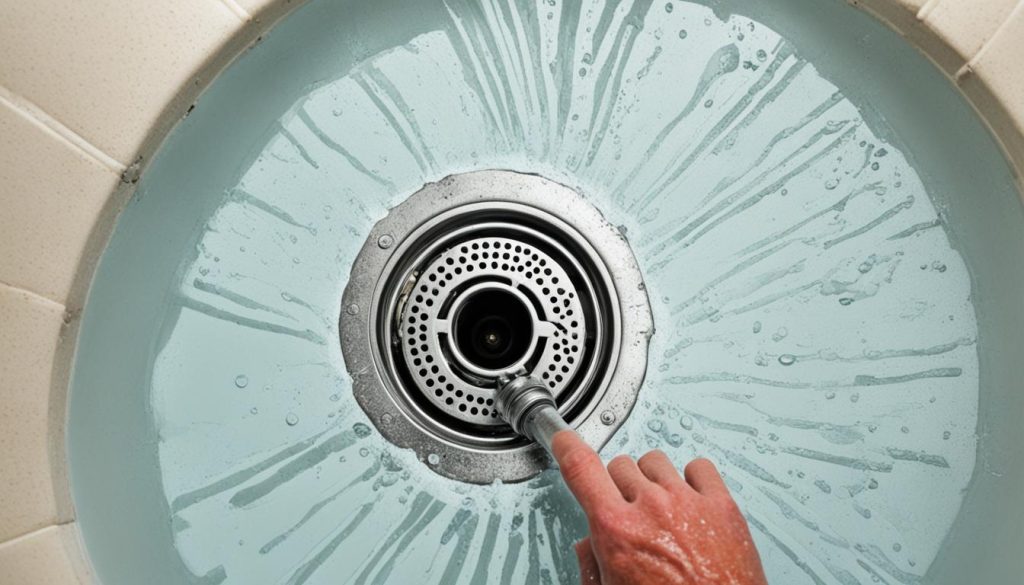
- Start by removing the drain cover. Depending on the type of cover, you may need a screwdriver or pliers to loosen and lift it.
- Inspect the drain and look for any visible hair or debris. Use your fingers to grab and pull out any obstructions.
- Once you’ve removed the hair or debris, rinse the drain with warm water to flush away any remaining residue.
Removing hair and debris from the shower drain using your fingers is a quick and straightforward method. However, if the clog is deeper within the pipes or difficult to reach, you may need to use a wire coat hanger.
Using a Wire Coat Hanger
A wire coat hanger can be a handy tool for removing clogs that are further down the drain. Here’s how to do it:
- Unwind the wire coat hanger and straighten it as much as possible.
- Create a small hook at one end of the hanger, which will be used to catch and pull out the hair or debris.
- Insert the hooked end of the hanger into the drain and gently maneuver it around to hook onto any obstructions.
- Carefully pull the hanger out, bringing the hair or debris along with it.
- Once you’ve removed the clog, run warm water down the drain to ensure it’s clear.
Remember to be gentle when using the wire coat hanger to avoid damaging the drain or pipes. If you encounter any resistance, stop and consult a professional plumber.
Now that you’ve successfully removed the hair or debris from your shower drain, let’s discuss some tips to prevent clogs in the future.
Preventing Clogs in the Future
To minimize the occurrence of clogs in your shower drain, consider these preventive measures:
- Install a drain cover or strainer to catch hair and large debris before it enters the drain.
- Regularly clean the drain cover or strainer by removing any accumulated hair or debris.
- Avoid pouring grease, oil, or food particles down the drain.
- Use a hair-catching tool, such as a drain snake, on a monthly basis to remove any buildup.
- Consider using a drain cleaner product designed to break down hair and prevent clogs.
By following these preventative measures, you can keep your shower drain flowing smoothly and avoid the hassle of dealing with frequent clogs.
How to Unclog a Shower Drain with Vinegar and Baking Soda
If the clog remains after removing hair or debris from your shower drain, don’t panic. You can try using a vinegar and baking soda mixture to unclog the drain effectively. This DIY method is a popular and inexpensive solution for many homeowners. Follow these step-by-step instructions to unclog your shower drain using vinegar and baking soda:
- Mix 1/2 cup of baking soda with 1/2 cup of vinegar in a measuring cup. The mixture will fizz and bubble, so be prepared for that chemical reaction.
- Quickly pour the mixture down the drain. Make sure to cover the drain opening with a cloth or stopper immediately to prevent the mixture from escaping.
- Leave the mixture to sit in the drain for about 30 minutes. This time allows the vinegar and baking soda to break down the clog and dissolve any built-up residue.
- After the designated time, remove the stopper or cloth and pour boiling water down the drain. The hot water will flush away the dissolved clog and clear the drain.
- Run some water down the drain to test if it’s completely clear. If the water flows smoothly, congratulations! You’ve successfully unclogged your shower drain using vinegar and baking soda.
This vinegar and baking soda method is effective for minor clogs caused by soap scum, hair, or other residues. It’s a natural and environmentally friendly alternative to harsh chemical drain cleaners. However, please note that this method may not work for severe or stubborn clogs. In such cases, it’s advisable to seek professional help or try other unclogging methods.
The Benefits of Using Vinegar and Baking Soda to Unclog Your Shower Drain
Using vinegar and baking soda to unclog your shower drain offers several advantages:
- Cost-effective: Both vinegar and baking soda are inexpensive household items, making this method an affordable option.
- Natural solution: Avoiding harsh chemical drain cleaners is better for your plumbing system and the environment.
- Readily available ingredients: You can easily find vinegar and baking soda at your local grocery store or supermarket.
- Safe for most pipes: This method is safe for most types of pipes, including metal and PVC.
- Preventative maintenance: Regularly using vinegar and baking soda to clean your drains can help prevent future clogs.
Now that you know how to unclog a shower drain with vinegar and baking soda, why not give it a try the next time you encounter a clog? It’s a DIY solution that’s worth a shot before resorting to more drastic measures.
| Pros | Cons |
|---|---|
| Cost-effective | May not work for severe clogs |
| Natural and environmentally friendly | Requires time for the mixture to react |
| Readily available ingredients | Not suitable for every type of clog |
| Safe for most types of pipes | |
| Preventative maintenance |
How to Unclog a Shower Drain With a Plunger
A plunger is a simple and effective tool for unclogging a shower drain. By creating suction and pressure, it can dislodge blockages and restore proper drainage. Follow these steps to effectively use a plunger and unclog your shower drain:
Gather Your Materials
Before you start, gather the necessary materials:
- A plunger – preferably one specifically designed for drains
- A clean bucket or bowl
- A towel or rag
Preparation
Start by preparing the area:
- Remove any drain covers or plugs to allow direct access to the drain.
- Place the towel or rag around the base of the shower to catch any water that may splash out during the unclogging process.
- Fill the bucket or bowl with enough water to cover the suction cup of the plunger.
Creating a Seal
Next, create a seal with the plunger:
- Position the plunger over the drain so that the suction cup completely covers the drain opening.
- Press down firmly to create a tight seal.
Plunging Technique
Now you’re ready to start plunging:
- Push the plunger downward and then pull upward in a quick and vigorous motion. Repeat this plunging action several times.
- After a few plunges, break the seal by quickly lifting the plunger away from the drain.
- Observe if the water level in the shower drain starts to recede or if water begins to drain more freely. This indicates that the clog is clearing.
Repeat if Necessary
If the water does not drain or only partially drains after the first attempt, repeat the plunging process. It may take a few rounds of plunging to completely clear the clog.
After Unclogging
Once you have successfully unclogged the shower drain, clean the plunger thoroughly with soap and water before storing it away. Dispose of any debris collected in the bucket or bowl.
Remember, if plunging doesn’t resolve the clog or if you encounter any difficulties, it’s recommended to seek professional help.
| Pros | Cons |
|---|---|
| Simple and affordable tool | May not work for severe clogs or more complex plumbing issues |
| Often effective for minor hair and debris blockages | Requires some physical effort and proper technique for best results |
| Can be used as a preventive measure to maintain drain health | May not be suitable for all types of drainage systems |
How to Unclog a Shower Drain with A Plumber’s Snake
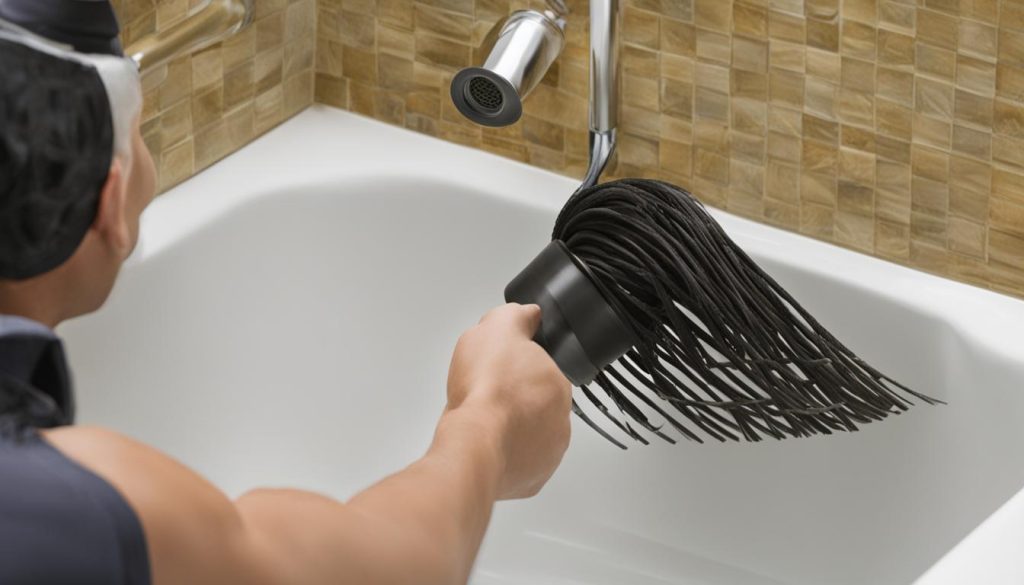
If you’ve tried the previous methods and your shower drain is still stubbornly clogged, it’s time to bring in the big guns – a plumber’s snake. This professional drain cleaning tool is designed to reach deep into your pipes and clear even the toughest blockages.
To use a plumber’s snake, start by inserting the snake’s tip into the drain opening. Gently push the snake further into the drain while turning the handle clockwise. This motion will help the snake grab onto the clog and break it up.
Continue feeding the snake into the drain until you encounter resistance. Once you feel the resistance, rotate the snake’s handle counterclockwise. This action will help retrieve the clog from your pipes. Slowly pull the snake out of the drain while maintaining a firm grip on the handle.
Remember to use caution when using a plumber’s snake. Wear gloves and eye protection, as the process can be messy. Additionally, be mindful not to push the clog further into the pipes or cause damage to the drain or surrounding areas. If you’re uncertain about using a plumber’s snake, it’s best to consult a professional drain cleaning service.
- Investing Wisely: How Windows & Doors in Boost Property Value and Financial Health - April 24, 2025
- The Financial Impact of Personal Injuries: Why Legal Help Matters for Business Owners - April 16, 2025
- The Hidden Financial Costs of Domestic Assault: What Business Owners Need to Know - April 16, 2025
