Relocating Bathroom Sink Plumbing Simplified
Did you know that many homeowners in Canada are opting to move their bathroom sink plumbing to different walls? This trend has gained popularity as people seek to create more functional and aesthetically pleasing spaces in their bathrooms. If you’re considering relocating your bathroom sink, you’ve come to the right place. In this article, I’ll provide you with a step-by-step guide to simplify the process and help you achieve the bathroom of your dreams.
Key Takeaways:
- Moving bathroom sink plumbing is a feasible DIY project with proper planning and preparation.
- Before starting, gather the necessary supplies and shut off the water supply to the sink.
- Removing the existing sink and rerouting or extending the plumbing may be necessary.
- Prepare the new wall by marking the sink placement and cutting openings for the supply lines and drain pipe.
- Mount the sink securely, reconnect the plumbing, and perform a test for any leaks.
Planning and Preparation
Before embarking on a bathroom sink relocation project, proper planning and preparation are essential for a successful outcome. Here’s what you need to do:
1. Determine the New Location
Begin by deciding where you want to move your bathroom sink. Consider factors such as convenience, available space, and proximity to existing plumbing. Make sure the new location is easily accessible for water supply and drainage connections.
2. Gather the Necessary Supplies
To ensure a smooth relocation process, gather the following supplies before you start:
- A wrench
- Pliers
- A reciprocating saw
- A level
- Measuring tape
- Goggles
- Gloves
These tools will come in handy as you disconnect and reinstall the sink and make any necessary adjustments.
3. Shut Off the Water Supply
Before you begin working on the sink, it’s crucial to shut off the water supply to avoid any potential leaks or accidents. Locate the main shut-off valve, usually found near the sink or in the basement, and turn it clockwise until the water supply is completely shut off.
By following these steps and planning ahead, you’ll be well-prepared for the bathroom sink relocation project. Now, let’s move on to the next section to learn about removing the existing sink.
Removing the Existing Sink
Now that the planning and preparation are complete, it’s time to begin the process of removing the existing sink. This is an important step in order to make way for the relocation of the sink to its new wall or countertop. Follow the steps below to disconnect the sink plumbing, remove the sink fasteners, detach the sink from the wall or countertop, and take apart the sink components:
Step 1: Disconnecting Sink Plumbing
Using a wrench or pliers, carefully disconnect the water supply lines from the sink. Start by turning off the water supply to the sink at the main shut-off valve. Then, use your tools to loosen the nuts connecting the water supply lines to the faucet or valves. Set aside any washers or gaskets that may be present.
Step 2: Removing Sink Fasteners
With the plumbing disconnected, it’s time to remove any fasteners holding the sink in place. This may include screws, bolts, or clips depending on the type of sink and installation. Use a wrench to loosen and remove these fasteners, taking care not to damage the sink or surrounding area.
Step 3: Detaching Sink from Wall
Once the sink fasteners are removed, gently detach the sink from the wall or countertop. Depending on the installation, the sink may be held in place with adhesive or caulk. Use a putty knife or scraper to carefully separate the sink from its mounting surface. Take your time during this step to avoid any damage to the sink or the wall.
Step 4: Taking Apart Sink Components
If you plan to reuse the faucet or any other components, it’s important to take them apart properly. Using the necessary tools, detach the faucet from the sink by removing any nuts or screws. Set aside the faucet and any other components in a safe location for later installation.
With these steps completed, you have successfully removed the existing sink and are ready to proceed with the next phase of your bathroom sink relocation project. Keep in mind that the specifics of sink removal may vary depending on the type of sink and installation, so always refer to the manufacturer’s instructions or consult a professional if needed.
Rerouting or Extending the Plumbing
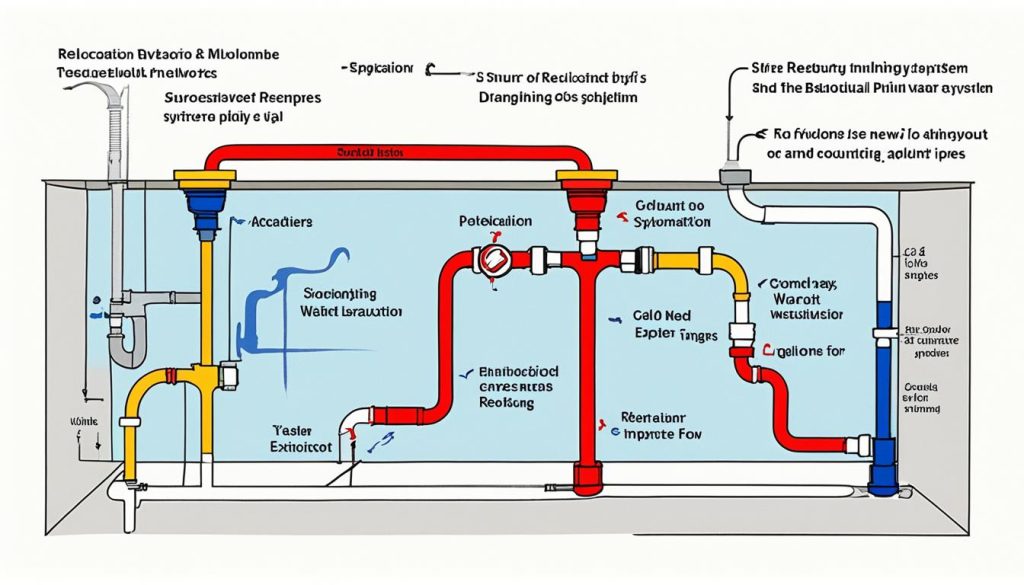
Depending on the new wall’s location, you may need to reroute or extend the plumbing for the bathroom sink. This step requires plumbing experience, and if you’re unsure, it’s recommended to consult a professional plumber. Rerouting or extending the plumbing involves making adjustments to the drain pipes and water lines to ensure they reach the new location of the sink. Properly addressing this aspect will ensure the functionality and efficiency of the relocated bathroom sink.
Consider Consulting a Professional Plumber
If you’re unsure about rerouting or extending the plumbing for your bathroom sink, it’s always a good idea to consult a professional plumber. They have the expertise and experience to tackle complex plumbing projects and ensure everything is done correctly. Hiring a professional will give you peace of mind and prevent any potential issues or mistakes that could arise from DIY attempts. Remember, it’s better to be safe than sorry when it comes to your plumbing.
Rerouting Sink Plumbing
Rerouting the sink plumbing involves adjusting the drain pipes and water lines to accommodate the new location of the sink. This may require adding additional pipe sections, elbows, or connectors to redirect the flow of water and sewage. It’s essential to ensure proper alignment and secure connections to avoid leaks or clogs. While it’s possible to reroute sink plumbing yourself, it’s best to consult a professional plumber if you lack experience in this area. They can efficiently reroute the plumbing while adhering to building codes and ensuring optimal functionality.
Extending Sink Drain Pipes
If the new wall is farther away from the existing plumbing, you may need to extend the sink drain pipes. This involves adding extra sections of pipe to bridge the gap and connect the sink to the main drain line. The extension should be securely fastened and properly sloped to ensure efficient drainage. Consulting a professional plumber is advisable for this task, as they have the knowledge and tools to extend drain pipes effectively while maintaining proper alignment and preventing leaks or blockages.
Adjusting Sink Water Lines
When relocating a bathroom sink, you may also need to adjust the water lines to reach the new position. This could involve extending or rerouting the pipes that supply hot and cold water to the faucet. It’s crucial to ensure the water lines are properly connected, with secure fittings and minimal bends or kinks. An experienced plumber can make the necessary adjustments to the water lines efficiently and effectively, ensuring proper water flow and preventing any issues with leaks or reduced water pressure.
| Rerouting or Extending the Plumbing | Benefits |
|---|---|
| 1. Provides flexibility in choosing the sink’s new location. | 1. Allows for better utilization of available space. |
| 2. Ensures proper alignment and functionality of the plumbing system. | 2. Prevents potential issues such as leaks or clogs. |
| 3. Allows for future modifications or renovations without significant disruptions. | 3. Increases the value and appeal of your bathroom. |
Preparing the New Wall
Before installing the sink on the new wall, it’s important to prepare it properly. This step ensures that the plumbing connections can be made once the sink is in place, ensuring its stability and functionality.
First, using a level and measuring tape, mark the precise position for the sink on the wall. This will serve as a guide for the installation process.
Next, using a reciprocating saw, cut openings in the wall for the water supply lines and the drain pipe. These openings will allow for easy connection of the plumbing fixtures once the sink is mounted.
By properly preparing the new wall, you’ll be able to seamlessly install the sink and ensure a secure and functional installation. Take your time and measure accurately to avoid any future issues.
Now that the new wall is prepared, it’s time to move on to the exciting part – installing the sink on the new wall.
Installing the Sink on the New Wall
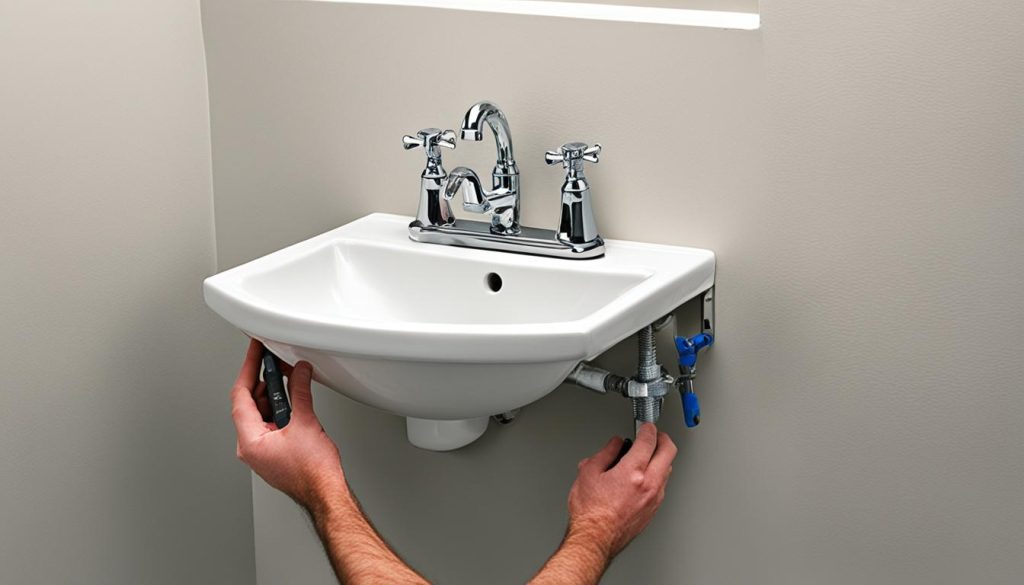
Now that the new wall is prepared, it’s time to install the sink. Ensuring a secure and level installation is crucial for long-lasting functionality and aesthetics. Follow these steps to mount the sink securely, connect the plumbing, check for leaks, and reattach the faucet:
- Attach the sink to the wall using appropriate fasteners. Make sure the sink is level and securely anchored. This step will provide stability and prevent any unwanted movement.
- Next, reconnect the water supply lines. Carefully align the connections and use a wrench to tighten them. Ensure there are no loose or leaking connections.
- Reconnect the drain by aligning the pipe with the sink’s drain hole. Use a wrench to tighten the connection, ensuring it is secure and leak-free.
- Once the plumbing connections are in place, it’s essential to check for leaks. Turn on the water and inspect all connections and pipes. If you notice any leaks, tighten the connections further or consult a professional plumber to resolve the issue.
- Finally, reattach the faucet to the sink following the manufacturer’s instructions. Ensure a tight and secure connection to avoid any leaks during operation.
By following these steps, you can ensure that your sink is properly installed on the new wall. It’s important to remember that a secure and leak-free installation is crucial for the long-term functionality and enjoyment of your bathroom sink.
| Step | Actions |
|---|---|
| 1 | Attach the sink to the wall using appropriate fasteners |
| 2 | Reconnect the water supply lines |
| 3 | Reconnect the drain |
| 4 | Check for leaks |
| 5 | Reattach the faucet |
Final Touches
To complete the bathroom sink relocation project, there are a few final touches to consider. Applying caulk, patching and painting, and paying attention to the details will ensure a seamless finish. These steps will enhance the overall look and functionality of the relocated sink, giving your bathroom a refreshed and polished appearance.
Applying Caulk
One important step in completing the sink relocation project is to apply caulk around the edge of the sink. By doing so, you prevent water from seeping into gaps and causing damage. Use a waterproof caulk specifically designed for bathroom use. Start by applying a thin bead of caulk along the edge of the sink where it meets the countertop or wall. Use a caulk gun for precise application, and smooth the caulk with your finger or a caulk smoothing tool. This simple step goes a long way in ensuring a watertight seal and preventing any moisture-related issues.
Patching and Painting
An integral part of the sink relocation project is patching any holes or damage in the wall and painting it to match the bathroom’s aesthetic. Fill any holes or cracks with spackling compound or a patching compound, following the product instructions. Use a putty knife to smooth the compound and create a seamless finish. Once the compound is dry, sand it lightly to achieve a smooth surface. Finally, apply a primer appropriate for your wall material, followed by your chosen paint color. By patching and painting, you ensure that the newly relocated sink blends seamlessly into your bathroom’s overall design.
Essential Supplies for Final Touches
| Supplies | Description |
|---|---|
| Waterproof Caulk | A caulk specifically designed for bathroom use that provides a watertight seal. |
| Caulk Gun | A tool used for easy and precise application of caulk. |
| Caulk Smoothing Tool | A tool used to smooth caulk and create a neater finish. |
| Spackling Compound/Patching Compound | Used to fill holes or cracks in the wall surface. |
| Putty Knife | A tool used for applying and smoothing patching compound. |
| Sandpaper | Used to achieve a smooth surface after patching. |
| Primer | A primer appropriate for the wall material that provides a suitable surface for painting. |
| Paint | A paint color that matches your bathroom’s aesthetic. |
Conclusion
Moving a bathroom sink to another wall can be a rewarding DIY project, allowing you to create a more functional and aesthetically pleasing space in your bathroom. With proper planning and execution, you can achieve impressive results. However, it’s essential to recognize your own limitations and seek professional plumbing assistance if you lack experience or feel unsure about the process.
By following the necessary steps and taking your time, you can successfully relocate your bathroom sink. Remember to exercise caution when working with plumbing and always prioritize safety. With the right tools and adequate planning, you can transform your bathroom, maximizing both functionality and visual appeal.
Whether you decide to embark on the DIY journey or opt for professional help, the ultimate goal is to create a space that reflects your personal style and meets your practical needs. By relocating your bathroom sink, you have the opportunity to enhance your everyday experience in this essential room of your home. So, take the first step, plan accordingly, and enjoy the process of creating a bathroom that truly speaks to you.
- Investing Wisely: How Windows & Doors in Boost Property Value and Financial Health - April 24, 2025
- The Financial Impact of Personal Injuries: Why Legal Help Matters for Business Owners - April 16, 2025
- The Hidden Financial Costs of Domestic Assault: What Business Owners Need to Know - April 16, 2025


