Create a No-Plumb Wet Bar Easily!
Did you know that you can create a wet bar without plumbing and still enjoy all the convenience and style it brings? Yes, it’s true! You don’t need to go through the hassle and expense of extensive plumbing work to have a wet bar in your home. With some creative ideas and smart installation tips, you can easily build a no-plumb wet bar that is both affordable and innovative. In this article, I will guide you through the process of making a wet bar without plumbing, giving you the tools and inspiration to enhance your home’s entertainment area.
Key Takeaways:
- Creating a wet bar without plumbing is a convenient and budget-friendly option.
- Proper planning and design choices are essential for a successful no-plumb wet bar.
- Consider affordable options for backsplash, cabinetry, countertops, sinks, and faucets.
- Lighting, open shelving, and personal touches can elevate the overall look and feel of your wet bar.
- With the right approach, you can have a stunning no-plumb wet bar that impresses your guests.
Planning Your No-Plumb Wet Bar
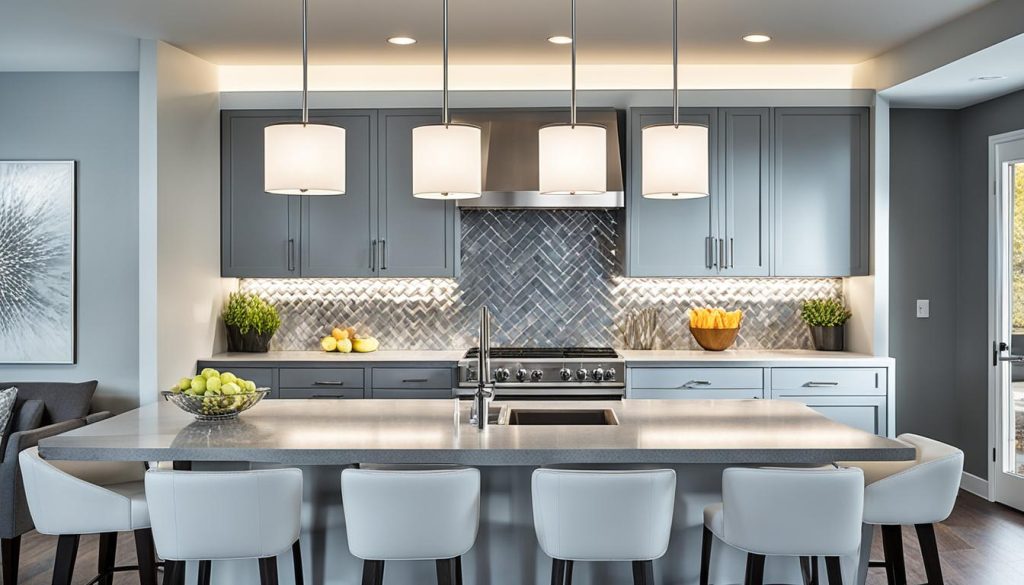
Before starting the construction of your no-plumb wet bar, it’s important to plan out the design and layout to ensure that all your desired features are incorporated. A well-planned wet bar will provide both functionality and style to enhance your entertaining space.
Consider the following elements when planning your no-plumb wet bar:
- Lower bank of cabinets with drawers: A lower bank of cabinets offers ample storage space for your bar essentials. Drawers can be included to organize smaller items.
- Butcher block countertop: Opt for a butcher block countertop to add warmth and a rustic touch to your wet bar design.
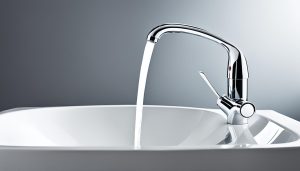
- Sink and faucet: Choose a small bar sink and suitable faucet to enable easy cleanup and convenience.
- Backsplash: Install a visually appealing backsplash to protect the wall behind your wet bar. Consider peel and stick options for an affordable yet stylish solution.
- Open shelving: Incorporate open shelving to display glassware, bottles, and decorative items. This adds a decorative element and easy access to frequently used items.
- Statement light fixture: Select a statement light fixture that complements the overall design of your wet bar and provides adequate lighting for the area.
- Bar fridge: Include a compact bar fridge to keep your beverages chilled and easily accessible.
- Microwave: If desired, add a microwave to your wet bar for quick heating or cooking needs.
- Budget: Set a budget for your project to ensure you stay within your desired spending limits. Consider affordable options that still provide quality materials and components.
By carefully considering these elements and planning your no-plumb wet bar, you can create a functional and stylish space that meets your needs while staying within your budget.
Affordable Backsplash Options
When it comes to creating a no-plumb wet bar, finding cost-effective solutions is key. One area where you can save money without compromising on style is the backsplash. Opting for affordable options like peel and stick backsplash can give your wet bar a high-end look without breaking the bank.
A popular brand that offers a wide range of peel and stick backsplash options is Wallpops. Their selection includes peel and stick wallpaper with various patterns and designs, allowing you to customize your wet bar to match your personal style and decor.
One of the advantages of using peel and stick backsplash is its easy installation process. You can transform your wet bar in no time without the need for professional help. Simply peel off the backing and stick the sheets directly onto the wall. It’s a simple DIY project that anyone can do!
Peel and stick backsplash also offers a glossy finish, which not only adds a touch of elegance to your wet bar but also makes for easy cleaning. With a quick wipe, you can keep your backsplash looking brand new, even after those messy nights of entertaining guests.
By choosing peel and stick backsplash, you’ll find it to be a cost-effective solution compared to traditional tiles. Not only will you save money on materials, but you’ll also save on installation costs.
Benefits of Peel and Stick Backsplash:
- Easy installation process
- Glossy finish for easy cleaning
- Cost-effective compared to traditional tiles
- Wide range of patterns and designs
| Product | Price Range | Features |
|---|---|---|
| Wallpops Peel and Stick Backsplash | $10 – $30 per sheet | Easy installation process Glossy finish for easy cleaning Various patterns and designs |
Cabinetry and Countertop Selection
When it comes to creating your no-plumb wet bar, selecting the right cabinetry and countertop is crucial. You want both affordability and style to ensure a functional and aesthetically pleasing design. That’s why I recommend exploring the range of options available at Home Depot, specifically their assembled instock Hampton Bay Cabinets. These cabinets not only offer affordability but also feature shaker style cabinet doors, concealed hinges, and soft closing drawers. With these high-quality components, you can create a wet bar that is both durable and visually appealing.
To complement your cabinets, consider opting for a wood countertop. A wood countertop adds warmth and a natural touch to your wet bar, enhancing the overall ambiance. If you find that standard-sized countertops don’t fit your space, don’t worry! With the help of skilled friends or professionals, you can easily make custom modifications to ensure the perfect fit for your wet bar.
Hampton Bay Cabinets Features:
| Features | Description |
|---|---|
| Shaker Style Cabinet Doors | Adds a timeless and elegant look to your wet bar. |
| Concealed Hinges | Provides a sleek and seamless appearance. |
| Soft Closing Drawers | Offers smooth and quiet operation, preventing slamming noises. |
With Hampton Bay Cabinets and a wood countertop, you can achieve a functional and visually appealing wet bar without breaking the bank. Don’t settle for subpar materials or compromise on style when creating your no-plumb wet bar. Choose affordable cabinetry options like Hampton Bay Cabinets available at Home Depot, and pair them with a beautiful wood countertop for a budget-friendly installation that doesn’t sacrifice quality or design.
Sink and Faucet Installation
Installing a sink and faucet in your no-plumb wet bar is essential for convenience and functionality. To ensure a seamless integration with your wet bar design, consider opting for a small bar sink, such as the ones offered by Glacier Bay. These stainless steel sinks are compact and designed specifically for wet bar installations.
Proper installation of the sink is crucial for optimum performance. Follow the included template and use the provided tools to ensure a precise fit. As stainless steel sinks are durable and resistant to stains, scratches, and corrosion, they are an excellent choice for a wet bar.
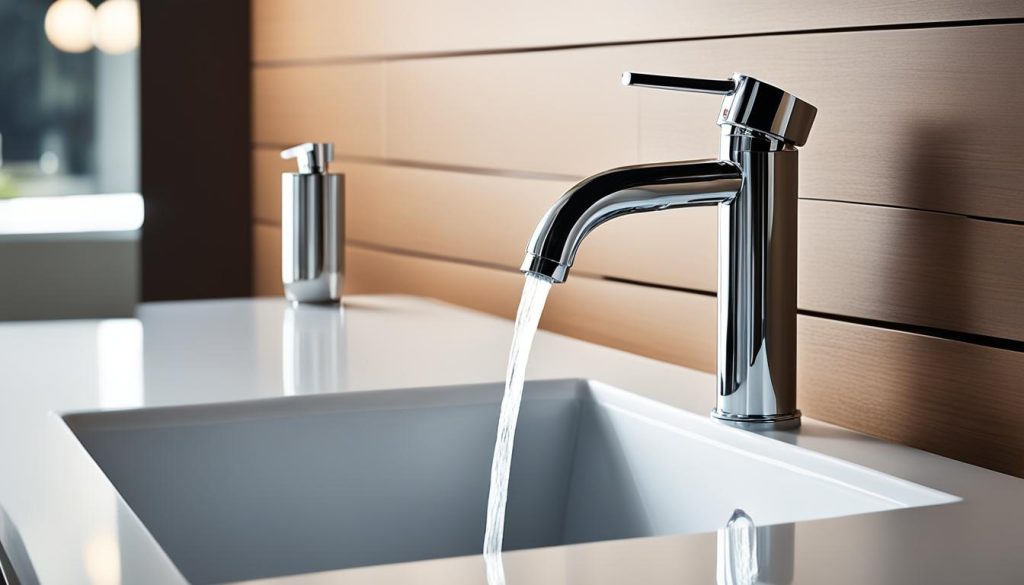
When selecting a faucet for your wet bar, it is essential to choose one that complements the overall design and aligns with your style preferences. Consider thinking outside the box and explore options from bathroom faucet collections, such as the Glacier Bay “Wilmont” faucet, mentioned in the sources. This approach can offer customization options and provide an affordable alternative while still achieving the desired rustic industrial vibe.
| Benefits of Small Bar Sink by Glacier Bay |
|---|
| Compact size suitable for wet bar installations |
| Durable stainless steel construction |
| Resistant to stains, scratches, and corrosion |
When installing the faucet, ensure that it is properly aligned and securely attached to the sink. This will guarantee smooth operation and prevent any leaks or water damage. As with any plumbing installation, it is recommended to consult a professional if you are unsure or unfamiliar with the process.
With a small bar sink and a suitable faucet, your no-plumb wet bar will not only provide functionality but also contribute to the overall aesthetic appeal of your entertainment space.
Lighting, Open Shelving, and Finishing Touches
The right lighting and open shelving can transform your no-plumb wet bar into a stylish and functional space. Consider using high-quality products from Globe Electric to add a touch of elegance and practicality to your wet bar design.
For a standout lighting fixture, opt for the “Aeden” gooseneck fixture mentioned in the sources. This statement piece not only provides ample lighting but also becomes a focal point that showcases your open shelving. With its stylish design and adjustable features, the gooseneck fixture adds charm and versatility to your wet bar area.
Speaking of shelves, enhance the industrial style of your wet bar by incorporating custom shelves with industrial-style brackets. This combination not only offers additional storage but also adds a unique touch to your design. Consider using rough-hewn wood planks or reclaimed materials to achieve a rustic appeal that complements your overall aesthetic.
To personalize your wet bar further, incorporate affordable accessories and personal touches. Add some character with items like neon signs or customized woodwork that reflect your style and taste. These small but impactful details make your wet bar truly unique and showcase your personality to guests.
- Investing Wisely: How Windows & Doors in Boost Property Value and Financial Health - April 24, 2025
- The Financial Impact of Personal Injuries: Why Legal Help Matters for Business Owners - April 16, 2025
- The Hidden Financial Costs of Domestic Assault: What Business Owners Need to Know - April 16, 2025
