Efficient Double Sink Kitchen Plumbing Tips
When it comes to kitchen sink installations, the choice of a double sink can have a significant impact on your daily routines. By having two basins instead of one, you can simultaneously wash dishes and prep food, making your kitchen tasks more streamlined and convenient.
Key Takeaways:
- A double sink in the kitchen allows for multitasking, making meal preparation and cleanup more efficient.
- Proper double sink plumbing prevents leaks and water damage, protecting your kitchen structure.
- Double sink installations maximize space utilization, providing extra storage under the sink.
- Professionally plumbed double sinks add value to your home and promote water conservation.
- Upgrade your kitchen with dual sink plumbing for improved functionality and convenience.
Step-by-Step Guide to Double Sink Plumbing
Are you planning a kitchen renovation that includes installing a double basin sink? Knowing the correct steps for double sink plumbing is crucial to ensure a seamless and efficient installation. In this step-by-step guide, I will walk you through the process of installing and plumbing a double kitchen sink.
1. Prepare the space
To begin, measure the available surface space and make holes in the countertop according to the size of your double sink. This will ensure a perfect fit for your new sink.
2. Shut off the water supply
Locate the isolation valves under the sink, and if available, use them to shut off the water supply. If there are no isolation valves, you will need to shut off the main water supply to your home.
3. Install the sink basket strainers
Apply silicone caulk to the bottom of each sink basket strainer. Lower the strainers into the drain at the bottom of the sink and tighten the strainer nut to secure them in place.
4. Secure the sink to the countertop
Depending on the type of sink you have, either drop-in or undermount, use caulk or clips to secure the sink to the countertop. This will provide stability and prevent any movement during use.
5. Connect the drain tailpieces
Determine the height of the drain outlet pipe and cut the drain tailpieces accordingly. Connect the tailpieces to the basket strainers using compression nuts.
6. Complete the drainage line
Install a sanitary tee and a P-trap to complete the drainage line. Ensure that all connections are tight and secure.
7. Mount the faucet
Thread the mounting bracket for the faucet and connect the hot and cold water lines. Make sure to follow the manufacturer’s instructions for proper installation.
8. Test for leaks
Before turning on the water supply, double-check all connections and fittings. Once everything is checked, turn on the water supply and carefully inspect for any leaks. If you notice any leaks, tighten the fittings accordingly.
9. Inspect the double sink
Run water in both sinks and ensure that the water drains properly. Test the functionality of the double sink by using both basins simultaneously. This will confirm that the plumbing is working efficiently.
By following this step-by-step guide, you can successfully install and plumb a double kitchen sink. If you require professional assistance or encounter any challenges during the process, it is always recommended to seek the expertise of residential plumbing services to ensure a smooth and problem-free installation. With proper double sink plumbing, your kitchen renovation will be complete, providing you with practicality, convenience, and a beautiful new sink for all your culinary endeavors.
Benefits of Double Sink Plumbing
Efficient double sink plumbing brings numerous benefits to your kitchen. Let’s take a look at some of the advantages:
Enhanced Functionality
Installing a double sink allows multiple users to work side by side without congestion. This not only makes meal preparation and cleanup more efficient but also promotes a seamless kitchen experience.
Prevention of Leaks and Water Damage
Proper plumbing in a double sink setup helps avoid leaks and water damage, ensuring the structural integrity of your kitchen. By addressing any potential plumbing issues early on, you can prevent costly repairs and maintain a safe and dry environment.
Maximized Space Utilization
A double sink configuration maximizes the utilization of your kitchen space by providing extra storage options beneath the sink. This additional storage area can be used to store cleaning supplies, extra dishes, or any other kitchen essentials, decluttering your kitchen countertops.
Increased Home Value
Professionally plumbed double sinks add value to your home. Potential buyers often appreciate the convenience and functionality of a double sink, making it an attractive feature that can help increase the resale value of your property.
Promoting Water Conservation
Efficient double sink plumbing helps promote water conservation. With separate drains for each basin, you have more control over water usage. This can lead to reduced water wastage, contributing to a more environmentally friendly kitchen.
By understanding the benefits of double sink plumbing, you can make an informed decision to enhance your kitchen’s functionality, efficiency, and value.
Tools and Materials You’ll Need for Double Sink Plumbing
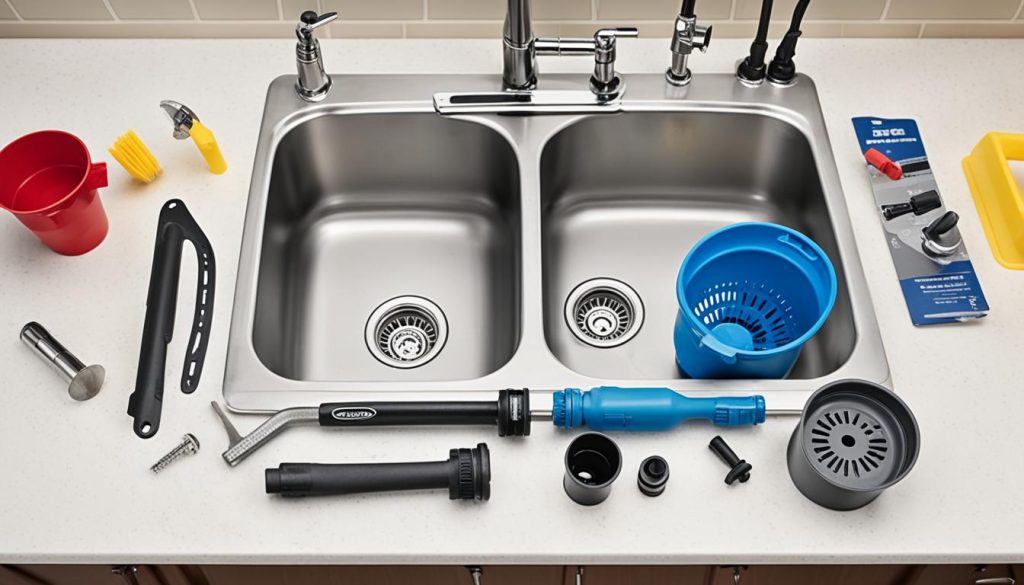
Before starting the under-counter sink installation project, it’s important to gather all the necessary tools and materials. Having these on hand will ensure a smooth installation process and professional results. Here are the essential items you’ll need:
- A pipe wrench to tighten and loosen pipe fittings.
- Adjustable pliers for holding and turning objects of various sizes.
- A screwdriver for tightening screws and securing components.
- Pipe joint compound for creating watertight seals on threaded connections.
- Plumber’s tape to prevent leaks in threaded connections.
- A drain assembly kit that includes components like basket strainers and tailpieces for connecting the sink to the plumbing system.
- PVC pipes and fittings to extend the drain system and connect various components.
- A trap adapter to connect the drain assembly to the existing drainage line.
- A double sink that suits your kitchen design and preferences.
With these tools and materials at your disposal, you’ll be ready to tackle the double sink plumbing installation. However, if you prefer to leave the job to professionals, it’s always a wise choice to hire experienced and reliable plumbing contractors. They have the expertise and knowledge to ensure that your double sink is installed correctly, saving you time and potential headaches in the long run.
Installing Sink and Drain Components
When it comes to installing a double sink and its drain components, careful attention to detail is necessary to ensure a proper and functional setup. Follow these steps to successfully complete the installation:
- Start by installing the sink basket strainers. Apply plumber’s putty or silicone caulk to the underside of each strainer, then place them into the corresponding drain holes at the bottom of the sink.
- Tighten the strainer nuts securely to hold the basket strainers in place.
- Next, secure the sink to the countertop using caulk or clips, depending on the type of sink you have. This step will ensure stability and prevent any movement during use.
- Measure and cut the drain tailpieces according to the height of your sink’s drain outlet. Connect these tailpieces to the basket strainers using compression nuts. Make sure the connections are tight to prevent any leakage.
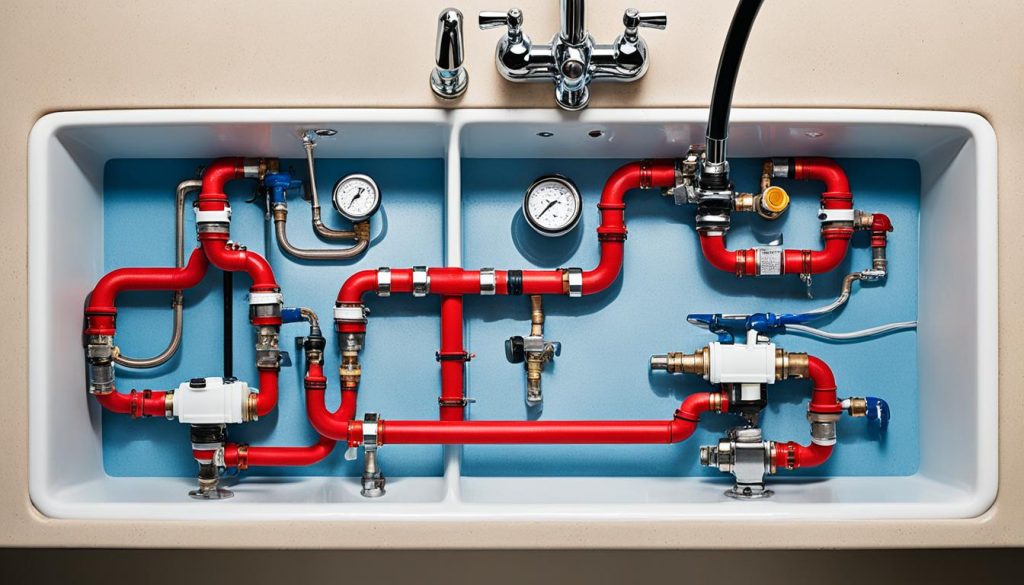
- To complete the drainage system, install a sanitary tee and a P-trap. The sanitary tee will join the two tailpieces together, allowing for the proper flow of water and waste.
- Mount the faucet by threading the mounting bracket and connecting the hot and cold water lines. Ensure that the connections are secure to prevent any leaks.
Once you have completed the installation of the sink and drain components, it is essential to test for any leaks. Turn on the water supply and inspect all connections. Tighten any fittings if necessary to eliminate any potential leakage.
Now that your sink and drain components are properly installed, you can move on to the next steps to finalize your double sink plumbing.
| Materials | Tools |
|---|---|
| Sink basket strainers | Pipe wrench |
| Plumber’s putty or silicone caulk | Adjustable pliers |
| Caulk or clips | Screwdriver |
| Drain tailpieces | Pipe joint compound |
| Sanitary tee | Plumber’s tape |
| P-Trap | Drain assembly kit |
| Faucet | PVC pipes and fittings |
| Hot and cold water lines | Tape measure |
Testing and Finalizing the Double Sink Plumbing
Once the double sink plumbing is complete, it’s important to ensure that everything is working properly. Here are the steps to test and finalize the installation:
1. Turn on the water supply and carefully inspect all connections for any signs of leaks. If you notice any leaks, tighten the fittings until they are secure.
2. If you have installed a garbage disposal, don’t forget to follow the manufacturer’s instructions to connect it to the drain assembly. This will help you properly dispose of food waste.
3. To establish a waterproof barrier around the sink, use silicone to seal the gaps between the sink and the countertop. This will prevent any water from seeping through and causing damage.
4. In case you have a dishwasher, reconnect the drain hose to ensure that it properly drains into the sink. This will allow for efficient and hassle-free dishwashing.
5. Finally, test both sinks by running water and observing the drainage. Make sure that the water flows smoothly without any backups or slow draining. This will help you confirm that the plumbing is functioning as intended. If you encounter any issues or uncertainties during the testing process, it is always advisable to consult a professional residential plumber who can address any concerns and provide expert advice.
Source Links
- https://www.plumbwize.ca/blog/how-to-install-double-kitchen-sink/
- https://oplusplumbing.ca/how-to-plumb-a-double-sink-like-a-pro/
- https://www.thespruce.com/double-sink-plumbing-differences-and-how-to-install-5209390
- Investing Wisely: How Windows & Doors in Boost Property Value and Financial Health - April 24, 2025
- The Financial Impact of Personal Injuries: Why Legal Help Matters for Business Owners - April 16, 2025
- The Hidden Financial Costs of Domestic Assault: What Business Owners Need to Know - April 16, 2025
