Did you know that an estimated 50% of all plumbing issues in homes are related to improper installation or faulty plumbing systems in upstairs bathrooms? That’s right, half of the plumbing problems homeowners face are directly linked to the plumbing in their upper-level bathrooms.
If you’re planning to run plumbing for an upstairs bathroom or looking for plumbing installation tips, you’ve come to the right place. In this comprehensive guide, I’ll provide you with essential tricks and step-by-step instructions to ensure your DIY project is a resounding success.
Key Takeaways:
- Improper upstairs bathroom plumbing can lead to a myriad of issues, including leaks, clogs, and sewer gas entering your home.
- Properly understanding and implementing DWV fittings is crucial for a functional bathroom plumbing system.
- Plumbing a bathroom sink requires careful attention to detail and knowledge of the necessary components.
- Proper venting in your bathroom plumbing system is essential for maintaining trap seals and preventing sewer gas buildup.
- Planning the layout of your bathroom plumbing is crucial to ensure efficiency and functionality.
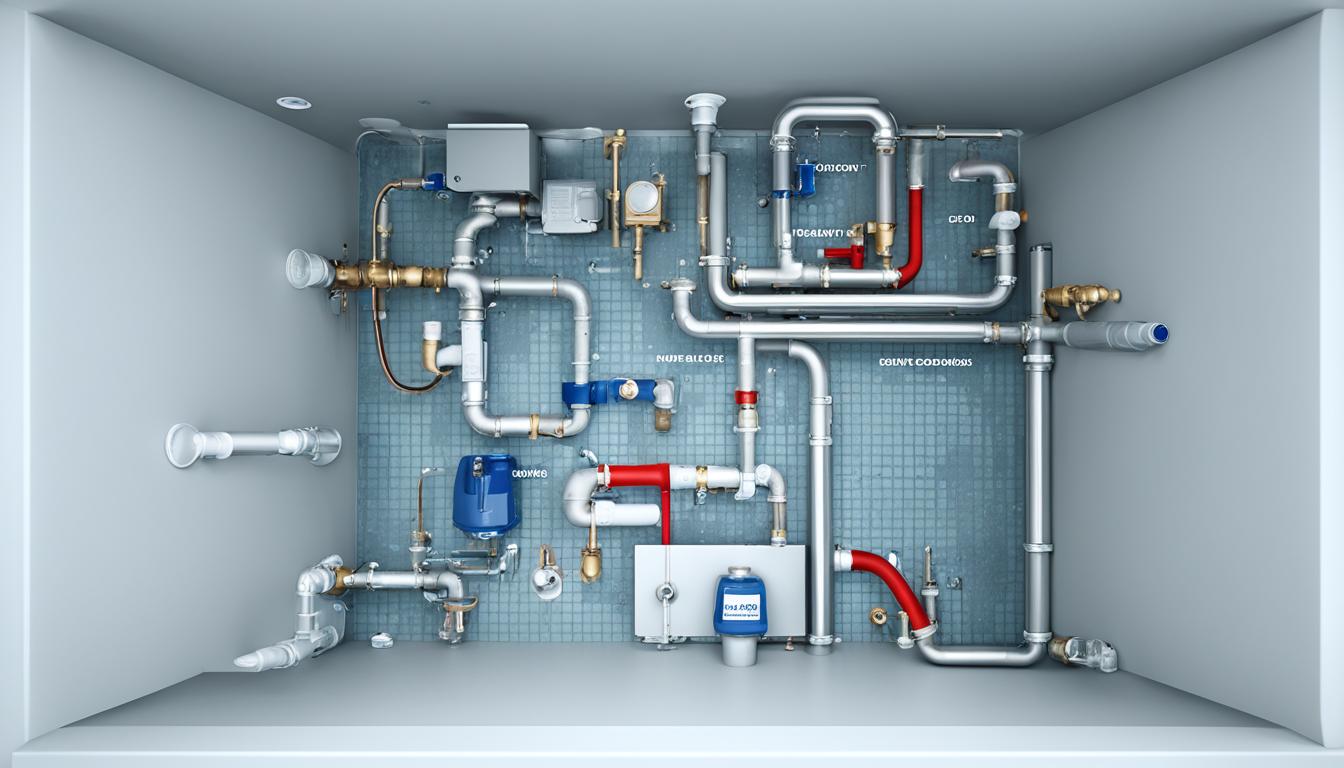
Understanding the DWV Fittings for Bathroom Plumbing
In order to successfully install a functional and code-compliant bathroom plumbing system, it is essential to have a good understanding of the DWV (drain, waste, and vent) fittings that are required. These fittings play a crucial role in ensuring proper drainage and ventilation within the system, allowing for the efficient and safe disposal of wastewater.
When it comes to plumbing fittings for bathroom installations, there are several types that you need to familiarize yourself with. These include:
- Sanitary Tees: These fittings are used to connect horizontal drainage pipes to vertical stacks.
- Closet Bends: Closet bends, also known as toilet bend fittings, are used to connect the toilet flange to the drainage system.
- Trap Adapters: Trap adapters allow for the connection of P-traps to drain pipes, ensuring a proper seal to prevent sewer gases from entering the bathroom.
It is also crucial to understand the plumbing rough-in dimensions for a bathroom sink and toilet. These dimensions indicate the recommended distances and placement of the various fittings and fixtures. By following these dimensions, you can ensure that your plumbing system will function properly and meet local plumbing code requirements.
To help you visualize and understand the fittings and their installation, refer to the table below:
| Fitting Type | Quantity |
|---|---|
| Sanitary Tees | 3 |
| Closet Bends | 1 |
| Trap Adapters | 2 |
Use this table as a guideline to determine the number of fittings you will need based on your specific bathroom plumbing project and the requirements of your local plumbing code.
By understanding the different types of DWV fittings and their installation requirements, as well as the plumbing rough-in dimensions, you can ensure a successful and efficient bathroom plumbing project. Remember to always consult your local plumbing code and follow best practices to achieve a durable and reliable plumbing system for your bathroom.
Step-by-Step Guide on Plumbing a Bathroom Sink
Plumbing a bathroom sink may seem daunting, but with this step-by-step guide, you’ll be able to tackle the project with confidence. Whether you’re installing a new sink or replacing an old one, understanding the proper techniques and components is essential for a successful installation.
Before we dive into the steps, let’s take a look at the necessary components you’ll need to connect the plumbing under your bathroom sink:
- Trap adapters
- P-traps
- Washers and gaskets
- Nut and compression fittings
Now, let’s begin the installation process:
Step 1: Prepare the Sink Area
Before installing the plumbing, ensure the sink area is clean and free from debris. If you’re replacing an old sink, remove the existing plumbing components carefully.
Step 2: Install the Trap Adapter
Begin by installing the trap adapter onto the sink’s drain outlet. Use a washer and tighten the compression nut to secure the adapter in place.
Step 3: Connect the P-Trap
Next, connect the P-trap to the trap adapter. Insert the tailpiece into the trap arm and tighten the compression nut to secure the connection. Be sure not to overtighten, as it may cause leaks.
Step 4: Check for Leaks
Once all the connections are made, turn on the water supply and check for any leaks. If you notice any leaks, tighten the connections as needed.

Remember that the type of trap you use will depend on your local plumbing code requirements. P-traps and S-traps are the most common options. Ensure you’re using the appropriate trap for your bathroom sink.
Additionally, it’s important to familiarize yourself with the International Plumbing Code (IPC) and the Uniform Plumbing Code (UPC) requirements for lavatory rough-ins. These codes specify the necessary vent sizes and trap sizes.
By following this step-by-step guide and understanding the key components, you’ll be able to successfully plumb your bathroom sink. Remember to consult local codes and regulations to ensure a compliant installation.
Proper Venting in Bathroom Plumbing
Proper venting in a bathroom plumbing system is of utmost importance to ensure the functionality and safety of your home. In this section, I will provide you with a comprehensive understanding of the importance of plumbing vents, their venting requirements, and why they are crucial for your bathroom plumbing project.
The Importance of Plumbing Vents
Bathroom plumbing vents are essential for preventing sewer gas from entering your home, maintaining trap seals, and promoting the efficient flow of wastewater. Without proper venting, sewer gases can accumulate, leading to unpleasant odors and potential health hazards.
Venting Methods and Applications
There are different methods of venting in bathroom plumbing systems, including wet venting and individual venting. Wet venting is a common method where a single vent pipe serves multiple fixtures, whereas individual venting involves separate vent pipes for each fixture.
Wet venting can be used when fixtures are positioned close together, while individual venting may be necessary in complex plumbing layouts or when fixtures are not located near each other.
Sizing and Connecting Plumbing Vents
Proper sizing of plumbing vents is crucial to ensure optimal venting performance. The sizing requirements for plumbing vents are specified in the plumbing code and depend on factors such as the fixture load and distance from the drain.
When connecting plumbing vents, it is essential to follow code requirements and ensure airtight connections to prevent leaks. Vent pipes should be connected to the drainage system above the fixture’s flood level rim and extend through the roof to allow for proper air circulation.

Properly venting your bathroom plumbing is crucial to maintain a functional and safe plumbing system. By understanding the importance of plumbing vents, venting methods, and sizing requirements, you can ensure that your bathroom plumbing project meets all the necessary standards and regulations.
Planning the Bathroom Plumbing Layout
When it comes to your bathroom plumbing project, proper planning is key. Before diving into the installation process, there are several factors to consider. Firstly, take stock of the available space in your bathroom, as this will dictate the layout and placement of your fixtures. Consider your budget and prioritize which fixtures are essential, as this will help you make informed decisions about your plumbing needs.
Once you have a clear understanding of your space and budget, it’s crucial to determine the correct pipe sizes and materials for drains, vents, and supply lines. This ensures proper flow and prevents any potential leaks or blockages. Consult a professional or reference plumbing codes to ensure compliance and safety throughout your project.
Next, plan the layout of your bathroom plumbing based on the existing plumbing and exterior walls. This will help minimize costly adjustments and make the installation process more efficient. You can also take this opportunity to consider aesthetic elements such as lighting and fixtures. By incorporating your desired ambiance and style into the plumbing plan, you can create a bathroom that is both functional and visually pleasing.
To help you navigate the complexities of bathroom plumbing layout, refer to our comprehensive plumbing plans and tips. These resources provide step-by-step guidance for creating an efficient and functional plumbing system. By following these recommendations, you can ensure that your bathroom plumbing project is a success.