Plumbing a Toilet in Canada: Tips & Steps
Did you know that a leaking toilet can waste up to 200 gallons of water per day? That’s a staggering amount of water going down the drain, literally! Properly plumbing a toilet is not only essential for water conservation, but it’s also a practical skill that every homeowner in Canada should have.
Whether you’re a beginner or just looking to refresh your knowledge, this comprehensive guide will provide you with step-by-step instructions on how to plumb a toilet. From removing the old toilet to installing a new one, you’ll learn valuable tips and techniques for a successful DIY toilet installation. Let’s get started!
Key Takeaways:
- Plumbing a toilet is crucial for water conservation in Canada.
- This comprehensive guide provides step-by-step instructions for DIY toilet installation.
- Learn valuable tips and techniques for a successful toilet plumbing project.
- Ensure a proper seal and prevent leaks by following the recommended procedures.
- Feel confident in tackling your own toilet plumbing project with the knowledge gained from this guide.
Removing the Old Toilet
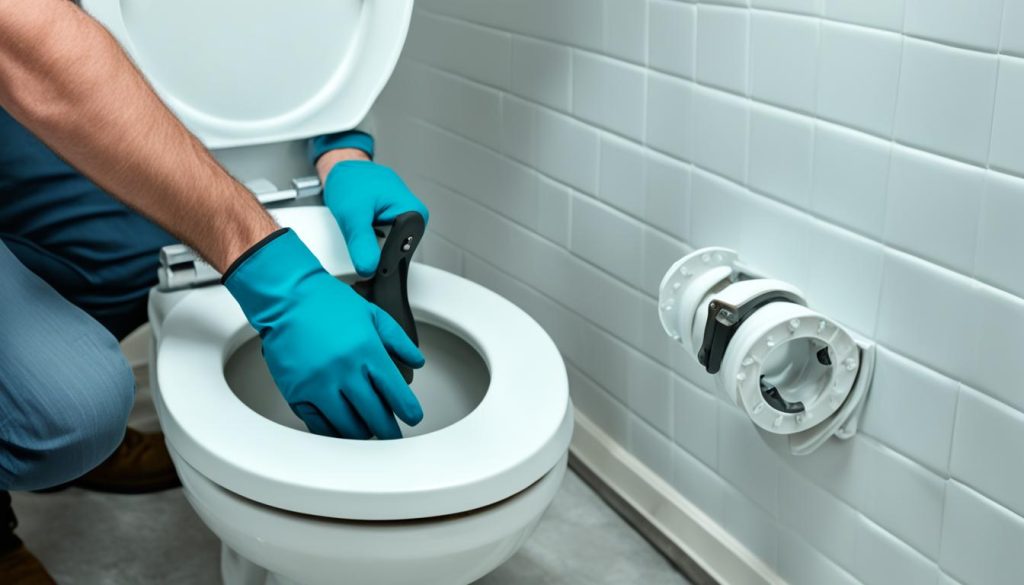
To begin the process of plumbing a toilet, the first step is to remove the old one. This involves several important tasks:
- Disconnect the supply line: Locate the shut-off valve near the base of the toilet and turn it clockwise to shut off the water supply. Once the water is turned off, use an adjustable wrench to loosen and disconnect the supply line from the toilet.
- Remove the bolts: Look for the bolts that connect the tank to the bowl. Use a wrench to loosen and remove these bolts. There are typically two bolts, one on each side of the tank.
- Lift the tank and bowl: With the supply line disconnected and bolts removed, carefully lift the tank away from the bowl. Be sure to lift it straight up to avoid any damage or spills.
- Remove the old toilet seal: Once the tank is removed, you’ll need to remove the old toilet seal. This is typically a wax ring that creates a watertight seal between the toilet and the floor. Gently pry it off using a putty knife or similar tool.
- Caulk removal: Finally, check around the base of the toilet for any caulk that may be present. Use a putty knife or scraper to remove the caulk, ensuring a clean and smooth surface for the installation of the new toilet.
By carefully following these steps, you will successfully remove the old toilet and prepare the space for the installation of a new one.
Inspecting the Toilet Flange
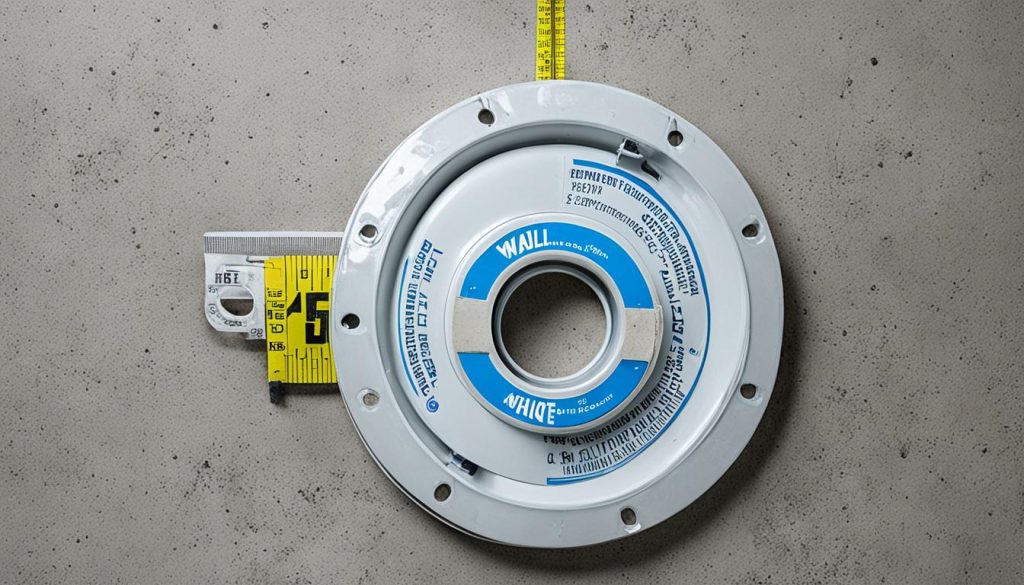
Before installing the new toilet, it’s crucial to inspect the toilet flange. The flange is a fitting that secures the toilet to the drainpipe in the floor. By inspecting it, you can determine whether it needs to be replaced or can be reused.
If the flange is cracked or broken, it’s necessary to replace it. A damaged flange can lead to leaks or an unstable toilet. On the other hand, if the flange is in good condition, you can reuse it, saving time and money.
When replacing a toilet flange, it’s essential to choose a matching flange. This ensures a proper fit and prevents any future issues. Consider the size and specifications of the existing flange to find a suitable replacement.
| Signs of a Damaged Flange | Possible Actions |
|---|---|
| Cracks or breaks in the flange | Replace the flange with a matching one |
| Misalignment of the flange with the drainpipe | Adjust the flange or replace it if necessary |
| Rusted or corroded flange | Replace the flange to ensure stability and prevent leaks |
By inspecting the toilet flange and taking appropriate actions, you can ensure a secure and functional toilet installation.
Installing a New Toilet Seal
After removing the old toilet and inspecting the toilet flange, the next step in plumbing a toilet is to install a new toilet seal. The toilet seal, also known as a wax ring, is a crucial component that ensures a watertight seal between the toilet and the drainpipe in the floor.
There are two options for installing a new toilet seal: attaching it to the bottom of the toilet bowl or placing it on the flange before lowering the bowl into place. The choice depends on personal preference and the specific requirements of your bathroom.
If you choose to attach the new seal to the bottom of the toilet bowl, make sure to center it correctly to ensure a proper seal. Press the seal firmly onto the bowl, ensuring it is evenly distributed and covers the entire circumference.
On the other hand, if you opt for placing the seal on the flange, position it carefully to align with the drain opening. Ensure that the seal is centered and covers the entire flange to create a watertight seal.
In some cases, if thick tiles have been installed in your bathroom, you may require a thicker toilet seal or wax ring to compensate for the increased height. This is important to prevent any gaps or leaks between the toilet and the floor.
Once the new toilet seal is in place, you are ready to move on to the next step of plumbing your toilet. Remember, proper installation of the toilet seal is essential for a leak-free and well-functioning toilet.
Placing the Toilet on the Flange
Once the new seal is in place, it’s time to position the toilet on the flange. Properly aligning the toilet is crucial to ensure a secure and leak-free installation. Follow these steps:
- Position the toilet over the flange, making sure the bolt holes in the base of the toilet align with the bolts in the flange.
- Gently press down on the toilet, allowing the seal to compress and create a tight seal between the toilet and the flange.
- Ensure that the toilet is level and centered on the flange before proceeding.
It’s important not to move or tilt the toilet after this step to prevent breaking the seal. The proper alignment and placement of the toilet on the flange will ensure a stable and secure installation.
Placing the Toilet on the Flange
| Steps | Instructions |
|---|---|
| 1 | Position the toilet over the flange, aligning the bolt holes in the base of the toilet with the bolts in the flange. |
| 2 | Press down gently on the toilet to set the seal and create a tight connection. |
| 3 | Ensure that the toilet is level and centered on the flange. |
Bolting the Toilet to the Floor
With the toilet correctly positioned, it’s time to bolt it to the floor. This step ensures stability and prevents any movement or wobbling of the toilet. Follow these steps for a secure and reliable installation:
Tighten Bolts Evenly
Start by placing a washer and nut on each toilet bolt. Tighten the bolts evenly, alternating from one side of the toilet to the other. This ensures balanced pressure and prevents the toilet from tilting to one side. Tighten the nuts snugly, but be careful not to over-tighten, as it can lead to a cracked toilet bowl.
Cut Off Excess Bolt Length
After tightening the bolts, you may notice that they protrude from the top of the nuts. To eliminate any potential hazards or interference with the toilet installation, use a hacksaw to cut off the excess bolt length. This will create a neat and flush finish, allowing the toilet to sit evenly on the floor.
| Tools Needed: | Materials Needed: |
|---|---|
|
|
Attaching the Tank and Final Check
If your toilet has a two-piece design, it’s time to attach the tank to the bowl. This step is crucial to ensure the stability and proper functioning of your toilet. Begin by placing the tank onto the bowl, aligning the mounting holes. Once aligned, secure the tank to the bowl by tightening the tank bolts with a wrench. Make sure they are tightened evenly to avoid any imbalance.
With the tank securely attached to the bowl, it’s time to reconnect the supply line. Locate the fill valve on the bottom of the tank and reconnect the supply line. Use an adjustable wrench to tighten the nut, ensuring a secure connection. This step is essential for water flow and proper functionality of your toilet.
Now that the tank and supply line are properly connected, it’s time for the final step – testing for leaks. Turn on the water supply and allow the tank to fill. Carefully inspect the base of the toilet and the connections for any signs of leaks or drips. To ensure thorough testing, flush the toilet and observe if there are any water leaks or abnormalities in the tank or bowl. If you notice any leaks, address them immediately to prevent further issues.
By following these steps and instructions, you can successfully attach the tank to the bowl, reconnect the supply line, and perform a comprehensive leak test. Take your time during this process to ensure everything is properly secured and functioning effectively. Enjoy your newly installed toilet!
- Investing Wisely: How Windows & Doors in Boost Property Value and Financial Health - April 24, 2025
- The Financial Impact of Personal Injuries: Why Legal Help Matters for Business Owners - April 16, 2025
- The Hidden Financial Costs of Domestic Assault: What Business Owners Need to Know - April 16, 2025


