Install Shower Drain in Concrete Floor Easily
Did you know that improper installation of a shower drain can lead to costly water damage and structural issues in your home? It’s true! When installing a shower drain in a concrete floor, it’s essential to follow the correct steps to ensure a successful and leak-free installation.
In this guide, I will share with you the tips and techniques you need to know to easily install a shower drain in a concrete floor. From running a drainpipe under the concrete floor to mounting the leakproof drain assembly, I’ve got you covered with all the information you need.
Key Takeaways:
- Improper installation of a shower drain in a concrete floor can lead to water damage and structural issues in your home.
- Follow the correct steps to ensure a successful and leak-free installation.
- This guide provides tips and techniques for running a drainpipe under the concrete floor, mounting the leakproof drain assembly, and more.
- Using black cement and ensuring proper slope and tile installation are crucial for a functional and watertight shower drain.
- Take the time to fill gaps with cement for a watertight seal and prevent leaks.
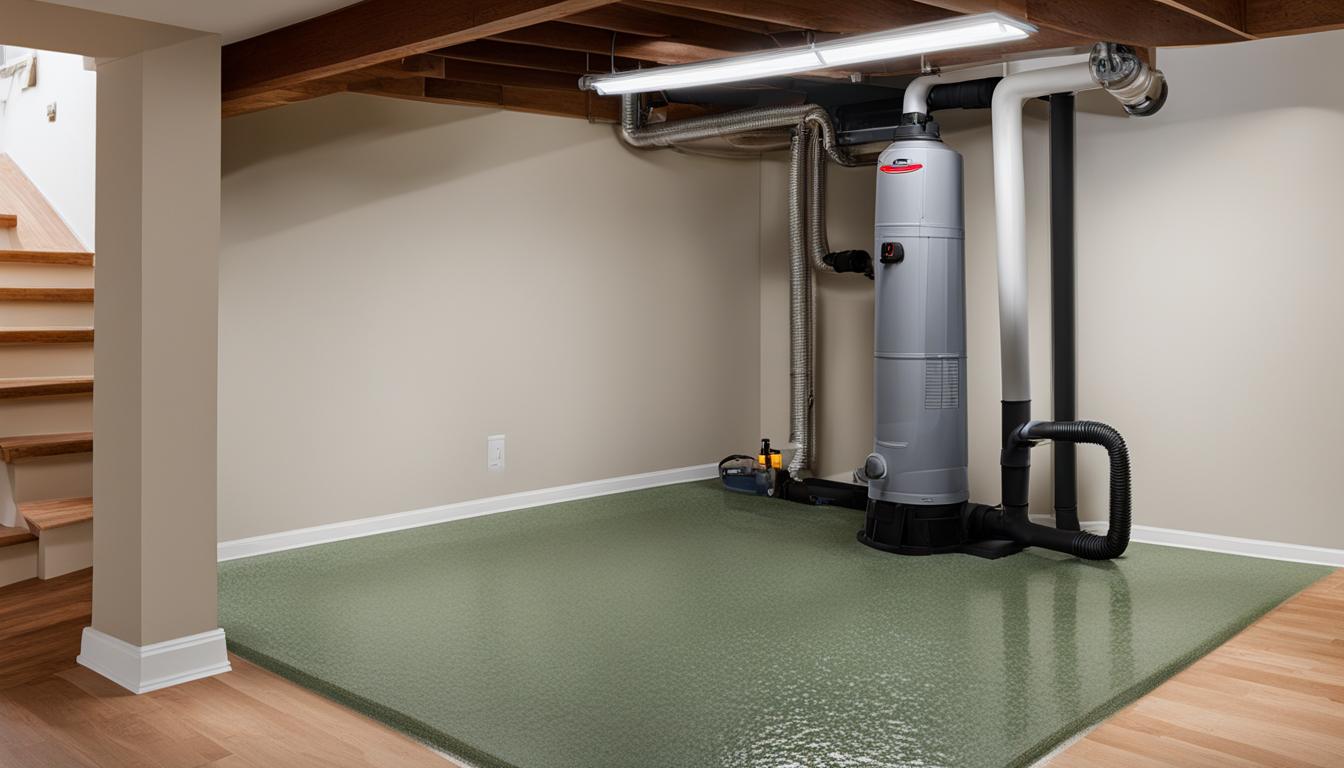
Running a Drainpipe Under the Concrete Floor
When it comes to installing a shower drain on a concrete floor, running a drainpipe under the surface is a crucial step. This process involves verifying the existing drainpipe location and extending or replumbing it if necessary. By following the right techniques, you can ensure a smooth and effective installation.
It is important to make sure that the drainpipe extends at least an inch above the concrete surface. This will allow for proper connection and accommodation of the drain assembly. Additionally, there should be enough space between the pipe and the concrete to avoid any complications during the installation process.
Proper planning and careful execution of running the drainpipe under the concrete floor will contribute to a successful shower drain installation. Now let’s take a closer look at the steps involved in mounting the leakproof drain assembly.
| Steps for Running a Drainpipe Under the Concrete Floor |
|---|
| 1. Identify the existing drainpipe location. |
| 2. Determine if the drainpipe needs to be extended or replumbed. |
| 3. Ensure that the drainpipe extends at least an inch above the concrete surface. |
| 4. Create enough space between the pipe and the concrete to accommodate the drain assembly. |
| 5. Verify the proper alignment and positioning of the drainpipe. |
Mounting the Leakproof Drain Assembly
Now that the drainpipe is running under the concrete floor, it’s time to move on to the next step: mounting the leakproof drain assembly. This is a crucial part of the installation process to ensure a secure and watertight seal for your shower drain. By using a specialized drain assembly, such as the No-Caulk Shower Drain, you can achieve a reliable and leak-free installation.
The leakproof drain assembly is designed to provide a tight seal between the drainpipe and the shower base. It prevents any water from seeping through, protecting your bathroom floors from potential water damage. Make sure to carefully follow the manufacturer’s instructions to ensure a proper installation.
Here is a step-by-step guide to mounting the leakproof drain assembly:
- Insert the drain assembly into the drainpipe connected to the concrete floor.
- Tighten the assembly securely to create a watertight seal.
- Clamp the drain assembly to the edge of the shower base.
- Ensure that the assembly is level and aligned properly with the shower base.
By properly mounting the leakproof drain assembly, you can have peace of mind knowing that your shower drain is securely installed and will effectively channel water away from your bathroom floors.
https://www.youtube.com/watch?v=fhN0vol3n4c
Using Black Cement for Best Results
When it comes to installing a shower drain on a concrete floor, using black cement can provide you with the best results. Black cement offers exceptional adhesion and durability, making it the ideal choice for long-lasting performance in wet environments.
While other options such as white cement or tile bonds can be used, black cement is often preferred due to its superior performance and reliability. By using black cement, you can ensure a strong and secure connection between the drain and the concrete floor.

Using black cement for shower drain installation offers several benefits:
- Superior adhesion and durability
- Long-term performance in wet environments
- Strong and reliable connection between drain and concrete floor
With its excellent properties, black cement provides the added assurance that your shower drain installation will withstand the test of time and continue to function flawlessly.
| Benefits of Using Black Cement |
|---|
| Superior adhesion and durability |
| Long-term performance in wet environments |
| Strong and reliable connection between drain and concrete floor |
Ensuring Proper Slope and Tile Installation
Proper slope and tile installation are essential for the effective functioning of a shower drain. When it comes to the slope of the underground pipe, it is crucial to ensure that water flows away from the shower area. This prevents water from pooling and causing damage to the surrounding floor or walls. The recommended slope for a shower drain is typically 1/4 inch per foot. This ensures that water is efficiently directed towards the drain and effectively drained away.
Additionally, proper tile installation plays a crucial role in preventing water damage in showers. The tiles should be installed in a way that promotes water flow towards the drain. The use of a waterproof membrane, such as a shower pan liner or cement board, is recommended to create a watertight barrier beneath the tile surface. This helps to prevent any water from seeping into the underlying structures and causing potential issues like mold or rot.
It is important to pay careful attention to these details during the installation process to ensure a functional and leak-free shower. By following proper slope guidelines and employing effective tile installation techniques, you can prevent water damage and promote the longevity of your shower.
| Sloping | Benefits |
|---|---|
| Ensures proper water drainage | Prevents water accumulation |
| Reduces the risk of leaks and water damage | Enhances the durability of the shower drain system |
| Allows for easy cleaning and maintenance | Provides a safe and comfortable showering experience |
Tile Installation Tips
- Use a waterproof membrane beneath the tile surface to prevent water penetration.
- Ensure proper spacing between tiles to allow for proper grouting and proper water drainage.
- Seal the grout lines with a high-quality grout sealer to further enhance water resistance.
- Choose tiles that are specifically designed for wet areas and have a low water absorption rate.
- Follow manufacturer guidelines for adhesive and mortar application to ensure secure tile placement.

Filling Gaps with Cement for a Watertight Seal
To ensure a watertight seal and prevent leaks in the shower drain installation, it is important to fill any gaps between the drain body and the surrounding concrete floor with cement. This will create a barrier that prevents water from seeping through and causing damage. It is crucial to take the time to fill all gaps thoroughly and ensure that the cement is properly leveled for a smooth and even surface.
When installing a shower drain in a concrete floor, it is essential to pay attention to every detail to ensure a successful and long-lasting installation. One crucial step is filling the gaps with cement to create a watertight seal. By doing so, you can prevent leaks and water damage, ensuring the durability of your shower drain.
Here’s a step-by-step guide on how to fill gaps with cement:
- Start by cleaning the area around the drain body to ensure proper adhesion of the cement.
- Mix the cement according to the manufacturer’s instructions. Make sure to use a cement mixture that is suitable for shower drain installations.
- Apply the cement mixture to the gaps between the drain body and the concrete floor using a trowel or putty knife.
- Press the cement firmly into the gaps, ensuring that it fills the entire space and creates a smooth surface flush with the surrounding concrete.
- Allow the cement to dry and cure completely according to the manufacturer’s instructions before proceeding with further installation.
By following these steps and filling the gaps with cement, you can create a watertight seal for your shower drain installation. This will help prevent leaks, protect the integrity of your concrete floor, and ensure the long-term performance of your shower drain.
Best Practices and Tips for a Successful Installation
When it comes to shower drain installation on a concrete floor, following best practices and utilizing helpful tips is essential for ensuring a successful and durable outcome. Here are some key considerations to keep in mind:
1. Choose the Right Cement: Using black cement is recommended for its superior adhesion and durability. It creates a strong and reliable connection between the drain and the concrete floor, ensuring long-term performance in wet environments.
2. Pay Attention to Proper Slope: To prevent water pooling and ensure effective drainage, it is crucial to adjust the underground pipe’s slope to allow water to flow away from the shower area. Aim for a slope of 1/4 inch per foot for optimal results.
3. Ensure Proper Tile Installation: Properly installing the tiles around the shower drain is vital for directing water towards the drain and preventing water damage. Ensure that the tiles slope towards the drain and are securely bonded to the floor.
4. Fill Gaps with Cement: To achieve a watertight seal and prevent leaks, carefully fill any gaps between the drain body and the surrounding concrete floor with cement. Take the time to ensure that the cement is thoroughly applied and leveled for a smooth and even surface.
By following these best practices and tips, you can ensure the durability, watertightness, and overall success of your shower drain installation on a concrete floor. Taking these precautions will result in a functional and safe shower space that can withstand daily use for years to come.
- Investing Wisely: How Windows & Doors in Boost Property Value and Financial Health - April 24, 2025
- The Financial Impact of Personal Injuries: Why Legal Help Matters for Business Owners - April 16, 2025
- The Hidden Financial Costs of Domestic Assault: What Business Owners Need to Know - April 16, 2025