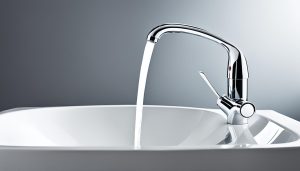
DIY Guide: How to Fix Plumbing Like a Pro
Did you know that the average cost of hiring a plumber in Canada can range from $150 to $425 per hour? And that’s just for basic repairs! Imagine the savings if you could tackle those plumbing issues on your own.
Whether you’re dealing with a leaky faucet, a clogged drain, or a running toilet, this DIY guide will equip you with the knowledge and skills to fix plumbing problems like a pro. You don’t need to be a professional plumber to make these repairs. With basic tools and a little know-how, you can save money and feel empowered.
Key Takeaways:
- Save money by DIYing simple plumbing repairs.
- Learn step-by-step guides for fixing common plumbing issues.
- Equip yourself with basic tools and skills to tackle plumbing problems.
- Prevent costly damage by addressing leaks and clogs promptly.
- Feel confident and empowered in taking control of your plumbing.
Repair a Kitchen Faucet
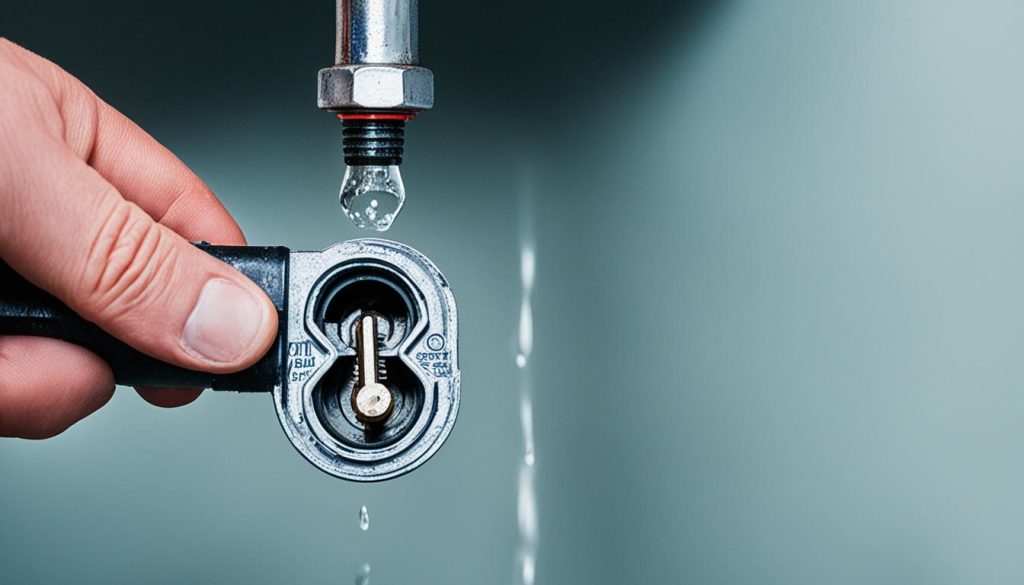
Is your kitchen faucet constantly dripping, driving you crazy and wasting water? Don’t worry, you can easily fix it yourself in no time! Even if you have limited plumbing experience, repairing a kitchen faucet is a straightforward task that you can accomplish with basic tools.
Follow these simple steps to repair your kitchen faucet:
- First, turn off the water supply to the faucet. Look for the shut-off valves under the sink and turn them clockwise to close.
- Next, use a screwdriver or an Allen wrench (depending on the type of faucet) to remove the handle and expose the cartridge or valve.
- Inspect the cartridge or valve for any signs of damage or wear. If it’s worn out, it’s time to replace it. Take note of the model number of your faucet and visit a hardware store to get a suitable replacement.
- Remove the old cartridge or valve and install the new one according to the manufacturer’s instructions. Make sure it’s securely in place.
- Reassemble the faucet by putting the handle back on and tightening the screws or nuts.
- Turn on the water supply and check for any leaks. If everything looks good, you’ve successfully repaired your kitchen faucet!
Repairing a kitchen faucet is not only a cost-effective solution but also empowers you to take control of your plumbing. Now you can enjoy a drip-free kitchen and conserve water!
Common Kitchen Faucet Problems
- Dripping faucet
- Low water pressure
- Leaking around the base
- Sprayer not working properly
- Handle difficulty or stiffness
- Strange noises when using the faucet
By addressing these issues promptly, you can prevent further damage and ensure the longevity of your kitchen faucet.
Stop Leaks in Joints
When it comes to plumbing, one of the most common problems homeowners face is leaks in joints. These leaks can lead to water damage, mold growth, and costly repairs if left unchecked. The good news is that there are tricks the pros use to make leakproof connections and prevent leaks from happening in the first place.
One of the key steps to stop leaks in joints is to properly connect water supply and waste line fittings. This ensures a secure and watertight connection that can withstand the pressure and flow of water. Here are some tips to help you make leakproof connections:
- Use the right type of fittings: Make sure to choose fittings that are compatible with the pipes you are working with. Using the wrong type of fitting can result in leaks.
- Clean and prep the surfaces: Before connecting the fittings, it’s important to clean and prep the surfaces. This helps ensure a strong bond and prevents debris from interfering with the connection.
- Apply thread sealant or plumber’s tape: To further secure the connection and prevent leaks, consider using thread sealant or plumber’s tape. These products create an additional barrier against water seepage.
- Tighten fittings properly: It’s important to tighten the fittings properly to achieve a leakproof connection. Be careful not to overtighten, as this can lead to damaged threads or cracked pipes.
- Inspect for leaks: After making the connection, carefully inspect for any signs of leaks. Look for drips, moisture buildup, or water stains. If you notice any leaks, address them immediately.
By following these tips, you can stop leaks in joints and prevent potential plumbing issues in your home. Remember, early detection and proactive maintenance are key to avoiding costly repairs down the line.
Common Fittings for Plumbing Connections
| Fitting Type | Common Uses |
|---|---|
| Compression fittings | Connecting pipes with threaded ends |
| Soldered fittings | Joining copper pipes together |
| Push-fit fittings | Quickly connecting pipes without the need for specialized tools |
| PVC fittings | Installing or repairing PVC pipes |
Find Sneaky Leaks
As a homeowner, it’s important to proactively find and stop common water leaks before they cause costly damage. Sneaky leaks can lead to rot, mold, and other expensive repairs if left untreated. So, let’s explore some simple yet effective ways to detect and address common water leaks in your home.
1. Check around Bathtubs and Showers
Bathtubs and showers are common areas where leaks tend to occur. Inspect the caulking and grout around the edges of your tub and shower to ensure they are intact and free from cracks. Water can seep through these openings, causing leaks that may go unnoticed until significant damage has already occurred.
2. Inspect Drains and Sinks
Another area prone to water leaks is around drains and sinks. Check for signs of water stains or moisture buildup under sinks or around the edges of drains. These could indicate leaks from faulty seals or loose connections. Taking early action can prevent larger issues down the road.
3. Examine Toilets
Toilets are notorious for hidden leaks. A common indicator of a toilet leak is a constantly running or hissing sound. To check for leaks, add a few drops of food coloring to the toilet tank and wait for about 30 minutes without flushing. If the color appears in the bowl, it signifies a leak that needs to be addressed promptly.
4. Monitor Water Meter
Monitor your water meter regularly to detect any unexplained usage. Make sure all appliances and fixtures are turned off, and then check if the meter is still spinning or if the flow indicator is moving. A sudden spike in water usage could indicate a hidden leak somewhere in your plumbing system.
5. Conduct a Visual Inspection
Take the time to visually inspect your home for any signs of water damage or unusual wetness. Look for peeling paint, warped baseboards, or soft spots in your walls or flooring. These are all indications of ongoing water leaks that require immediate attention.
Remove a Stuck Cleanout Plug
If you’re facing a stubborn clog in your drain line, removing a stuck cleanout plug is essential to gaining access and resolving the issue. To help you with this task, I’ll be drawing from my years of experience as a professional plumber.
Removing a stuck cleanout plug may require a few different techniques, depending on the level of difficulty. Here are some methods you can try:
- Using Pipe Wrenches: Start by applying penetrating oil to loosen the plug. Then, place a pipe wrench on the square nut of the plug and slowly turn it counterclockwise to loosen and remove the plug.
- Applying Heat: Sometimes, heat can expand the metal and make it easier to remove the plug. You can use a propane torch to heat the cleanout plug for a few minutes, allowing it to expand before attempting to unscrew it with the pipe wrench.
- Using a Hacksaw: As a last resort, if the plug remains stuck, you can carefully use a hacksaw to cut a notch into the plug. This will allow you to insert a flathead screwdriver or chisel and turn the plug counterclockwise to remove it.
Remember, it’s important to exercise caution when attempting to remove a stuck cleanout plug. If you encounter any difficulties or if the clog persists, it’s best to seek professional assistance to avoid causing further damage to your plumbing system.
Now that you’re familiar with the techniques for removing a stuck cleanout plug, you’re one step closer to resolving stubborn clogs in your drain line.
Stop a Running Toilet
Is your toilet constantly running and wasting water? Don’t worry, with a simple four-step strategy, you can stop a running toilet and solve common toilet flush problems in no time. Let me guide you through the process:
- Step 1: Check the flapper valve: Lift the toilet tank lid and inspect the flapper valve, which is located at the bottom of the tank. Make sure it’s properly sealed and doesn’t have any cracks or leaks. If it’s damaged, replace it with a new one.
- Step 2: Adjust the float mechanism: Inside the toilet tank, you’ll find a float mechanism that controls the water level. If the water is continuously flowing, the float may be set too high. Adjust it to the proper level, usually indicated by a marked line on the overflow tube.
- Step 3: Clean or replace the fill valve: The fill valve is responsible for refilling the toilet tank after flushing. Over time, it can become clogged with debris or worn out, causing a running toilet. Clean or replace the fill valve to ensure proper water flow.
- Step 4: Check the flapper chain: Ensure that the chain connecting the flapper valve to the flush handle is properly adjusted. If it’s too tight or too loose, it can prevent the flapper from sealing properly, resulting in a running toilet. Adjust the chain length if necessary.
By following these four simple steps, you can address 95 percent of toilet flush problems and save water and money. However, if you’ve tried these troubleshooting steps and the issue persists, it’s best to consult a professional plumber for further assistance.
| Common Toilet Flush Problems | Possible Causes | Solutions |
|---|---|---|
| Constantly running toilet | Malfunctioning flapper valve or fill valve | Check and replace the flapper valve or adjust/replace the fill valve |
| Weak flush | Inadequate water level or clogged jet | Adjust the float mechanism to increase water level or unclog the jet |
| Incomplete flush | Malfunctioning flapper valve or low water level | Check and replace the flapper valve or adjust the float mechanism |
| Double flushing | Incorrect chain length between flush handle and flapper valve | Adjust the chain length to ensure proper seal and flush |
Unclog a Bathtub Drain Without Chemicals
Is your bathtub drain clogged and causing a headache? Don’t worry, unclogging it is easier than you might think, and you can do it without using any harmful chemicals. By following a few simple steps, you can get your tub drain flowing freely again.
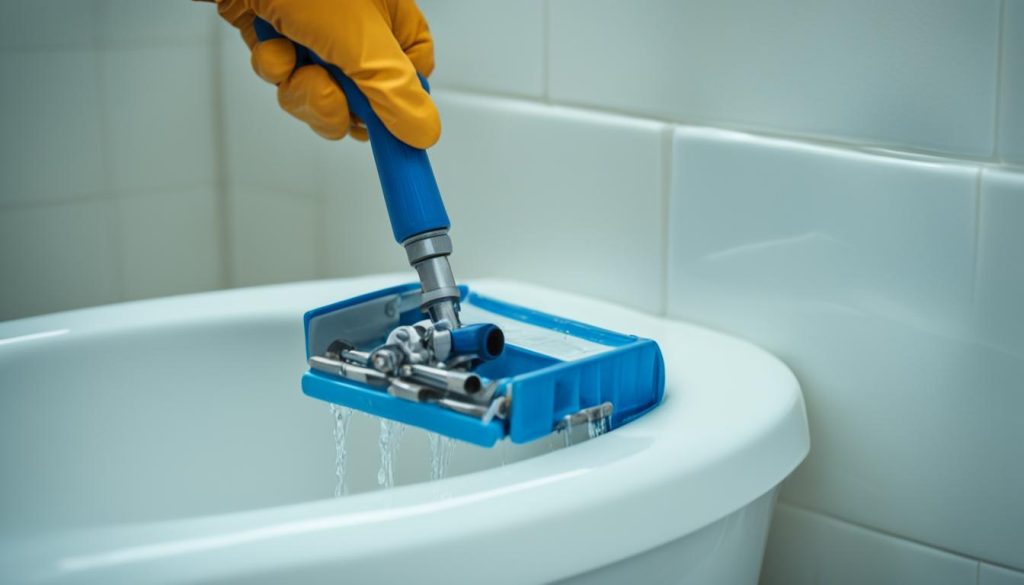
The main culprit behind a clogged tub drain is often hair and gunk that gets trapped in the drain stopper. To unclog it, start by removing the stopper. This will give you access to the source of the problem. Once you have removed the stopper, you can begin fishing out the hair and debris that is clogging the drain.
There are several common types of drains, such as lift-and-turn, pop-up, and toe-touch drains. Depending on the type of drain you have, you may need to use different techniques to remove the clog. However, with a little patience and the right tools, you can successfully clear the blockage and restore the proper flow of water in your bathtub.
Remember, when tackling a clogged tub drain, it’s important to avoid using harsh chemicals that can damage your pipes and harm the environment. Instead, opt for these chemical-free methods to keep your plumbing system in good condition. With a little effort and know-how, you’ll have your bathtub drain running smoothly once again.
- Investing Wisely: How Windows & Doors in Boost Property Value and Financial Health - April 24, 2025
- The Financial Impact of Personal Injuries: Why Legal Help Matters for Business Owners - April 16, 2025
- The Hidden Financial Costs of Domestic Assault: What Business Owners Need to Know - April 16, 2025
