Draining a Sump Pump Without Power – Step Guide
Imagine this: it’s pouring rain outside, the thunder is rumbling, and suddenly, the power goes out. In that moment of darkness, you realize that your basement is at risk of flooding because your sump pump is rendered powerless. But fear not, there is a solution. You can manually drain your sump pump without electricity, ensuring that your basement remains protected even in the absence of power.
Key Takeaways:
- When the power goes out, you can drain your sump pump manually.
- Manual draining is an alternative to relying solely on electricity.
- Having a backup sump pump or a hand-operated sump pump can be a lifesaver.
- Knowing how to drain your sump pump without power is crucial for basement protection.
- By following the steps in this guide, you can prevent flooding in your basement even during a power outage.
Installing a Sump Pump at a Glance
The installation of a sump pump involves several important steps to ensure its proper functioning and effectiveness in protecting your basement from flooding. Let’s take a closer look at each of these steps:
- Positioning the Sump Pump Basin: Start by determining the ideal location for the sump pump basin. It should be positioned in the lowest part of the basement, where water tends to accumulate.
- Cutting a Hole in the Basement Floor: Use a jackhammer or concrete saw to carefully cut a hole in the basement floor. This hole will serve as the pit for the sump pump.
- Digging the Hole: Dig a hole in the designated area, ensuring that it is deep enough to accommodate the sump pump basin and provide ample space for water collection.
- Wrapping the Basin with Filter Fabric: As a protective measure, wrap the sump pump basin with filter fabric. This will prevent debris from entering the pump and clogging it.
- Adding Gravel: Place a layer of gravel at the bottom of the hole to promote proper drainage. This will help the sump pump function efficiently.
- Placing the Sump Pump: Carefully lower the sump pump into the basin, making sure it is level and properly aligned with the discharge pipe.
- Running the Drainage Pipe: Connect the discharge pipe to the sump pump and route it away from your home to ensure proper drainage. Consider using a check valve to prevent backflow.
- Filling the Hole with Concrete: Once the sump pump and drainage pipe are in place, fill the hole surrounding the basin with concrete. This will provide stability and prevent water from seeping into the pit.
- Testing the Pump: Lastly, test the sump pump to ensure it is functioning correctly. Fill the basin with water and observe if the pump activates and successfully removes the water.
By following these steps, you can successfully install a sump pump and provide reliable protection against basement flooding. Remember to consult the manufacturer’s instructions and local building codes for specific guidance on sump pump installation in your area.
Understanding the Importance of Sump Pumps
In order to protect your basement from potential flooding, prevent water damage, and safeguard the foundation of your home, it is crucial to understand the importance of sump pumps. These essential devices work tirelessly to remove excess water from basements and crawl spaces, ensuring that it does not seep into floors and walls. By minimizing water damage and reducing the growth of mold and mildew, sump pumps play a vital role in maintaining a dry and safe home environment.
The Role of Sump Pumps in Preventing Basement Flooding
One of the primary functions of a sump pump is to prevent basement flooding. During heavy rainstorms or periods of high water table levels, excess water can accumulate in the ground around your home’s foundation. Without a properly functioning sump pump, this water can find its way into your basement, leading to extensive damage and potentially compromising the structural integrity of your home.
Protecting the Foundation of Your Home
Sump pumps also play a crucial role in protecting the foundation of your home. By removing excess water from the soil surrounding the foundation, they help prevent the soil from becoming oversaturated and putting pressure on the foundation walls. This pressure can lead to cracks, shifting, and other forms of foundation damage. By keeping the soil moisture levels in check, sump pumps play a crucial role in preserving the stability and longevity of your home’s foundation.
Minimizing Water Damage
One of the main reasons for installing a sump pump is to minimize water damage in your basement. Excess water can cause extensive damage to flooring, walls, furniture, and other valuables stored in the basement. By quickly and efficiently removing water from the basement or crawl space, sump pumps help mitigate the risk of costly repairs and the potential loss of personal belongings.
Reducing the Growth of Mold and Mildew
Excess moisture is a breeding ground for mold and mildew, which can pose serious health risks to you and your family. Sump pumps play a crucial role in reducing the growth of mold and mildew by removing the excess water that serves as their nourishment. By keeping your basement or crawl space dry, sump pumps create an inhospitable environment for mold and mildew, thereby promoting a healthier living space.
| Benefits of Sump Pumps | Importance |
|---|---|
| Prevents basement flooding | High |
| Protects foundation | High |
| Minimizes water damage | High |
| Reduces mold growth | High |
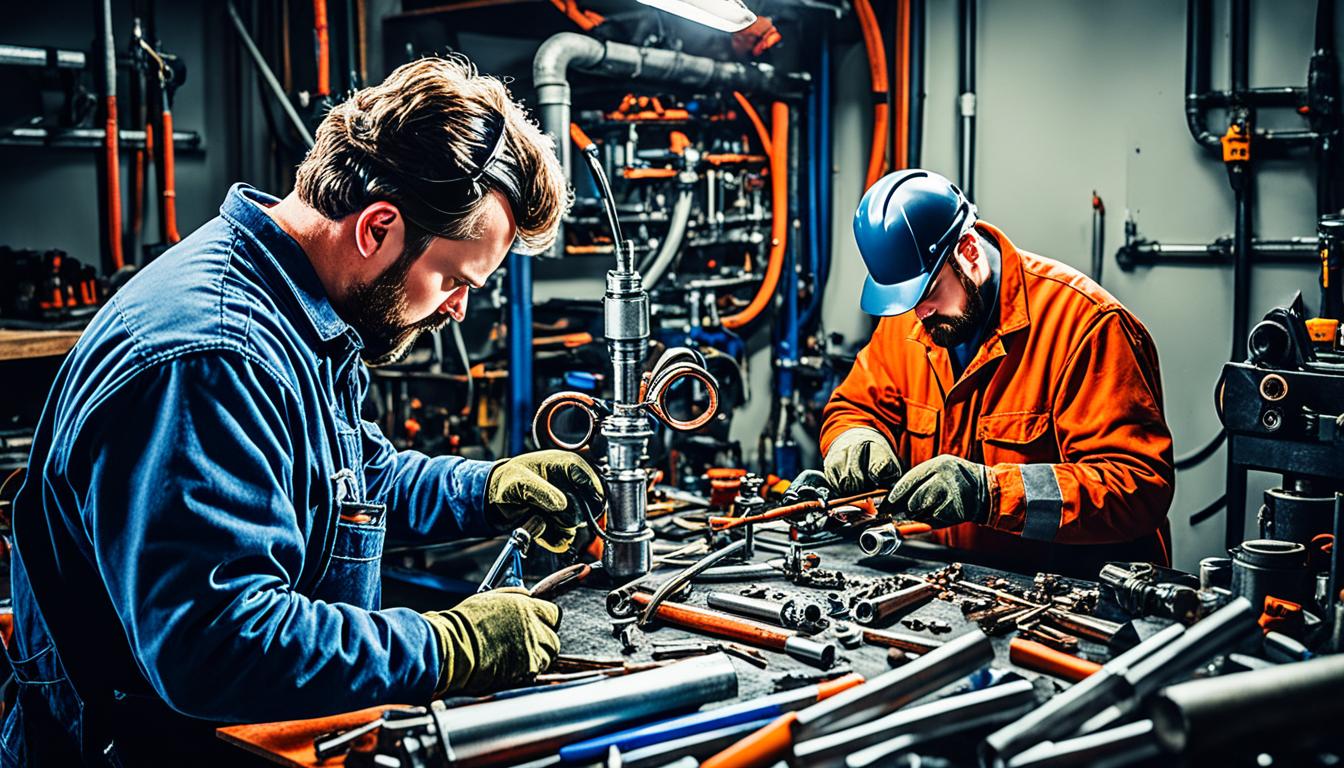
Do You Need a Plumber to Install a Sump Pump?
When it comes to installing a sump pump, many homeowners wonder if they need to hire a professional plumber or if it’s something they can tackle themselves. While hiring a plumber for sump pump installation is recommended to ensure a professional and code-compliant installation, it is possible to install a sump pump yourself if you have the necessary skills and knowledge.
Professional sump pump installation offers several benefits. Plumbers have the expertise to correctly position the sump pump basin, cut the hole in the basement floor, and dig the necessary hole for the pump. They also know how to properly wrap the basin with filter fabric, add gravel for effective drainage, and securely place the sump pump. Additionally, professional plumbers are familiar with installation code requirements, ensuring that your sump pump meets the necessary standards.
However, if you are confident in your DIY skills and have experience with plumbing systems, you may choose to install the sump pump yourself. DIY sump pump installation can save you money on labor costs, but it’s important to carefully follow installation instructions and familiarize yourself with local plumbing codes to ensure a safe and effective installation.
To help you decide whether to hire a plumber or tackle the installation yourself, consider the following:
- Your level of comfort and experience with plumbing projects
- Your understanding of local plumbing codes and installation requirements
- The complexity of the installation process
If you decide to hire a plumber, make sure to choose a licensed and reputable professional with experience in sump pump installation. They can ensure that your sump pump is installed correctly, minimizing the risk of future issues and maximizing its efficiency in protecting your basement from flooding.
If you choose to install the sump pump yourself, be sure to thoroughly research the process, gather all the necessary tools and materials, and take your time to complete each step correctly. Remember to prioritize safety and follow all local regulations and guidelines.
Ultimately, whether you hire a plumber or opt for a DIY installation, the goal is to have a sump pump that effectively removes excess water from your basement and protects your home from potential flooding.

| Professional Sump Pump Installation | DIY Sump Pump Installation |
|---|---|
| Expertise in proper positioning of sump pump basin | Requires knowledge and skill in sump pump installation |
| Cutting hole in basement floor | Requires accurate measurements and precision cutting |
| Digging the hole to the appropriate depth | Requires physical labor and digging equipment |
| Knowledge of wrapping basin with filter fabric | Instructions should be followed carefully |
| Experience in adding gravel for proper drainage | Requires understanding of effective drainage techniques |
| Securely placing the sump pump | Requires proper positioning and anchoring |
| Familiarity with installation code requirements | Researching and complying with local plumbing codes is necessary |
Signs Your Sump Pump Needs Replacement
If your sump pump is showing signs of failure, it may be time to consider replacing it. Ignoring these signs can lead to more extensive damage and costly repairs down the line. Here are some common indications that your sump pump is in need of replacement:
- Weird Noises: If you notice strange noises coming from your sump pump, such as grinding or rattling sounds, it could be a sign of internal damage or worn-out components.
- Frequent Repairs: If you find yourself constantly calling for repairs on your sump pump, it may be a signal that it’s time for a new one. Continual repairs can quickly add up in terms of costs and inconvenience.
- Excessive Vibrations: Excessive vibrations during operation can indicate loose parts or misalignment. If these issues persist, it’s recommended to replace the sump pump.
- Constant Running: If your sump pump runs continuously, even when there is no excess water, it may be a sign of a malfunctioning float switch or an internal defect. This can result in increased energy consumption.
- Irregular Cycling: Inconsistent cycling, where the sump pump turns on and off erratically, is a sign of a malfunctioning switch or sensor. This can compromise the effectiveness of your sump pump in preventing flooding.
- Rusting: Rusting on the exterior or interior components of your sump pump can indicate water damage and corrosion. This can impair its functionality and increase the risk of failure.
- Old Age: Sump pumps have an average lifespan of about 10 years. If your sump pump is reaching or exceeding this age, it’s prudent to consider a replacement to ensure reliable protection against flooding.
- Motor Failure: A failing motor can prevent your sump pump from operating altogether. If your sump pump fails to start or consistently shuts off randomly, it’s likely a motor-related issue that requires replacement.
Investing in a new sump pump can provide peace of mind and protection against basement flooding. While repairs may seem like a more cost-effective option initially, the recurring expenses can quickly surpass the cost of a replacement. It’s always wise to consult a professional to assess the condition of your sump pump and determine whether repair or replacement is the best course of action.
Remember, a reliable sump pump is crucial for safeguarding your home from water damage and maintaining a dry, secure basement.
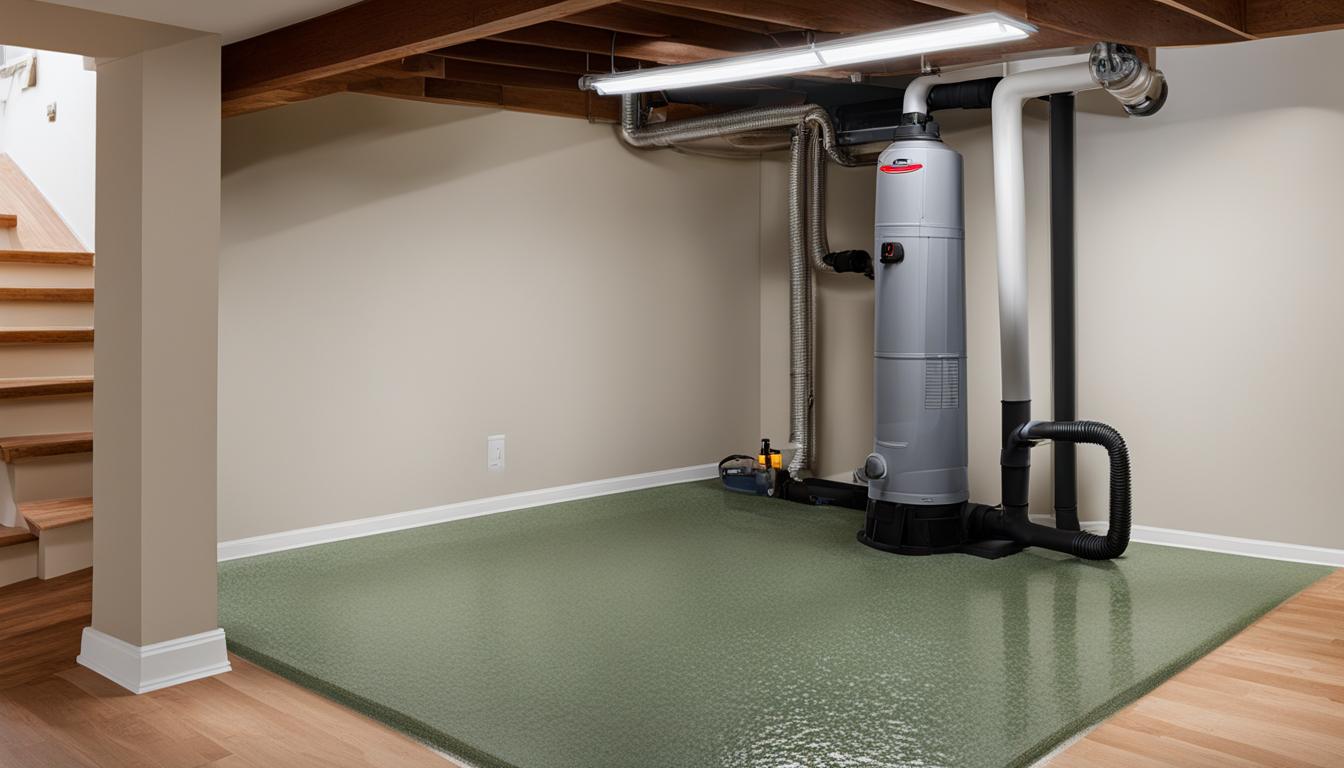
Choosing the Right Location for Your Sump Pump
When it comes to selecting the location for your sump pump, several factors should be taken into consideration to ensure optimal performance and functionality. By evaluating the water collection area, proximity to a power source, drainage plan, accessibility, and the presence of a ground fault circuit interrupter (GFCI) outlet, you can make an informed decision that will safeguard your basement from potential water damage.
Water Collection Area
The first step in choosing the right location for your sump pump is identifying the water collection area in your basement. This is the area where water tends to accumulate the most. By placing the sump pump in close proximity to the water collection area, you can efficiently remove excess water and prevent flooding.
Proximity to Power Source
Another crucial factor to consider is the proximity to a power source. Since sump pumps require electricity to operate, it is essential to position the pump within reach of an electrical outlet. This ensures uninterrupted power supply and reliable functioning of the pump.
Drainage Plan
Having a well-defined drainage plan is vital for effective sump pump operation. Before installing the pump, assess the available drainage options in your basement. Ideally, the pump should be placed in a location where it can easily discharge water away from your home’s foundation. This helps prevent water from seeping back into the basement and causing damage.
Accessibility
Consider the accessibility of the chosen location for maintenance and repairs. The sump pump should be easily accessible to allow for regular inspection, cleaning, and any necessary repairs. Accessibility is particularly important in emergency situations when quick action may be required to prevent flooding.
Ground Fault Circuit Interrupter (GFCI) Outlet
Lastly, ensure that the chosen location has a GFCI outlet nearby. A GFCI outlet helps protect against electrical shock by automatically cutting off power when a ground fault occurs. It is crucial to have this added layer of electrical safety when dealing with a sump pump installation.
By carefully considering these factors and incorporating them into your decision-making process, you can select the ideal location for your sump pump. This ensures optimal performance, efficient water removal, and reliable protection against basement flooding.

| Factors to Consider | Importance |
|---|---|
| Water Collection Area | High |
| Proximity to Power Source | High |
| Drainage Plan | Medium |
| Accessibility | Medium |
| Ground Fault Circuit Interrupter (GFCI) Outlet | High |
Digging the Sump Pit for Installation
When it comes to installing a sump pump, one of the crucial steps is digging the sump pit. This process ensures that the pump can effectively collect and remove excess water from your basement or crawl space. Here’s a detailed overview of the sump pit digging process:
1. Marking the Pit Area
Start by determining the ideal location for the sump pit. It should be situated in a spot where water tends to collect. Use spray paint or chalk to mark the boundaries of the pit, ensuring it’s large enough to accommodate the sump pump and allow for proper water drainage.
2. Digging the Pit
With the marked area as a guide, begin digging the pit using a shovel or a rented mini-excavator. Dig down to the recommended depth, typically around 2 feet or more, depending on the water table in your area. Take care to remove any roots or obstacles that could hinder the installation process.
3. Cleaning the Pit
After digging the pit, thoroughly clean the area to remove any debris, rocks, or loose soil. This ensures a clean and stable foundation for the sump pump.
4. Lining with Gravel
Next, line the bottom of the pit with a layer of gravel. This helps promote proper drainage by allowing water to flow freely into the sump pit. Make sure the layer of gravel is level and evenly distributed.
5. Sump Pump Placement
Once the pit is prepared, carefully place the sump pump inside. Ensure that the pump is level and upright, with the float switch functioning properly. Follow the manufacturer’s instructions for securing the pump in place.
6. Testing the Pump
Finally, it’s essential to test the sump pump before completing the installation. Fill the pit with water and observe the pump’s functionality. Ensure that it activates and effectively drains the water from the pit. This test ensures that the sump pump is functioning correctly and provides peace of mind that it will protect your basement from potential flooding.
| Step | Description |
|---|---|
| 1 | Mark the pit area using spray paint or chalk. |
| 2 | Dig the pit to the recommended depth. |
| 3 | Clean the pit, removing any debris and loose soil. |
| 4 | Line the pit with gravel for proper drainage. |
| 5 | Place the sump pump inside the pit, ensuring proper alignment. |
| 6 | Test the sump pump by filling the pit with water. |
By following these steps, you can successfully dig the sump pit and install the sump pump, ensuring effective water management in your basement or crawl space.
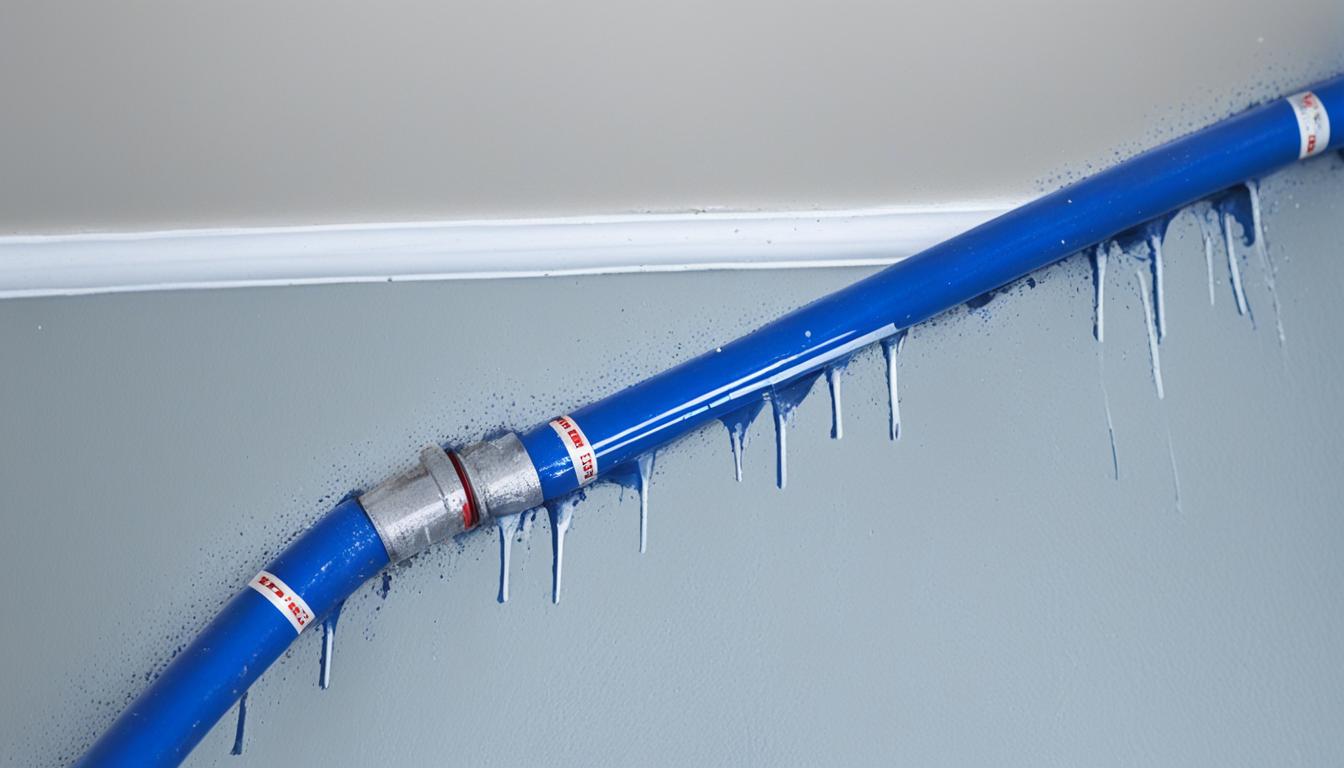
Connecting the Discharge Pipe for Efficient Drainage
When it comes to ensuring efficient drainage for your sump pump, proper connection of the discharge pipe is essential. Follow these steps to connect the sump pump discharge pipe and prevent any water-related issues in your home.
The first step is to attach a check valve to the discharge pipe. This valve prevents any backflow, ensuring that water only flows in one direction and doesn’t circulate back into the sump pump. Make sure the valve is securely fastened to the pipe for optimal performance.
Next, install the discharge pipe by connecting it to the sump pump outlet. Use appropriate fittings and connectors to ensure a tight and secure connection. This will prevent any leaks or inefficiencies in the drainage system. Remember to align the pipe properly for a smooth and unhindered flow of water.
To promote proper flow and prevent any potential blockages, it’s crucial to drill a weep hole near the top of the discharge pipe. This small hole allows any excess water to escape, preventing the pipe from becoming overwhelmed and causing potential flooding issues.
Once the pipe is installed and the weep hole is drilled, secure the discharge pipe to the wall using clamps or brackets. This step ensures that the pipe remains in place and doesn’t move or shift during operation. Additionally, it helps to keep the pipe away from any obstructions or potential damage.
Lastly, it’s essential to thoroughly test the pump to verify its functionality. Activate the sump pump and observe the water flow through the discharge pipe. Ensure that the water is effectively directed away from your home, as intended, to prevent any potential flooding or water damage.
By following these steps and connecting the discharge pipe correctly, you can maintain efficient drainage from your sump pump, protecting your home from flooding and water-related issues.
- Investing Wisely: How Windows & Doors in Boost Property Value and Financial Health - April 24, 2025
- The Financial Impact of Personal Injuries: Why Legal Help Matters for Business Owners - April 16, 2025
- The Hidden Financial Costs of Domestic Assault: What Business Owners Need to Know - April 16, 2025