Winterize Your Home: How to Drain Pipes for Winter
Did you know that frozen pipes can cause thousands of dollars in damages to your home? The cost of repairs, not to mention the inconvenience of being without running water, can be a nightmare during the winter months. To avoid this potential disaster, it’s essential to take the necessary steps to winterize your home’s plumbing system before the freezing temperatures hit.
Key Takeaways:
- Properly winterizing your pipes can prevent costly repairs and inconveniences.
- Insulate exposed pipes to protect them from freezing.
- Disconnect and drain outdoor hoses before the temperature drops.
- Seal any air leaks to prevent drafts that can lead to frozen pipes.
- Take additional steps such as keeping cabinet doors open and closing the garage door to further protect your plumbing.
Insulate Exposed Pipes
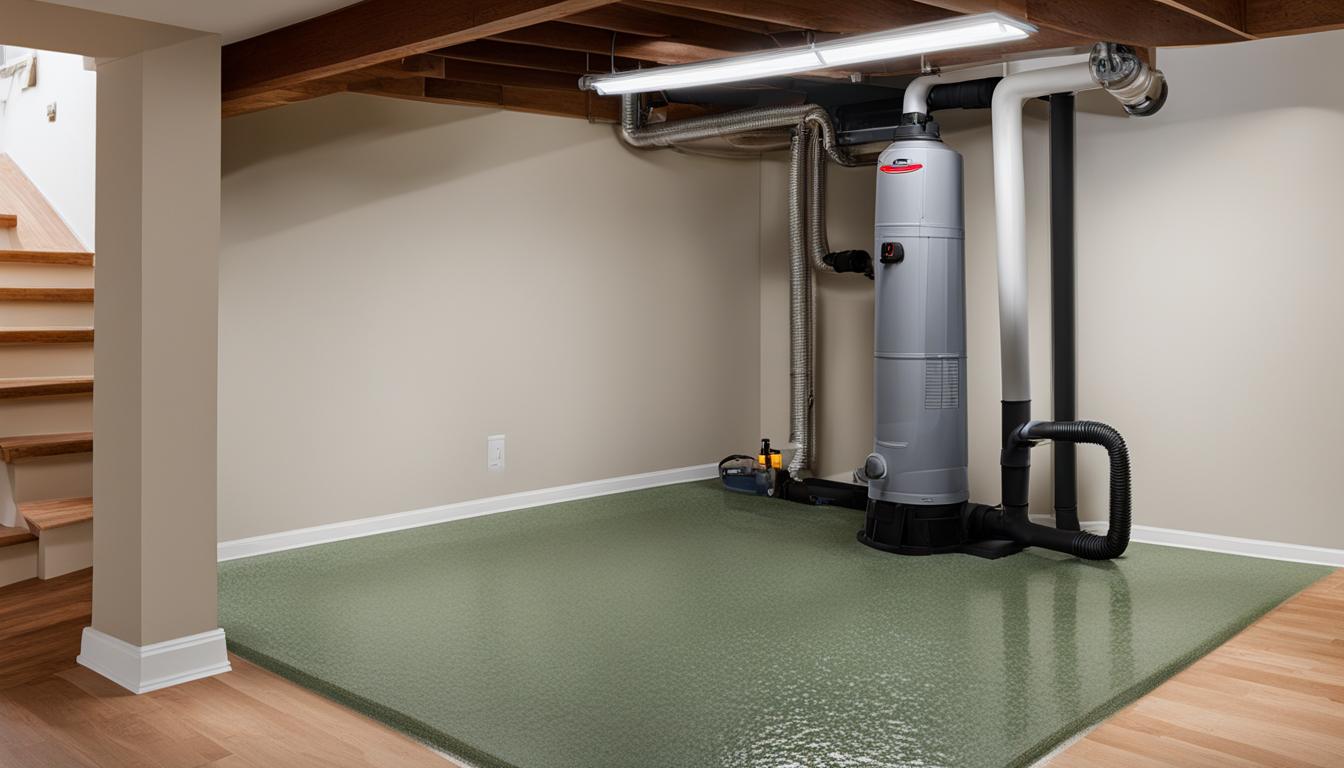
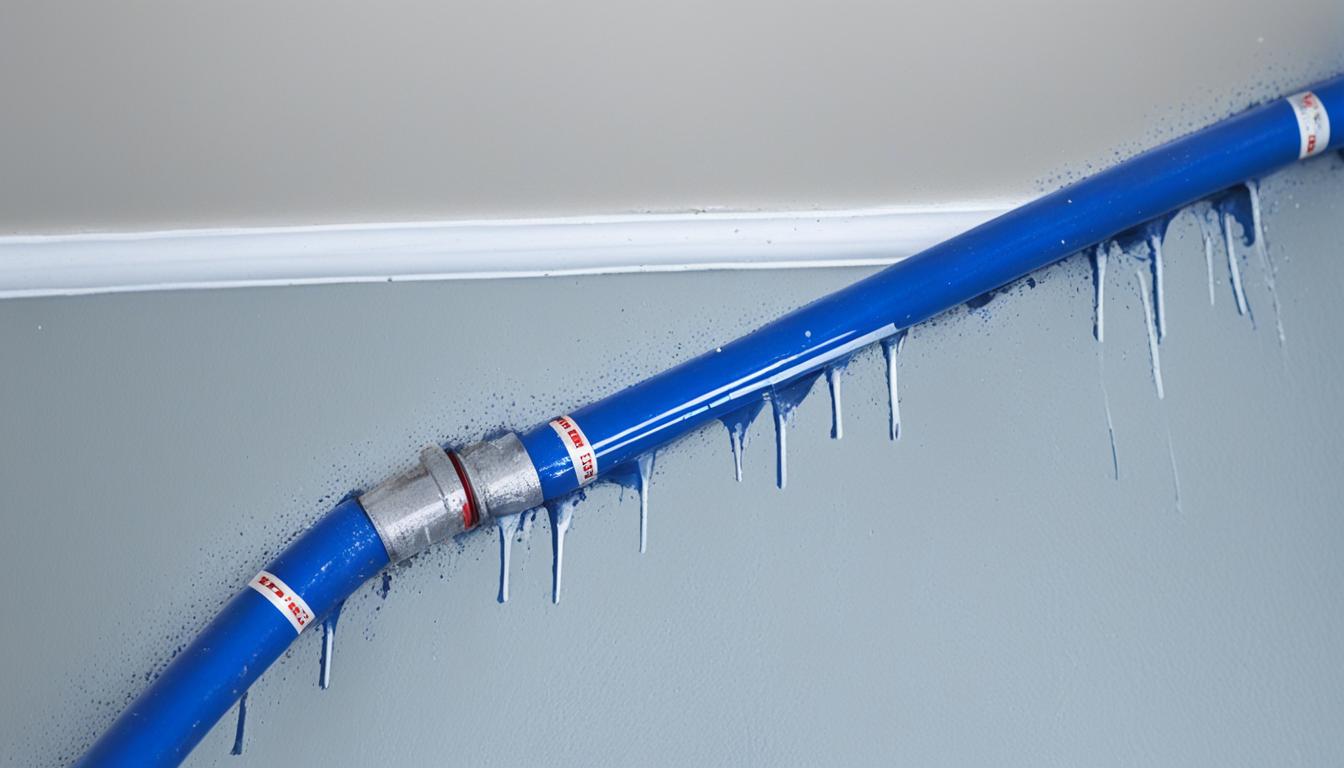
As you prepare to winterize your plumbing system, one crucial step is to insulate exposed pipes to prevent freezing and potential damage. This is particularly important for pipes located in areas that are commonly unheated, such as basements, attics, and crawl spaces.
Insulating exposed pipes is a relatively simple task that can be accomplished by purchasing foam insulation from a hardware store. The foam insulation can be easily wrapped around the visible pipes, providing an additional layer of protection against the cold temperatures.
By insulating your pipes, you create a barrier that helps retain the heat within the pipes and prevents them from freezing. This can significantly reduce the risk of burst pipes and water damage to your home.
Here’s a step-by-step guide to insulating exposed pipes:
- Measure the length of the exposed pipe.
- Visit your local hardware store to purchase foam pipe insulation that matches the measurements.
- Cut the foam insulation to the appropriate length using a utility knife.
- Open the foam insulation along the pre-cut slit and fit it around the pipe.
- Secure the foam insulation in place by using duct tape or cable ties.
Benefits of Insulating Exposed Pipes
Insulating exposed pipes offers several benefits:
- Prevents frozen pipes: Insulation helps maintain the temperature of the pipes, reducing the risk of freezing during cold weather.
- Energy efficiency: Insulated pipes require less energy to maintain the desired temperature, resulting in reduced energy consumption and lower utility bills.
- Protects against condensation: Insulation prevents condensation from forming on the cold pipes, helping to prevent moisture-related issues like mold and mildew.
- Extends the lifespan of pipes: By protecting pipes from freezing and potential damage, insulation can help prolong their lifespan and reduce the need for repairs or replacements.
Insulating exposed pipes is a simple yet effective way to winterize your plumbing system and prevent the costly and inconvenient issue of frozen pipes. By taking this proactive step, you can ensure a reliable and functioning plumbing system throughout the winter months.
Disconnect and Drain Outdoor Hoses
Before the temperature drops and winter arrives, it is crucial to disconnect and drain your outdoor hoses to prevent freezing and potential damage. Leaving hoses connected can lead to water freezing inside them, which can cause damage to the faucet, hose, or even the interior piping. By taking the time to properly winterize your hoses, you can ensure they are in good condition for the next spring season.
To disconnect and drain your outdoor hoses, follow these simple steps:
- Start by turning off the outdoor water supply.
- Unscrew the hose from the outdoor faucet or spigot.
- Allow any remaining water in the hose to drain out completely. This can be done by straightening the hose and gently shaking it or by elevating one end of the hose and letting gravity do the work.
- Once the water has drained out, coil the hose neatly and store it in a protected area such as a garage or shed.
By disconnecting and draining outdoor hoses, you can prevent them from freezing and avoid any potential damage. This simple winterization step will help to extend the lifespan of your hoses and ensure they are ready to use when warmer weather returns.
Seal Any Air Leaks
Drafts and air leaks can expose your pipes to additional risk of freezing. Inspect your home for any visible signs of air leaks, such as missing bricks or cracks in the grouting, particularly around outdoor hose bibs. You can seal these air leaks by taking the following steps:
- Attach Insulated Bib Covers: Protect your outdoor fixtures by attaching insulated bib covers. These covers provide an extra layer of insulation and prevent cold air from reaching the pipes. They are readily available at hardware stores and are easy to install.
- Use Weatherstripping: Seal gaps around windows, doors, and the garage door using weatherstripping. This will help prevent cold air from entering your home and keep the interior temperature regulated.
Identifying and sealing air leaks will not only help keep your home warm but also protect your pipes from freezing. Take these simple precautionary measures to safeguard your plumbing system during the winter months.

Winterize Your Pipes Before Vacation
If you are planning to be away from your home for an extended period during the winter, it is crucial to properly winterize your pipes before vacation. Follow these simple steps to ensure your plumbing system is protected while you’re away.
Shut Off the Water Supply
The first step in winterizing your pipes is to shut off the water supply at the main shut-off valve. This will prevent any water from flowing through your plumbing system and greatly reduce the risk of frozen pipes. Locate the main shut-off valve in your home and turn it off before you leave for vacation.
Drain the Plumbing Lines
To effectively winterize your pipes, it is important to drain all the plumbing lines in your home. Start by opening all the taps, including faucets and showers, to allow any remaining water to flow out. Flushing toilets can also help remove water from the plumbing system. By draining the plumbing lines, you eliminate the possibility of water freezing and causing damage to your pipes.
Set the Water Heater to Vacation Mode
If you have a water heater, make sure to set it to “vacation” mode if available. This will lower the temperature and energy consumption of the water heater while still keeping it operational in case you need hot water when you return. Consult your water heater’s manual for specific instructions on how to set it to vacation mode. This step not only conserves energy but also prevents unnecessary heating of water in your absence.
By following these steps to winterize your pipes before vacation, you can have peace of mind knowing that your plumbing system is protected from freezing temperatures. Take the necessary precautions to avoid any potential damage and enjoy your winter getaway worry-free.

Additional Tips to Prevent Frozen Pipes
In addition to the basic winterization steps, there are a few extra tips to keep your pipes from freezing. One simple tip is to keep cabinet doors open, especially in kitchens and bathrooms where plumbing is often located. By allowing warm air to circulate around the pipes, you can help prevent freezing.
Another helpful tip is to close the garage door. Exposed pipes in the garage are vulnerable to freezing temperatures. By closing the garage door, you provide some protection and reduce the risk of pipes freezing.
It’s also important to be aware of the signs of frozen pipes. If you experience no water flow, notice frost on pipes, hear strange sounds coming from your plumbing, or have low water pressure, these could be indications of frozen pipes. If you encounter any of these signs or suspect that your pipes are frozen, it’s best to contact a professional plumber for assistance. They have the expertise to safely thaw out the pipes and prevent further damage.
- Investing Wisely: How Windows & Doors in Boost Property Value and Financial Health - April 24, 2025
- The Financial Impact of Personal Injuries: Why Legal Help Matters for Business Owners - April 16, 2025
- The Hidden Financial Costs of Domestic Assault: What Business Owners Need to Know - April 16, 2025