Dishwasher Water Connection Guide & Tips
Did you know that a single dishwasher uses an average of 6 gallons of water per cycle? That’s a significant amount considering how frequently we use this appliance in our daily lives. If you’re planning to install a dishwasher or replace an old one, it’s crucial to understand the proper water connection process for a seamless operation.
Installing a dishwasher yourself can save you money, but it’s important to follow instructions carefully. In this guide, I’ll walk you through the necessary steps to connect your dishwasher to the water supply, ensuring a smooth and efficient performance. Let’s get started!
**Key Takeaways:**
– Connecting your dishwasher to the water supply is essential for its proper functioning.
– Following the installation requirements is crucial to ensure compatibility and avoid any issues.
– Removing the old dishwasher and cleaning the installation space prepares for the new installation.
– Connecting the water supply and drain hose correctly prevents leaks and backups.
– Securing and leveling the dishwasher guarantees stability and longevity.
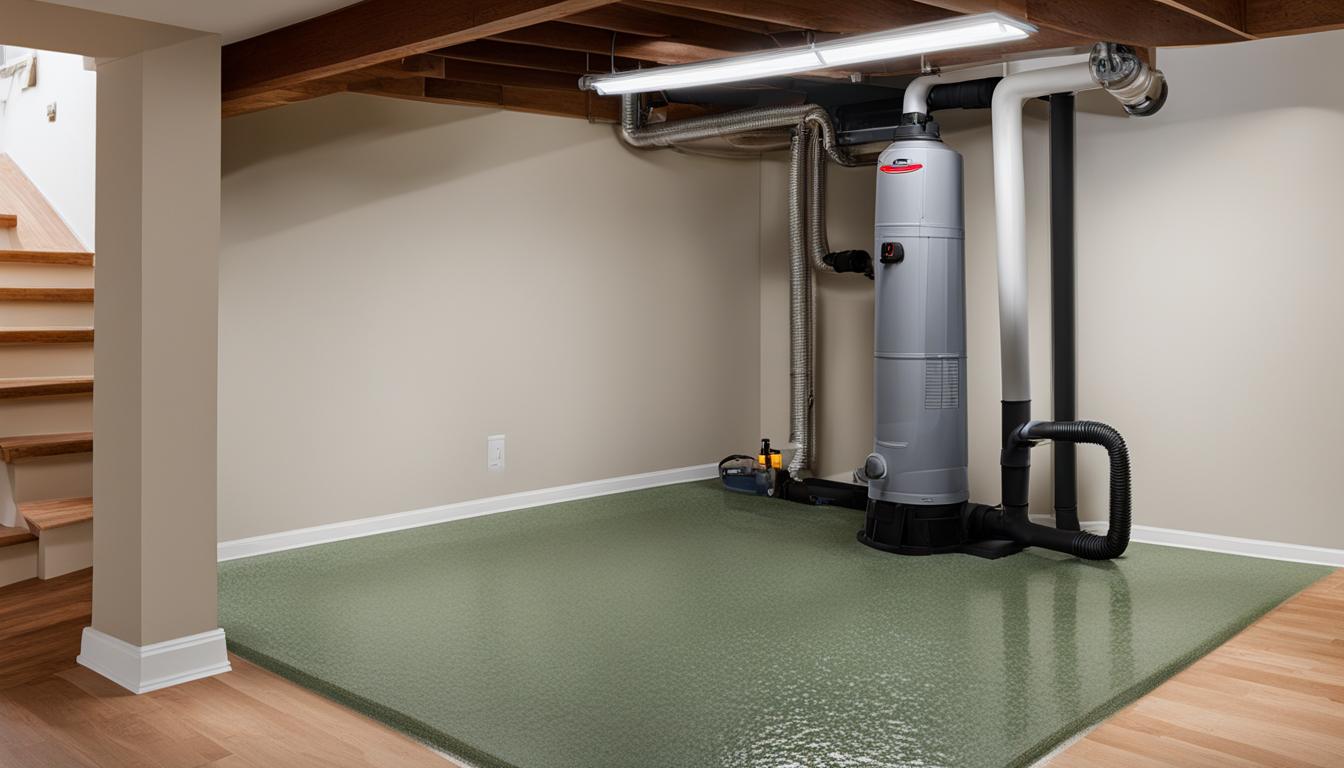
Checking Installation Requirements
Before installing a dishwasher, it’s important to ensure that you have everything you need to properly install it. This includes checking the space requirements, power outlet, water supply line, and drain line.
Space Requirements
Before installing a dishwasher, make sure that you have enough space under your kitchen counter. It’s important to leave room for loading and unloading dishes comfortably. Measure the space carefully and check the dimensions of the dishwasher you plan to install to ensure a proper fit.
Power Outlet
Ensure that there is a 120-volt power outlet located within 45 inches of where you plan to install the dishwasher. The outlet should be easily accessible and meet the voltage requirements of the dishwasher.
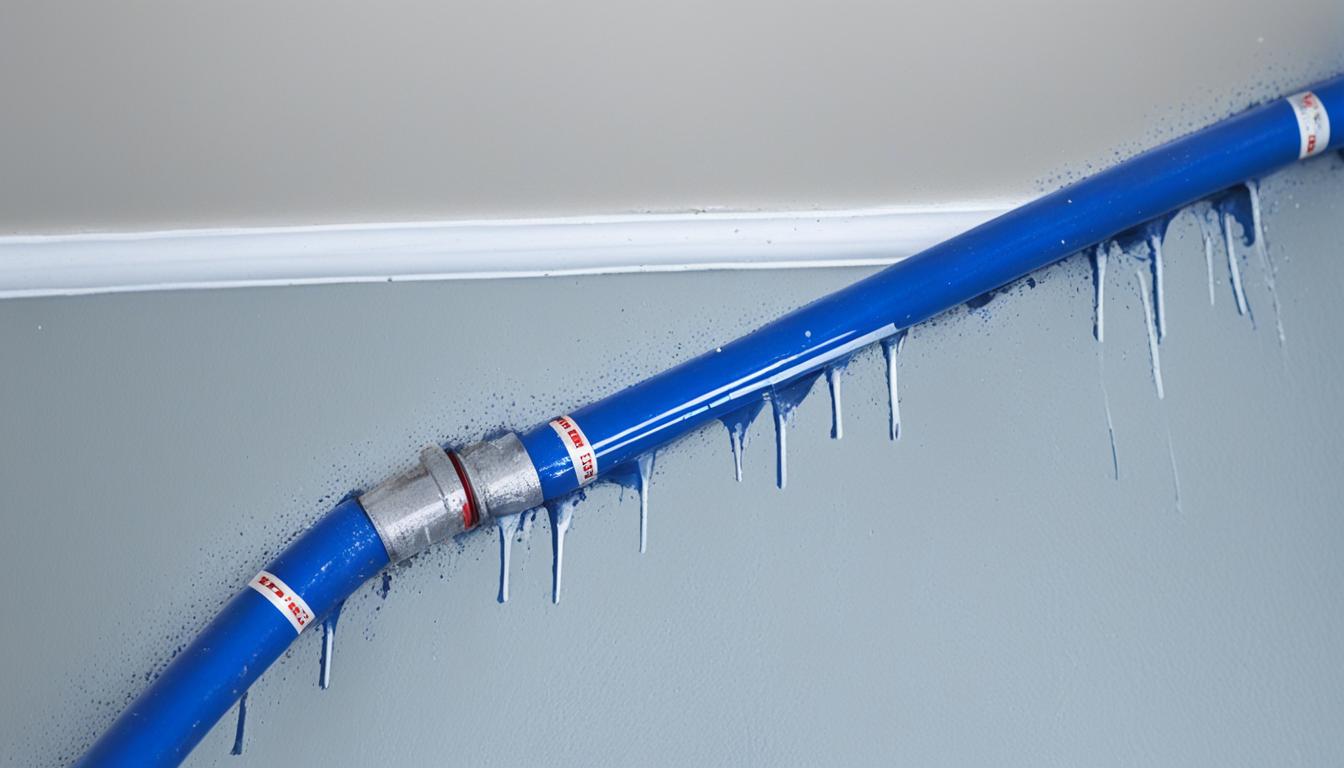
Water Supply Line
The dishwasher should be connected to a ½ inch diameter water supply line. Make sure that a shut-off valve is installed to easily control the water flow to the dishwasher. It’s important to use the correct size and type of water supply line to prevent leaks and ensure proper functioning.
Drain Line
The drain line of the dishwasher should be at least ½ inch in diameter. It should also slope downward at a rate of ¼ inch per foot to ensure proper drainage. This will prevent water from accumulating in the dishwasher and causing potential damage.
By checking these installation requirements, you can ensure a smooth and successful installation of your new dishwasher.
| Installation Requirements | Specifications |
|---|---|
| Space Requirements | Enough space under the kitchen counter |
| Power Outlet | 120-volt outlet within 45 inches |
| Water Supply Line | ½ inch diameter with shut-off valve |
| Drain Line | ½ inch diameter, downward slope of ¼ inch per foot |
Uninstalling the Old Dishwasher and Preparing the Installation Space
When it comes to installing a new dishwasher, the first step is to remove the old one. Before you begin uninstalling the old dishwasher, make sure to disconnect it from the power outlet and water supply line. This will ensure your safety during the process. Once that’s done, it’s time to remove the screws that hold the dishwasher in place. Carefully pull it out from its resting area, taking care not to damage the surrounding surfaces.
Now that the old dishwasher is out, it’s essential to clean the installation space properly. Over time, dirt, grease, and food particles can accumulate in that area. Use a mild detergent and warm water to wipe down the walls, floor, and any other surfaces where the old dishwasher was installed. This will provide a clean and hygienic space for the new dishwasher.
Before starting the installation process for the new dishwasher, it’s crucial to measure the area where it will sit. Double-check the dimensions to ensure a proper fit. This step is essential as it will save you from encountering any issues later on. Remember, it’s better to be precise with your measurements than to go through the trouble of adjusting the dishwasher later.
If you’re unsure about uninstalling the old dishwasher or if you encounter any difficulties during the process, it’s always a good idea to seek professional help. There are experienced plumbers who specialize in dishwasher removal and installation. Hiring a professional will ensure that the job is done correctly and efficiently, giving you peace of mind.

Connecting the Water Supply and Drain Hose
Once you have prepared the installation space and checked the requirements, it’s time to connect the water supply and drain hose for your dishwasher. Follow these steps to ensure a proper and secure connection:
1. Connecting the Water Supply
To connect the dishwasher to the water supply, use a braided stainless steel water supply line. This type of supply line is durable and resistant to leaks. Here’s how to do it:
- First, turn off the water supply to your kitchen.
- Next, disconnect the old water supply line from the kitchen faucet or shut-off valve.
- Now, attach the new braided stainless steel water supply line to the same connection point.
- Tighten the connections using a wrench, ensuring they are secure but not over-tightened.
- Once the water supply line is connected, turn on the water supply and check for any leaks. If you spot any, tighten the connections further or consider replacing the supply line.
2. Routing and Connecting the Drain Hose
Properly routing and connecting the dishwasher drain hose is essential for effective drainage and preventing water backup. Follow these steps:
- Locate the sink drain or garbage disposal where the dishwasher drain hose will be connected.
- Ensure the drain hose is long enough to reach the connection point without any kinks or tension. The recommended length for dishwasher drain hoses is usually 6-10 feet, depending on your specific model and installation.
- Attach one end of the drain hose to the dishwasher’s drain outlet. This is typically located at the back or bottom of the dishwasher.
- Connect the other end of the drain hose to the sink drain or garbage disposal. Use a hose clamp to secure the connection and prevent any leaks.
- Make sure the drain hose is properly sloped downward to allow for smooth water flow. A slope of ¼ inch per foot is generally recommended.
Once you have connected the water supply and drain hose, it’s important to double-check all connections for leaks and ensure the hoses are properly secured. This will help prevent any potential water damage and ensure your dishwasher functions efficiently.

Securing and Leveling the Dishwasher
To ensure the stability of your dishwasher, it’s essential to properly secure and level it after installation.
First, make sure you use the correct type and size of mounting brackets to securely fasten the dishwasher to the countertop or cabinet. If your dishwasher does not come with mounting brackets, consider purchasing a safety strap for additional security.
After securing the dishwasher, test its stability by opening and closing the door several times. A stable dishwasher should not wobble or move excessively.
Next, use a wrench to adjust the leveling legs. It’s important to ensure the dishwasher is level from front to back and side to side to prevent issues with the operation and performance of the appliance.
Once you have leveled the dishwasher, close the door and double-check that it is securely in place. This step guarantees that the dishwasher functions optimally, providing you with reliable performance and efficiency in your daily routine.
- Investing Wisely: How Windows & Doors in Boost Property Value and Financial Health - April 24, 2025
- The Financial Impact of Personal Injuries: Why Legal Help Matters for Business Owners - April 16, 2025
- The Hidden Financial Costs of Domestic Assault: What Business Owners Need to Know - April 16, 2025